Like cooking, there is a small process involved in “cooking” way up an app. This article is not about your style of cooking, by itself (i. e programming), yet just the general steps required to get it from your head and also into iTunes.
Creating a great app isn’t entirely free of charge, so it is important to know in the beginning that, at some point in this method, you will be shelling out $99 (USD). Also, it is important to know in the beginning that you will need to use a Macintosh at some point, and will need to make use of specific Mac-happy code to generate your app.
Now that just about everyone has seen the fine print, here are fantastic steps to app enjoyment!
Table of Contents
Step 1: Craft A Brainy Idea
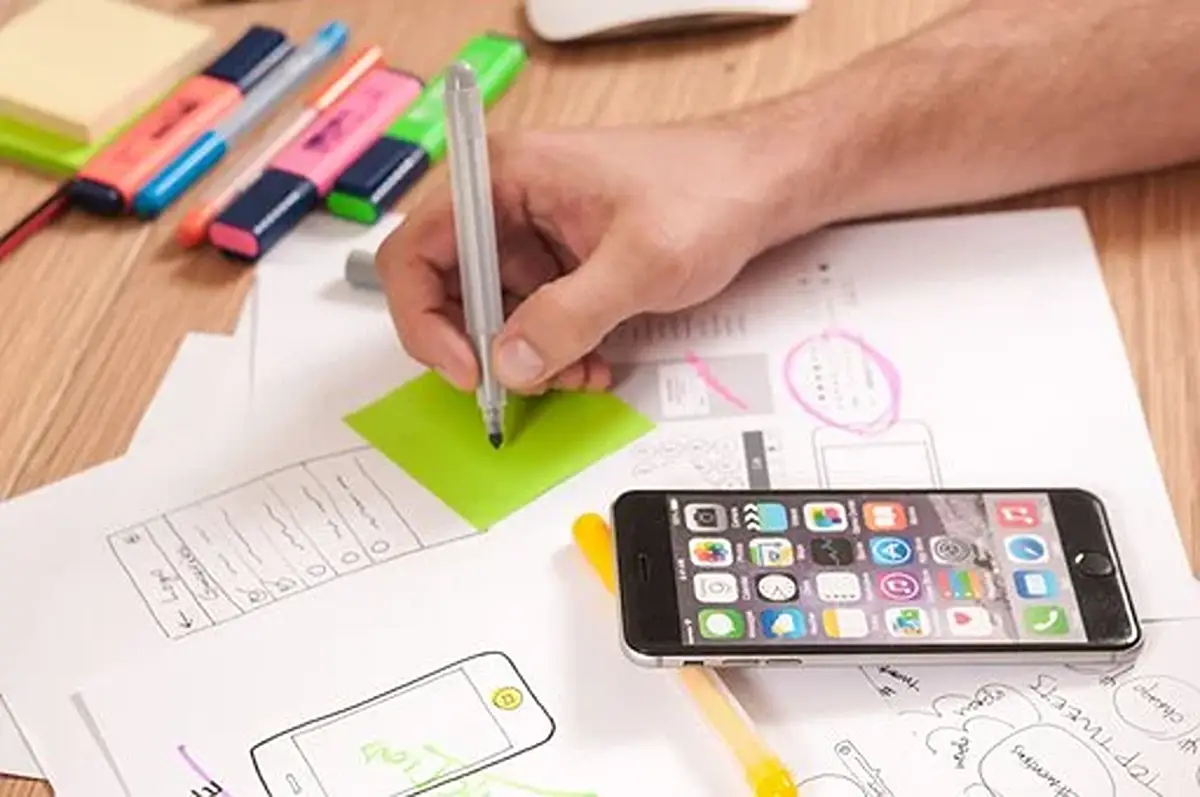
Have a unique strategy for an app? There are because you probably know, a trillion (OK, may not a TRILLION) apps out there. So what would make an app stand out? The reason would anyone want to use your personal app? Why would many people pay money for it if you plan to charge? Be sure to check that at this time there aren’t other apps that experts claim the same thing that you are proposing. As well as if you want to create something better than the app that already prevails, think about how your thought will be better. Draw it on paper or on the computer.
2: Get A Mac
The iPhone is surely an Apple product and works with a variation of the Mac OPERATING SYSTEM. Currently, the iPhone development equipment is only available for Mac consumers (even though there is proof of designing in jail split mode on a PC), but also in order to get it up in the App-store, you will eventually need a Mac to have it there. You can buy any Mac mini relatively with little outlay if you don’t have a Mac for your use.
Step 3: Register As An The apple company Developer
To work with the Macintosh tools, you will need to become the state-run Apple Developer. Registration will be free so you simply have to impart them with your information and agree to all their terms. You only need to enroll once, and you are able to make use of the same username and password used for your personal iTunes account. Once you are an Apple Developer, you can acquire iPhone apps for any Mac product.
Step 4: Acquire The Software Development Kit To get iPhone (SDK)
Once you are a state developer, you can download often the SDK for iPhone. Often the version you need depends on often the OS you are currently running. That download is HUGE given it comes with all sorts of documentation, model codes, and all sorts of things you will likely be glad to have later on. It could actually take a few hours, so you might need to start the download, invest in a good movie, and simply wait.
ManiacDev is a really great internet site with TONS of information targeted at both uber-newbies like my family and tech gurus. Merely start with the first video, enjoy and take notes when you go. Really and genuinely, these are the best tutorials On the internet!
Step 5: Download XCode
Should you not already have it, download XCode. According to Apple, “Xcode is actually a complete, full-featured IDE developed around a smooth workflow that will integrate the editing regarding source code, with the create and compile steps, right through to a graphical debugging knowledge – all without departing the view of your source computer code. ” This is another large download, so you might want to hire a second movie.
Step 6: Construct your iPhone App With The Web templates In The SDK
Once you have your personal app drawn out on paper as well as in Photoshop, you can start making it with the templates given in the SDK. This is where this HUGE amount of download time frame will be a huge benefit. You will need lots of templates to choose from, in addition to a lot of great YouTube show tutorials on how to use web themes effectively.
Step 7: Learn Objective-C For Cocoa
If you love computer programming languages, you will love Objective-C. If you don’t know how to program, this can be a part that can get rather sticky, so you might want to find an engineer friend or hire anyone. It really does help to get a publication, too, for reference.
Step 8: Program Your Software In Objective-C
Once you at the very least understand the basics of Objective-C (or at least know how to locate answers to programming questions), you are ready to program your current app. Does it help to take? screenshots? as you go along so you can bear in mind what you tried. Some programs can take just a few hours to help program while other Blogs can take months. Only you discover how much detail you want in existence for its maiden voyage inside App Store!
Step 9: Test out The App In The new iPhone 4 Simulator
The SDK carries a lovely iPhone Simulator. You simply must load up your app and carry out your own testing. You should try to lift weights as many bugs as possible in addition to thinking about all the ways anyone might use your app.
Step 10: Host A Pan Sale
Remember when I said in the fine print that you might need to raise some cash? This is in which moment. Sadly, loading an app into iTunes charges a one-time member cost of $99 (USD). You cannot find any way out of this fee, nevertheless, you might earn it back triplicate if your app is usually worthy! Truly though, one does get a lot for your 99 dollars. For one, you get access to many of the coolest people in this area of Pluto!
Step 11: Have Others Test Your iPhone app
Once you pay your cost, you will be able to have others from the app community test your iPhone app and help you work out the last bugs. This is a great local community, and testing new things is lots of fun. A high level00 newbie like me may be in awe of the nobleman and queens of nerdy stardom. Depending on the nature as well as the complexity of your app, this method can take some time.
Step 12: Submit Your App With regard to Approval
After testing your own app in the community and exercising all the bumps, you can publish the app to i-tunes for approval. You will be able in order to upload it right from town. The process of approval can take a while, so be patient!
Step 13: Watch The Dough as well as Traffic Roll In!
If you develop a paid app, just wait for money to roll in for you to shore. If you created a cost-free app, watch the site visitors!
Read also: How To Fix Double Clicking