
[ad_1]
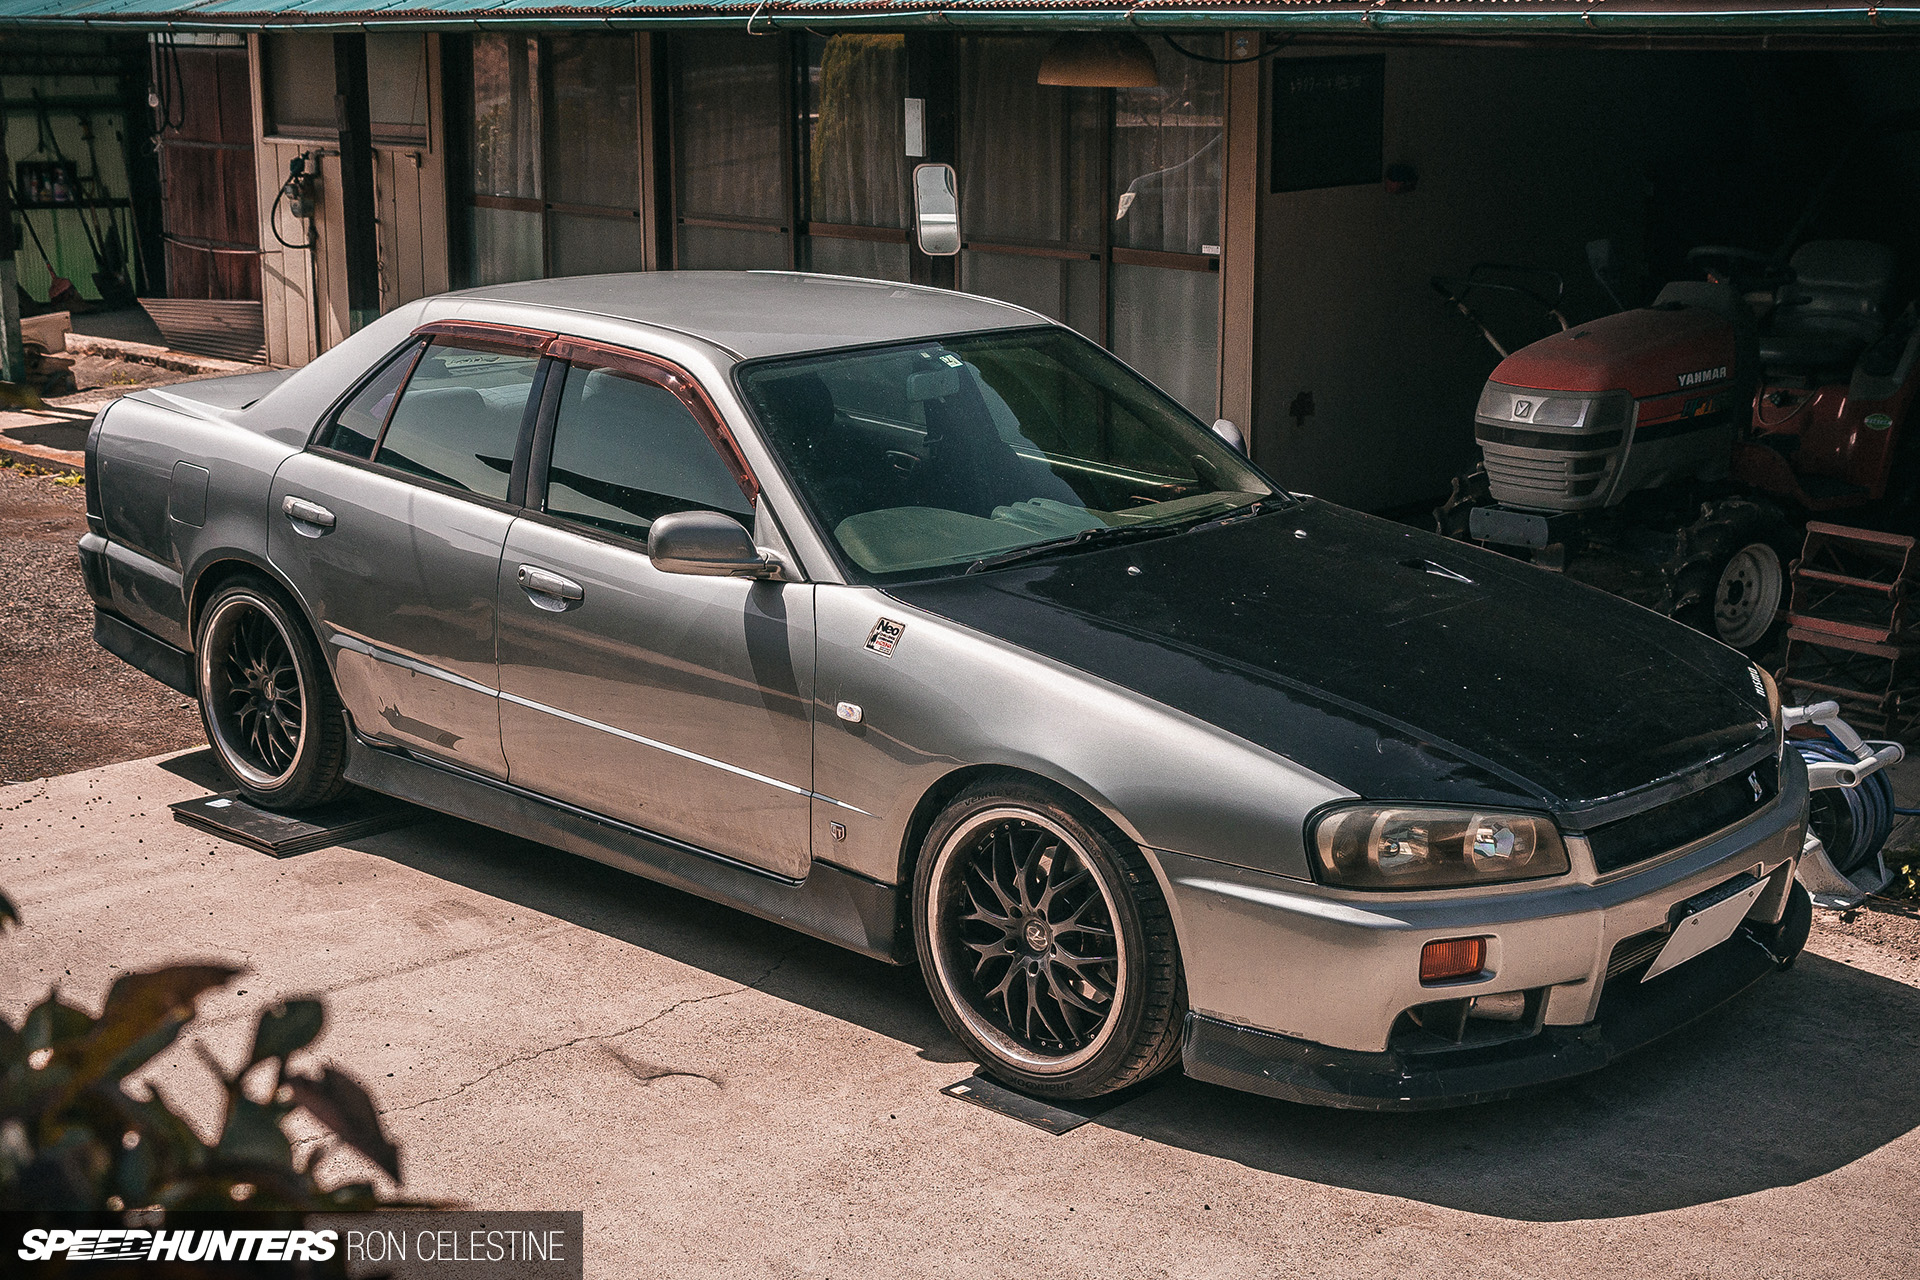
As I discussed in my most recent Project Rough update (which I’d recommend you try earlier than you get into this one for those who haven’t accomplished so already), I’ve spent the perfect a part of the final yr enjoying round with with my ER34 Nissan Skyline’s suspension geometry. I’ve been doing this to not solely try to maximize the out there grip at hand, however to really find out how every change impacts the automobile’s dealing with and total driving traits. In the present day, it’s wheel alignment time.
Since this was my first time making an attempt such a factor myself, I solely centered on the fundamentals – caster, camber and toe.

A fast on-line search reveals numerous discussion board posts, tech articles and YouTube movies on wheel alignments, and the extra of them I learn and watched, the extra my curiosity was piqued. The issue lies in the price of testing each single mixture that involves thoughts – a number of visits to the native alignment store would shortly change into costly. The one approach you possibly can actually experiment is to carry out the alignment modifications your self.
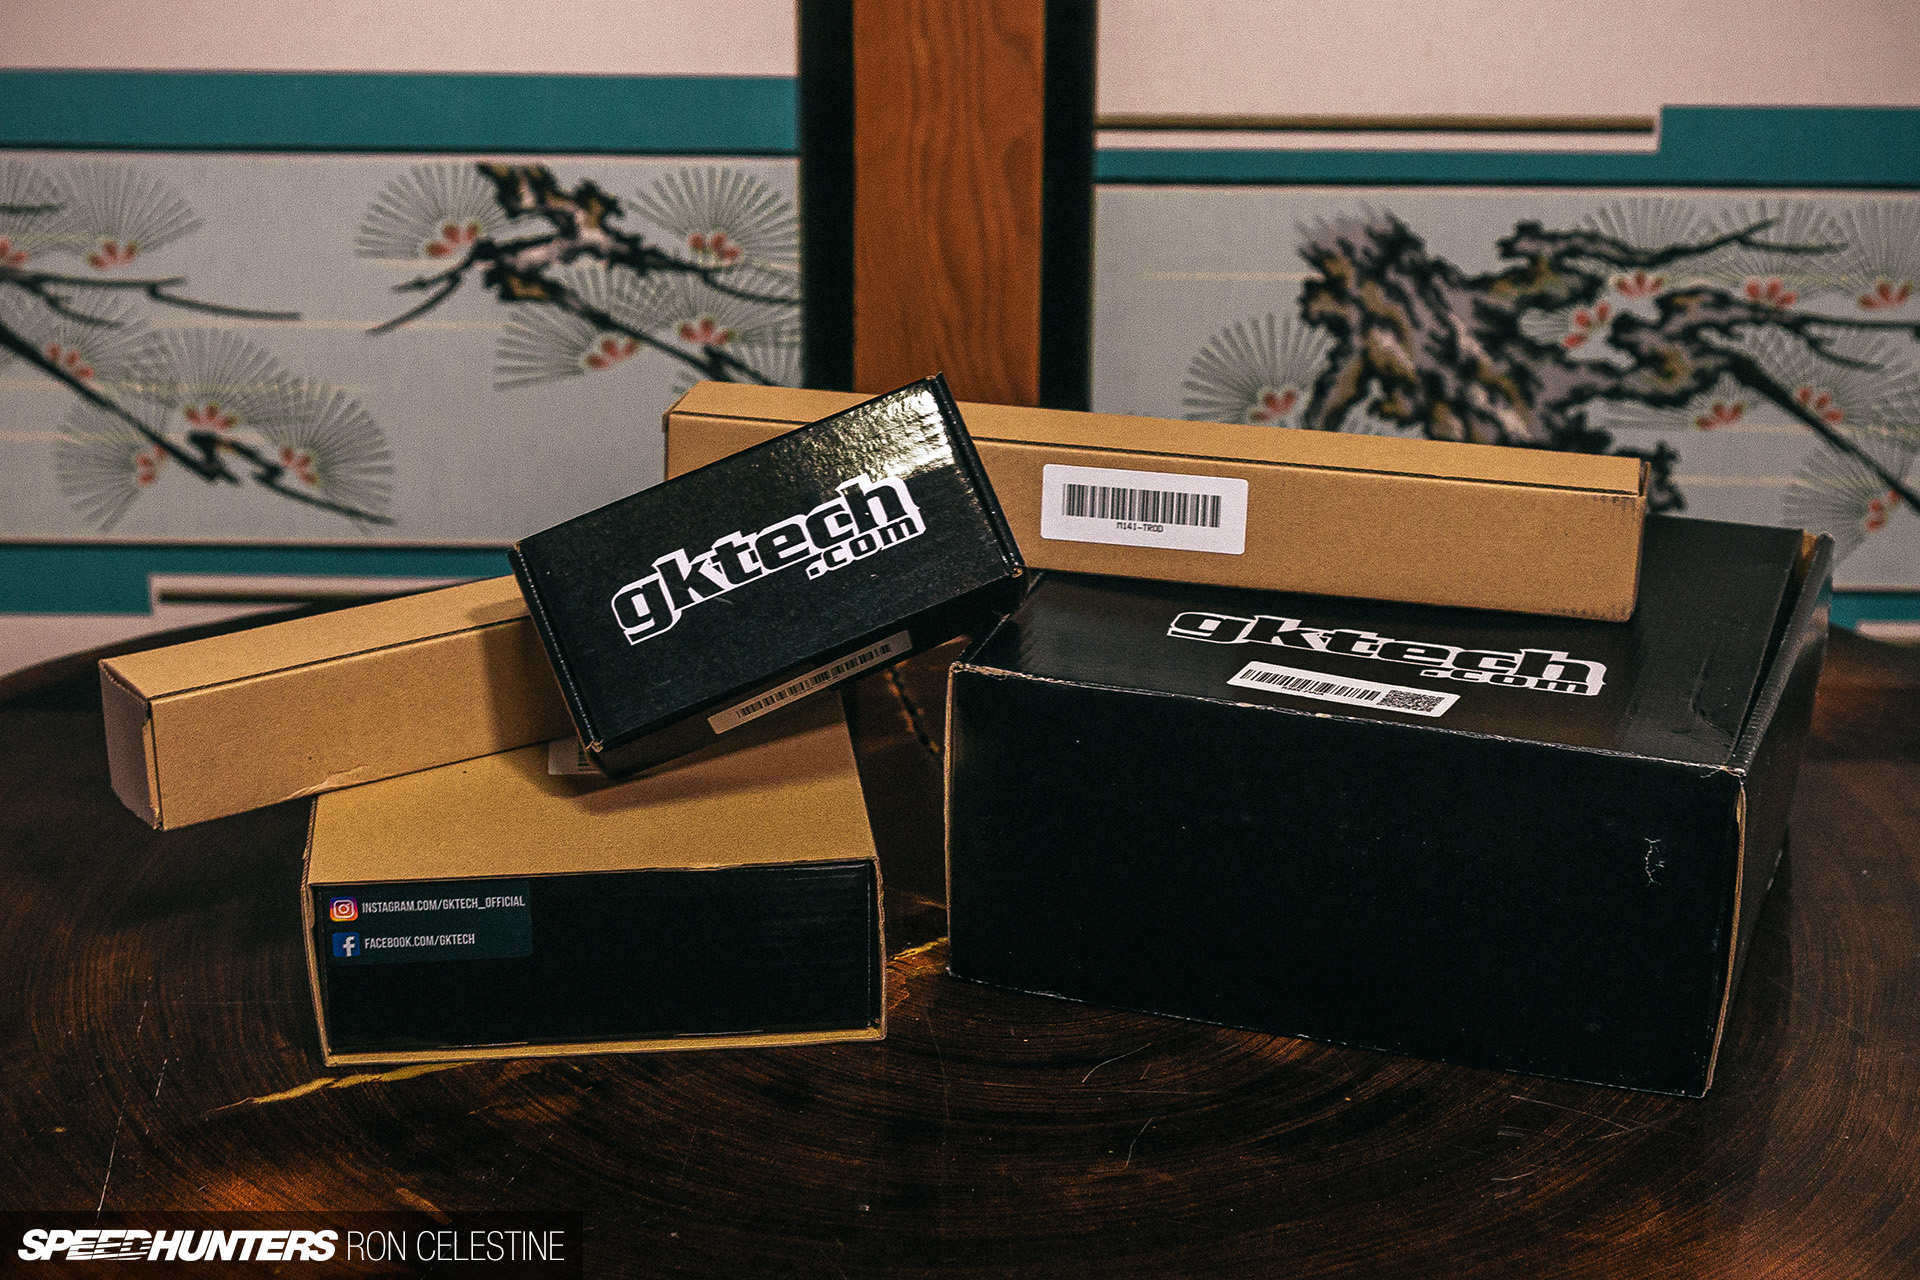
The need to do exactly that led me down the darkish and painful rabbit gap that could be a four-wheel wheel alignment. Thankfully, GKTech graciously helped feed my foolish curiosity.
GKTech has been within the Nissan aftermarket efficiency components sport since 2003 and is well-known all through the world for his or her progressive options at reasonably priced pricing. Although they’ve branched out to assist the rising Z33/Z34 market, the fervour and love for Nissan’s R-chassis continues to be simply as sturdy because it’s ever been. With out GKTech’s assist, Project Rough would nonetheless be a sizzling mess.
As an alternative of going by way of and attempting to clarify precisely what I’ve been as much as over the previous 12 months, I’ll break every little thing down into steps that I really feel are necessary for a DIY wheel alignment and, maybe extra importantly, what not to do. If I can save only one particular person the ache I suffered throughout my very own expertise, then I’ll think about {that a} win.
Warning: it is a massive one, so you may need to seize your self a espresso…
Take Notes

The primary factor it’s essential to do earlier than even interested by making an alignment alteration is to seize a pocket book or another type of method to document your information. The very last thing you need to do is blindly make modifications and never know what labored or what didn’t and the place you began. It is a sport of millimeters (sorry, no imperial metrics right here!) and only a flip or two can drastically change your automobile’s dealing with traits. Ask me how I do know…
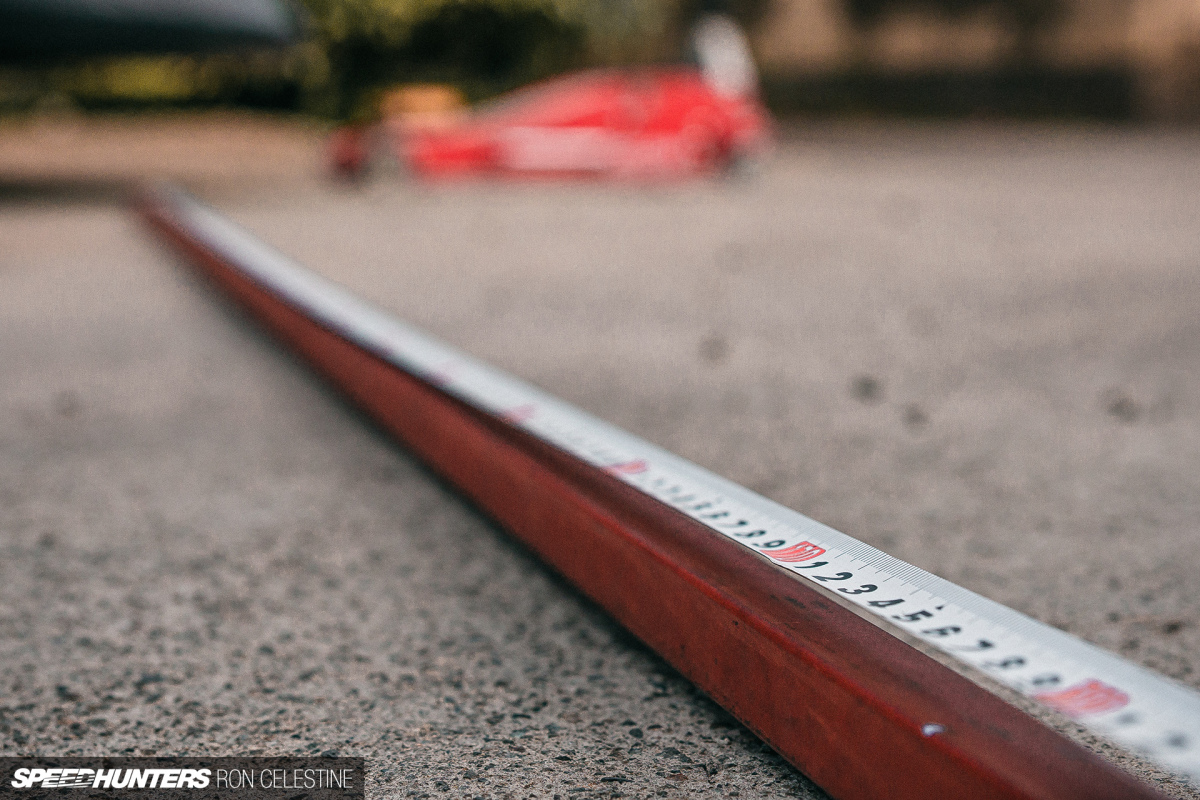
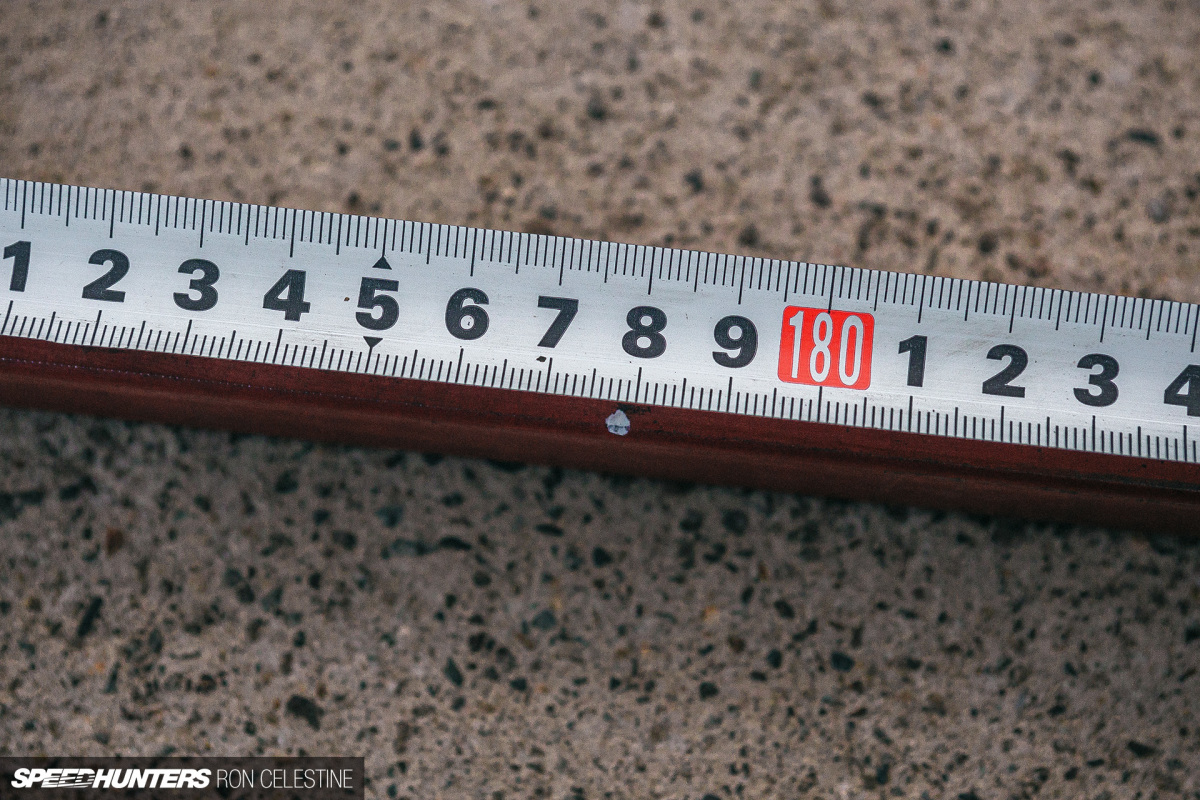
Talking of millimeters, be sure you have a superb tape measure or ruler at hand. On the finish of the day, your measurement will solely be nearly as good because the system you’re measuring with, so don’t skimp out on this.
Zero Every part
This one appears a bit odd, however for those who’re making an attempt to do an alignment by yourself, it’s finest to begin with a clear plate by zeroing every little thing out. This may even allow you to troubleshoot any issues which will come up, as in case your adjusted measurements are the identical left to proper, then the outcomes also needs to be the identical.
It took me until I used to be mainly on the finish of my alignment journey to do that, and it led me to find that Undertaking Tough had possible been in an accident prior to now (shock, shock) and wasn’t correctly fastened. Thus, it doesn’t matter what I did to regulate my camber, the 2 sides of the automobile would by no means match, even when I set the camber arms the identical.
Test Your Preload
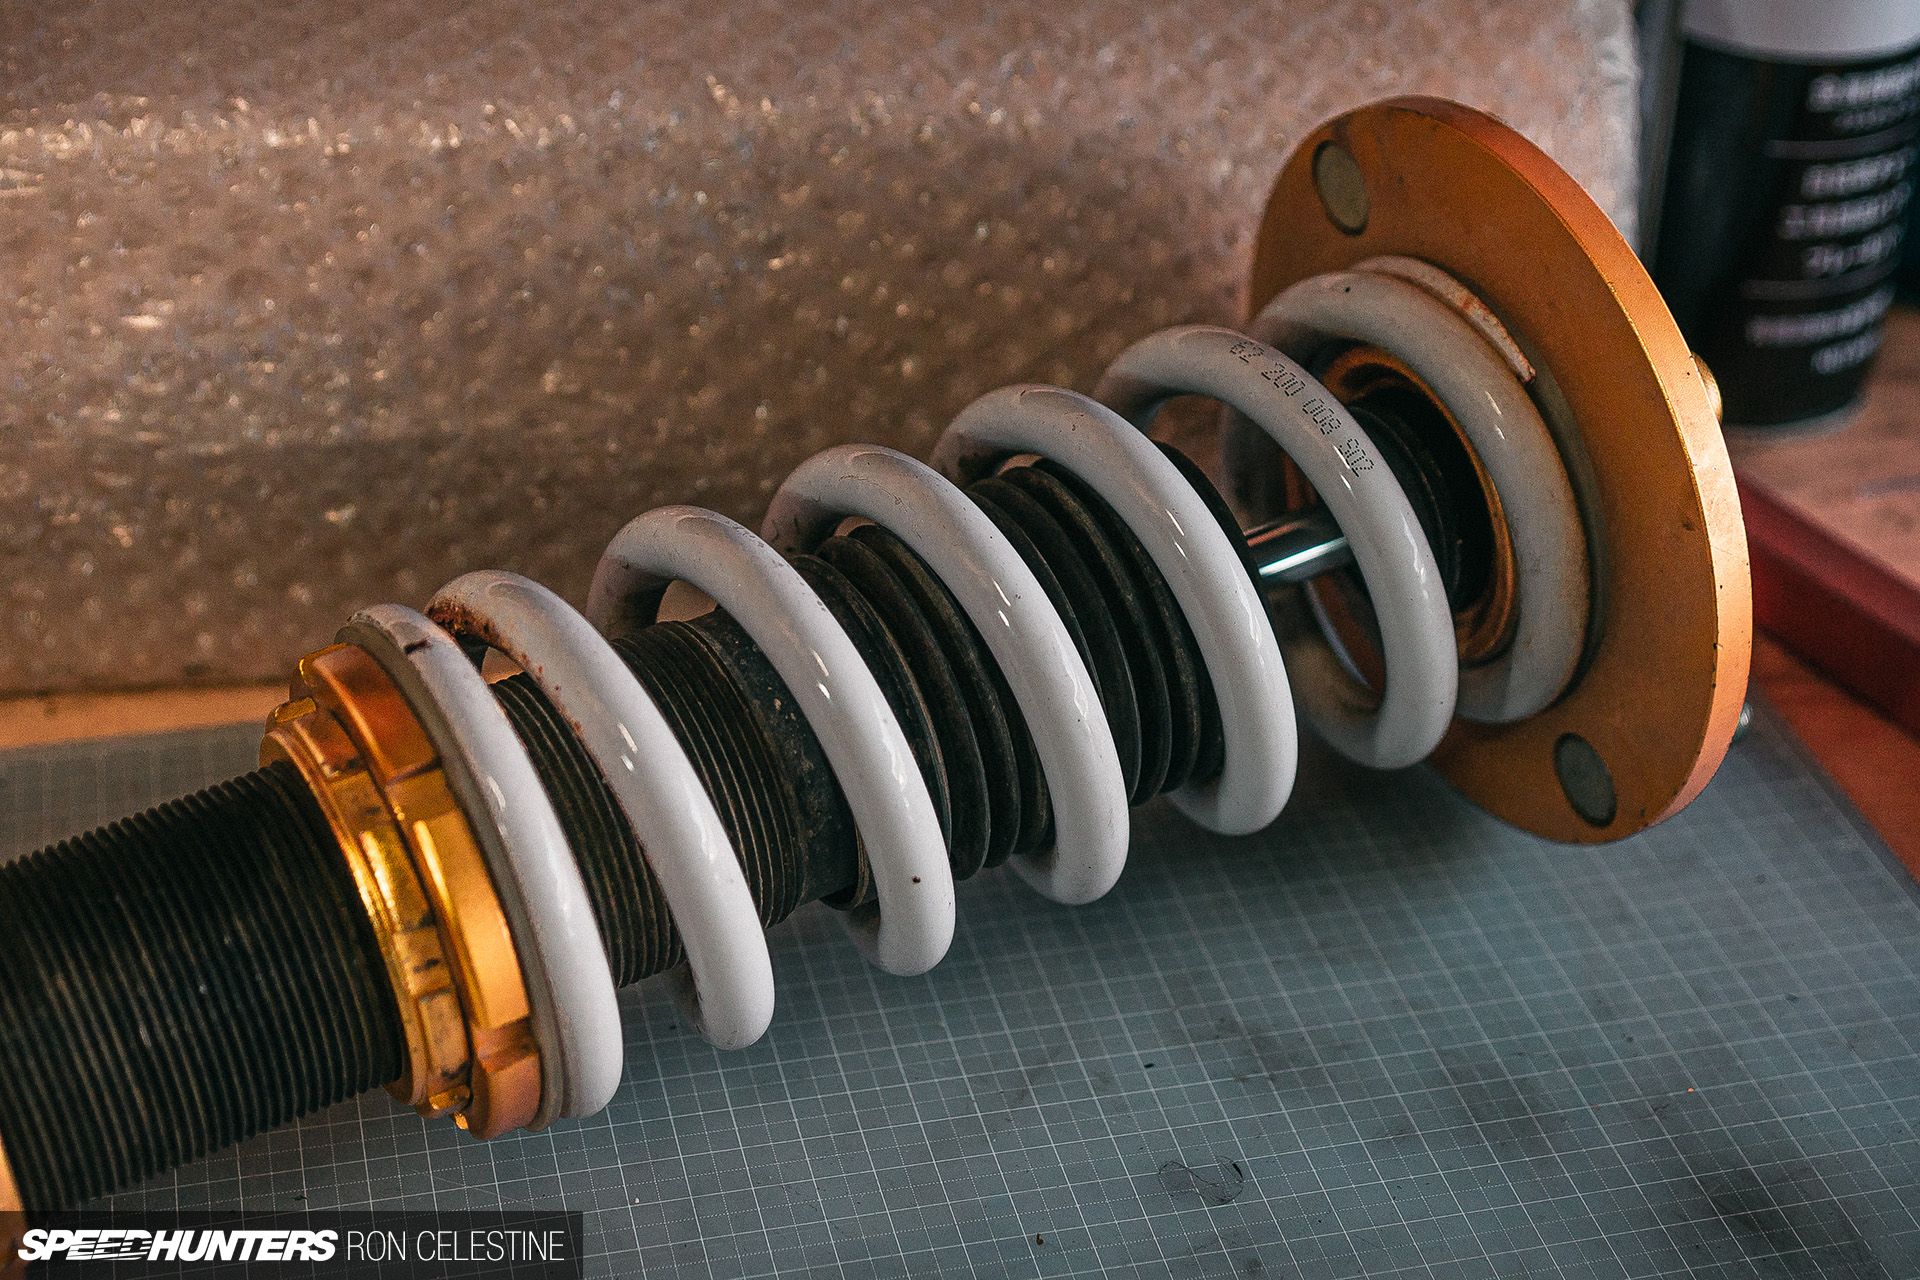
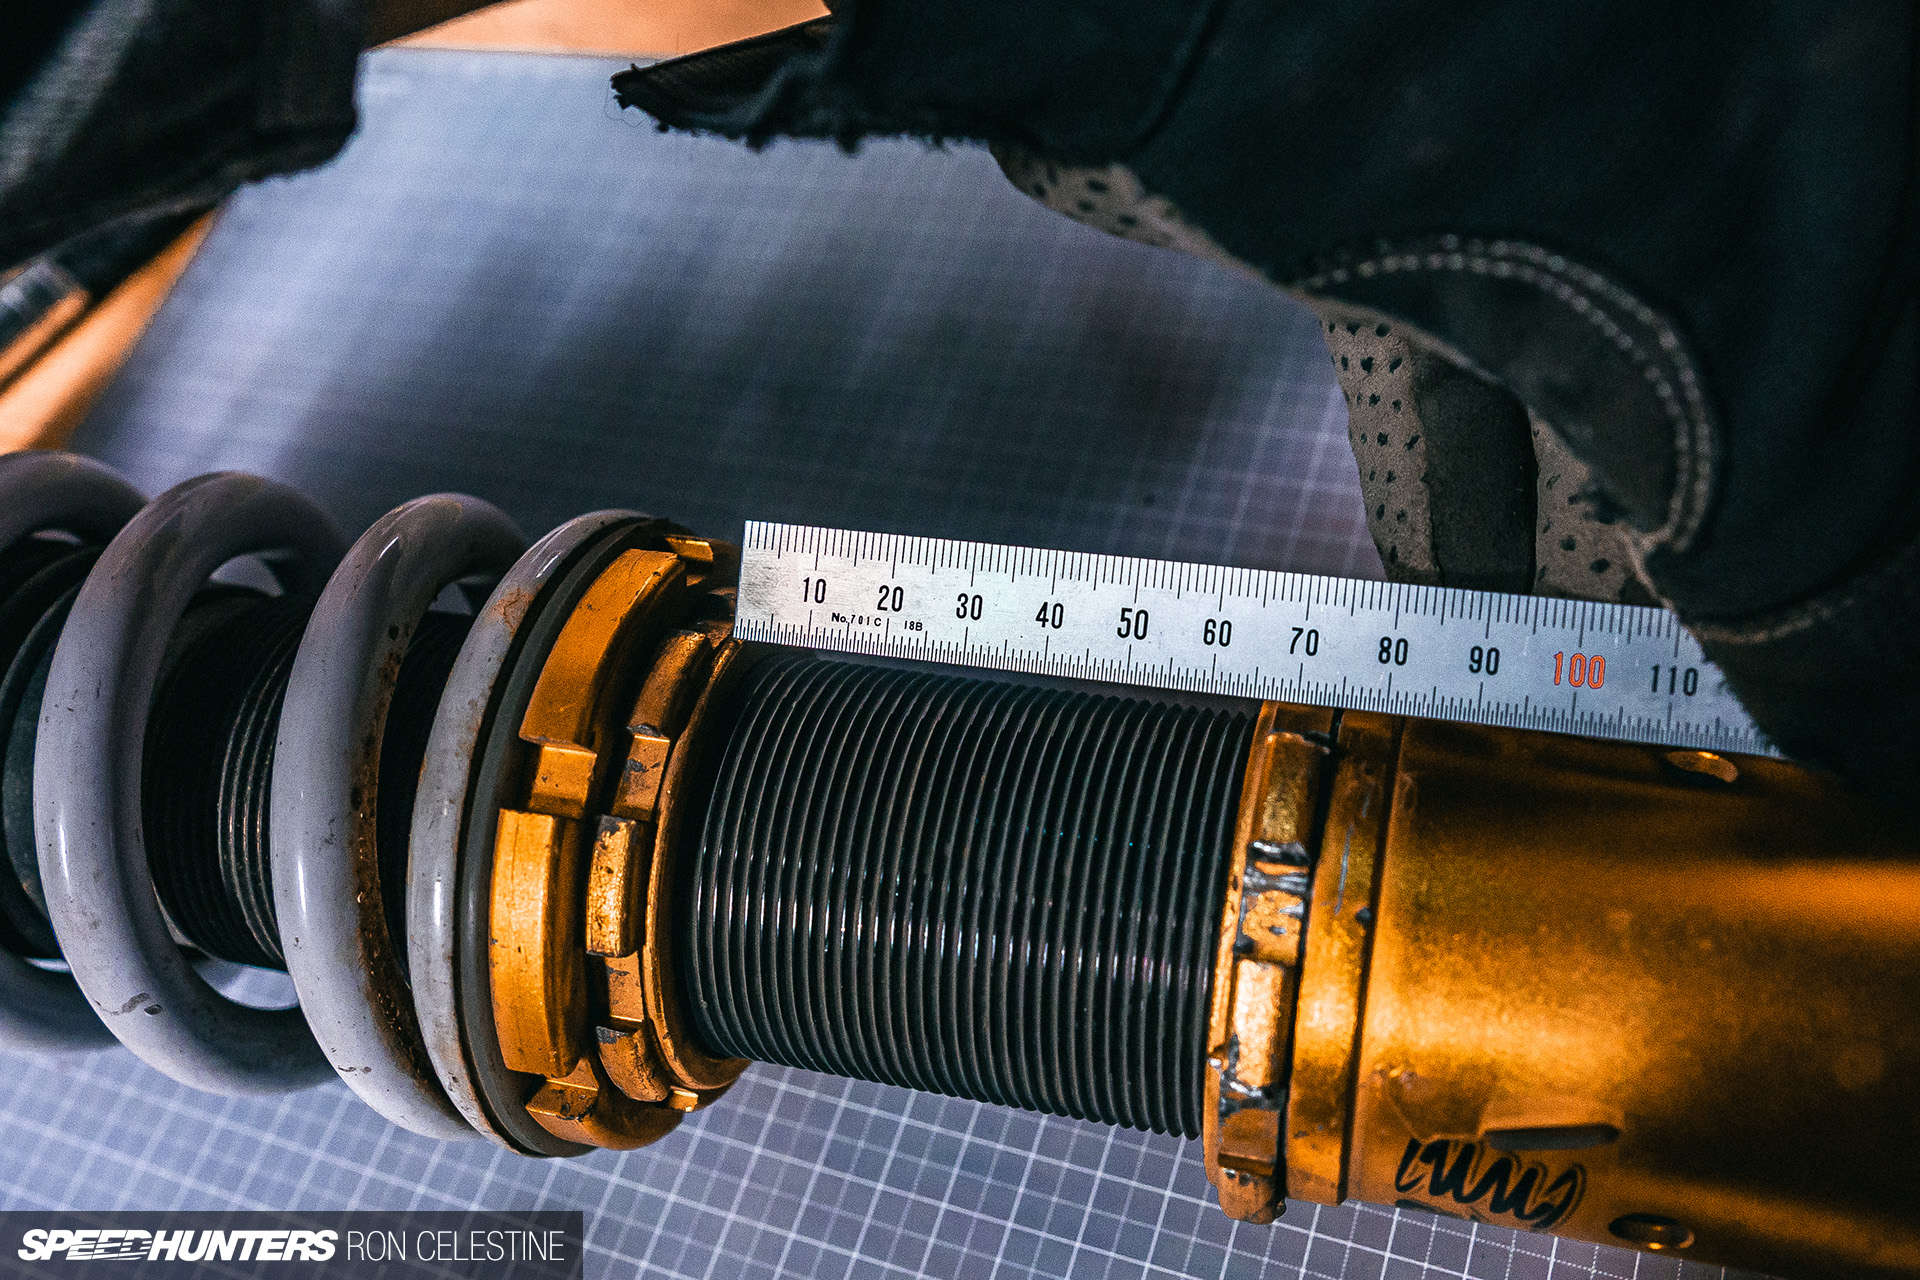
Now’s additionally a superb time to try your coilovers and sway bar finish hyperlinks when you’ve got adjustable ones. On the subject of your coilovers, be certain the preload is ready to regardless of the producer recommends. For Undertaking Tough, the coilovers have been designed by my pal Frank at Tuner Idea and he really useful 10mm of preload.
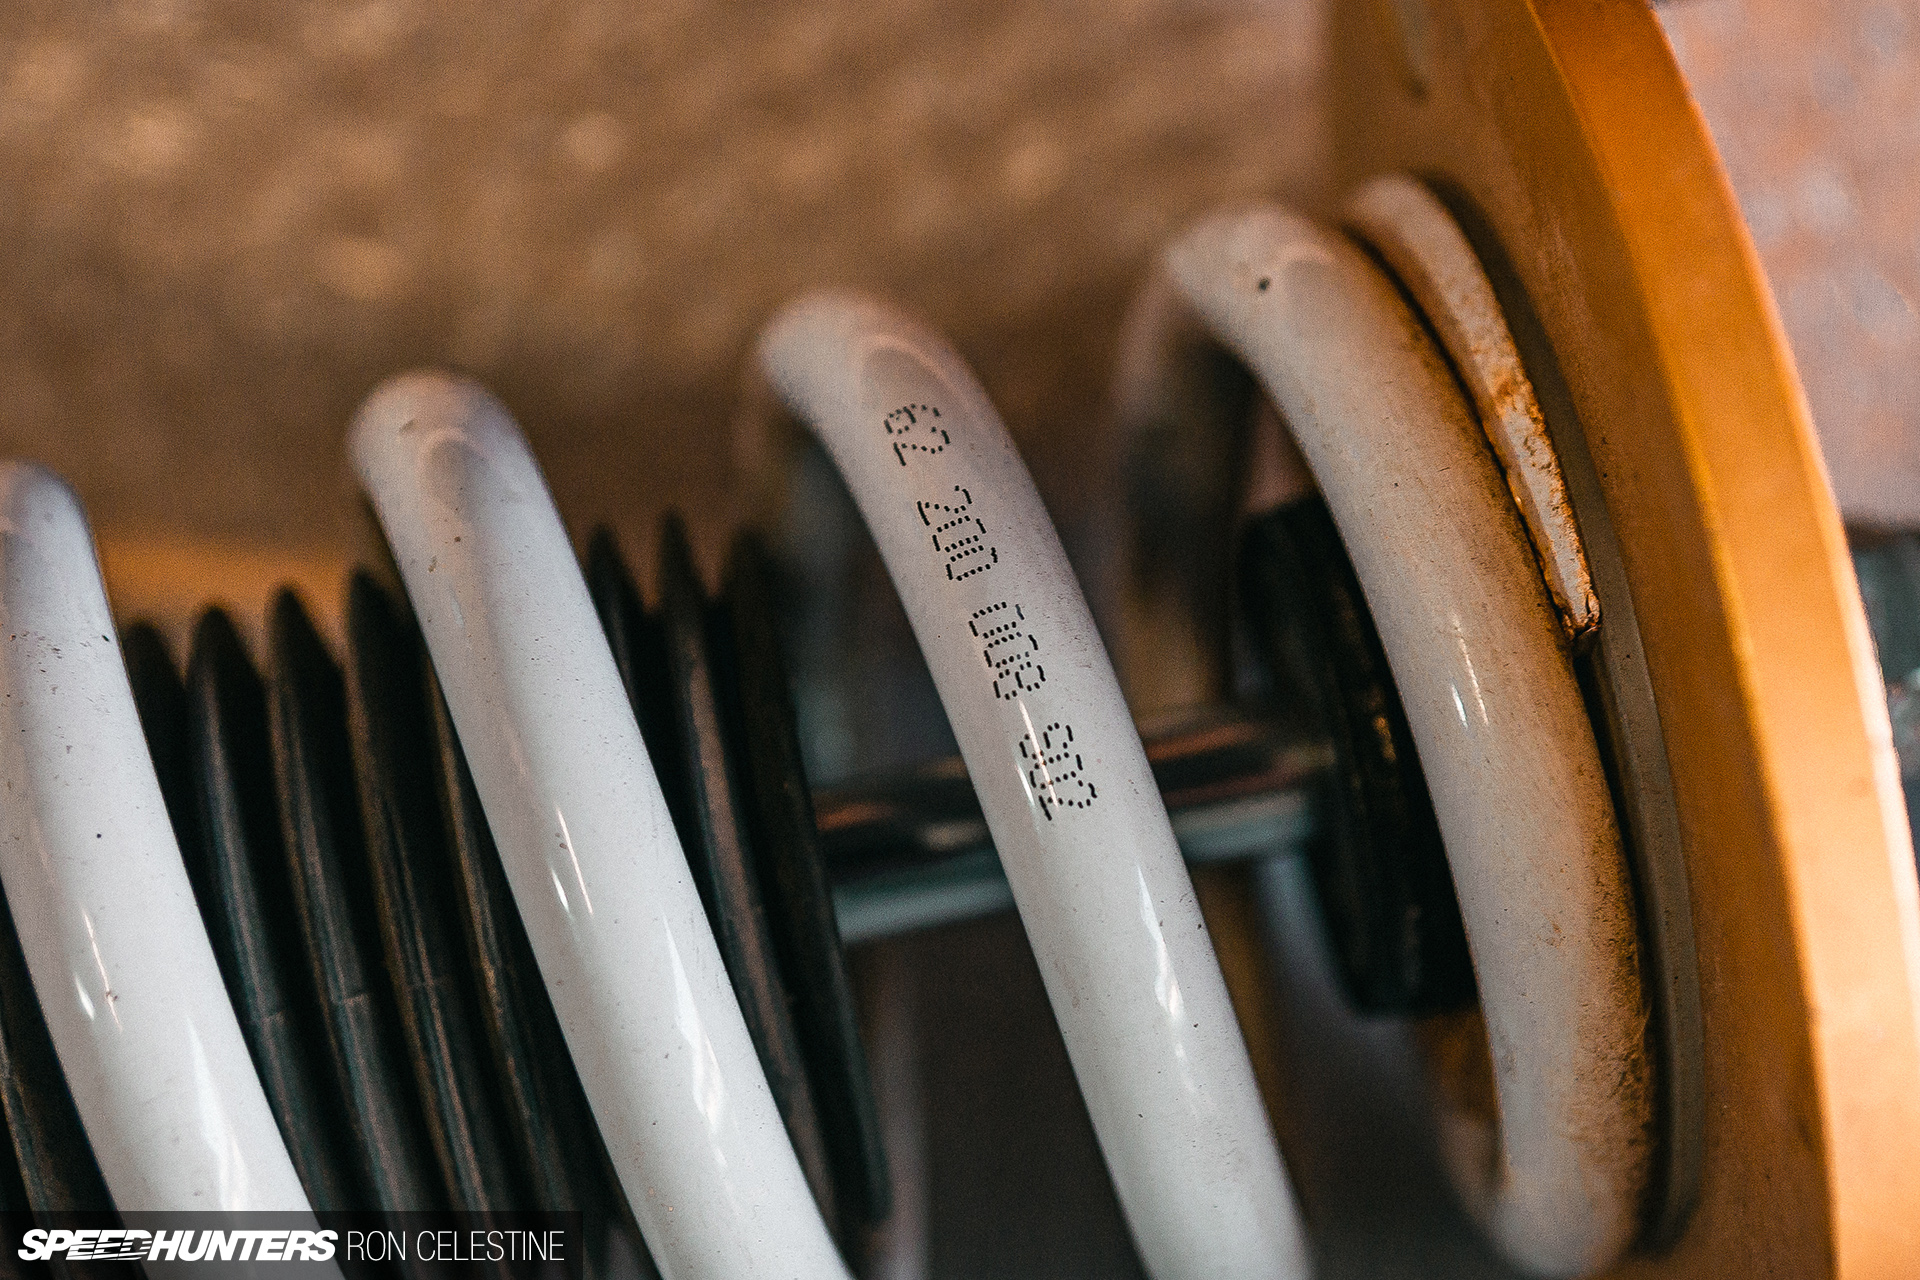
Unsurprisingly, my preload values have been everywhere. This fast repair truly had a profound impact, so it shouldn’t be ignored.
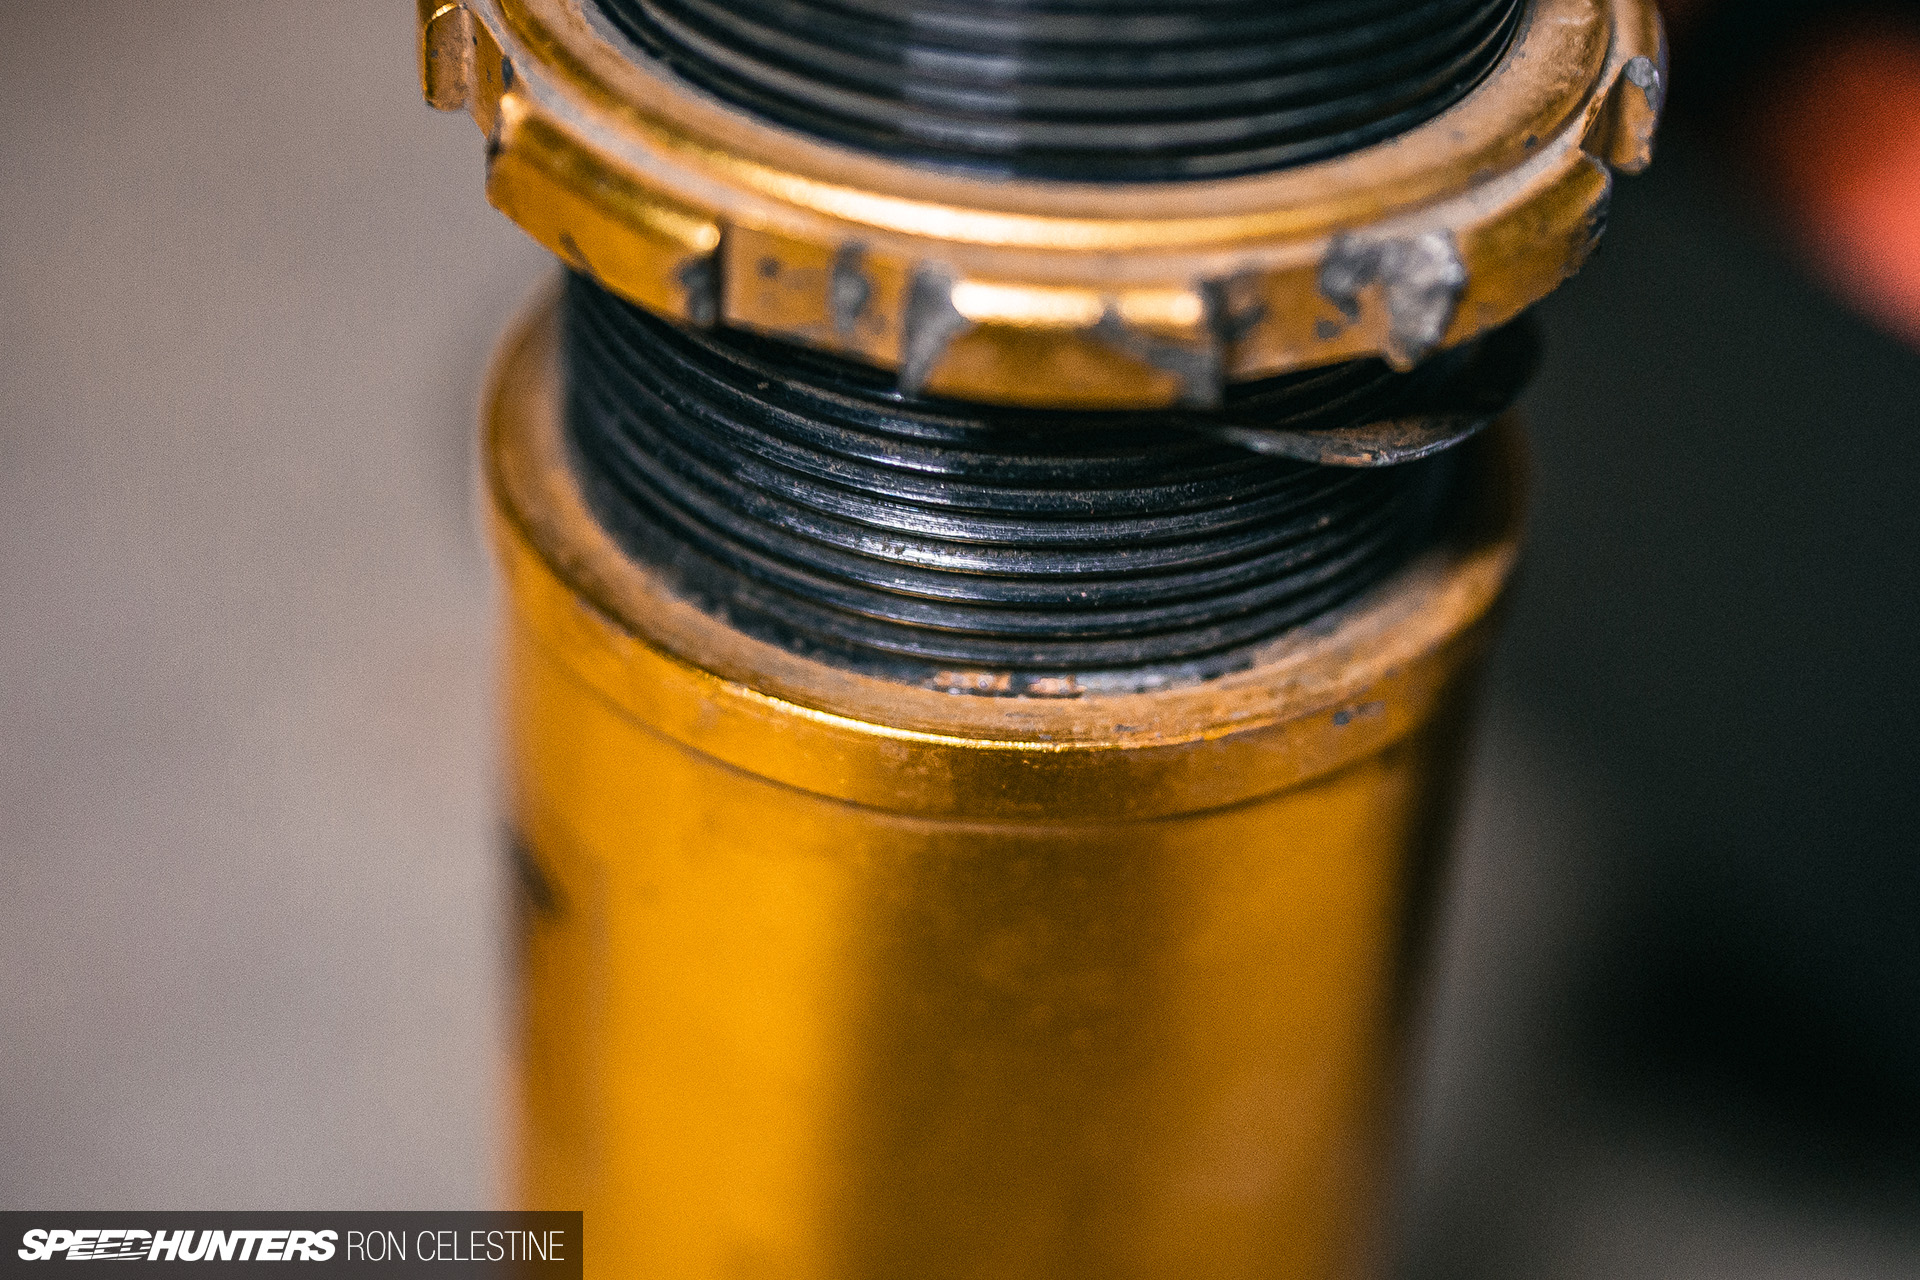
When you’re zeroing every little thing, put some anti-seize in your coilovers, a step that’s typically missed within the pleasure of becoming them for the primary time.
All 4 of my coilovers have been seized, and it took some rust-penetrating spray, a warmth gun and a big cheater bar to lastly break all of them free.
Construct A Platform
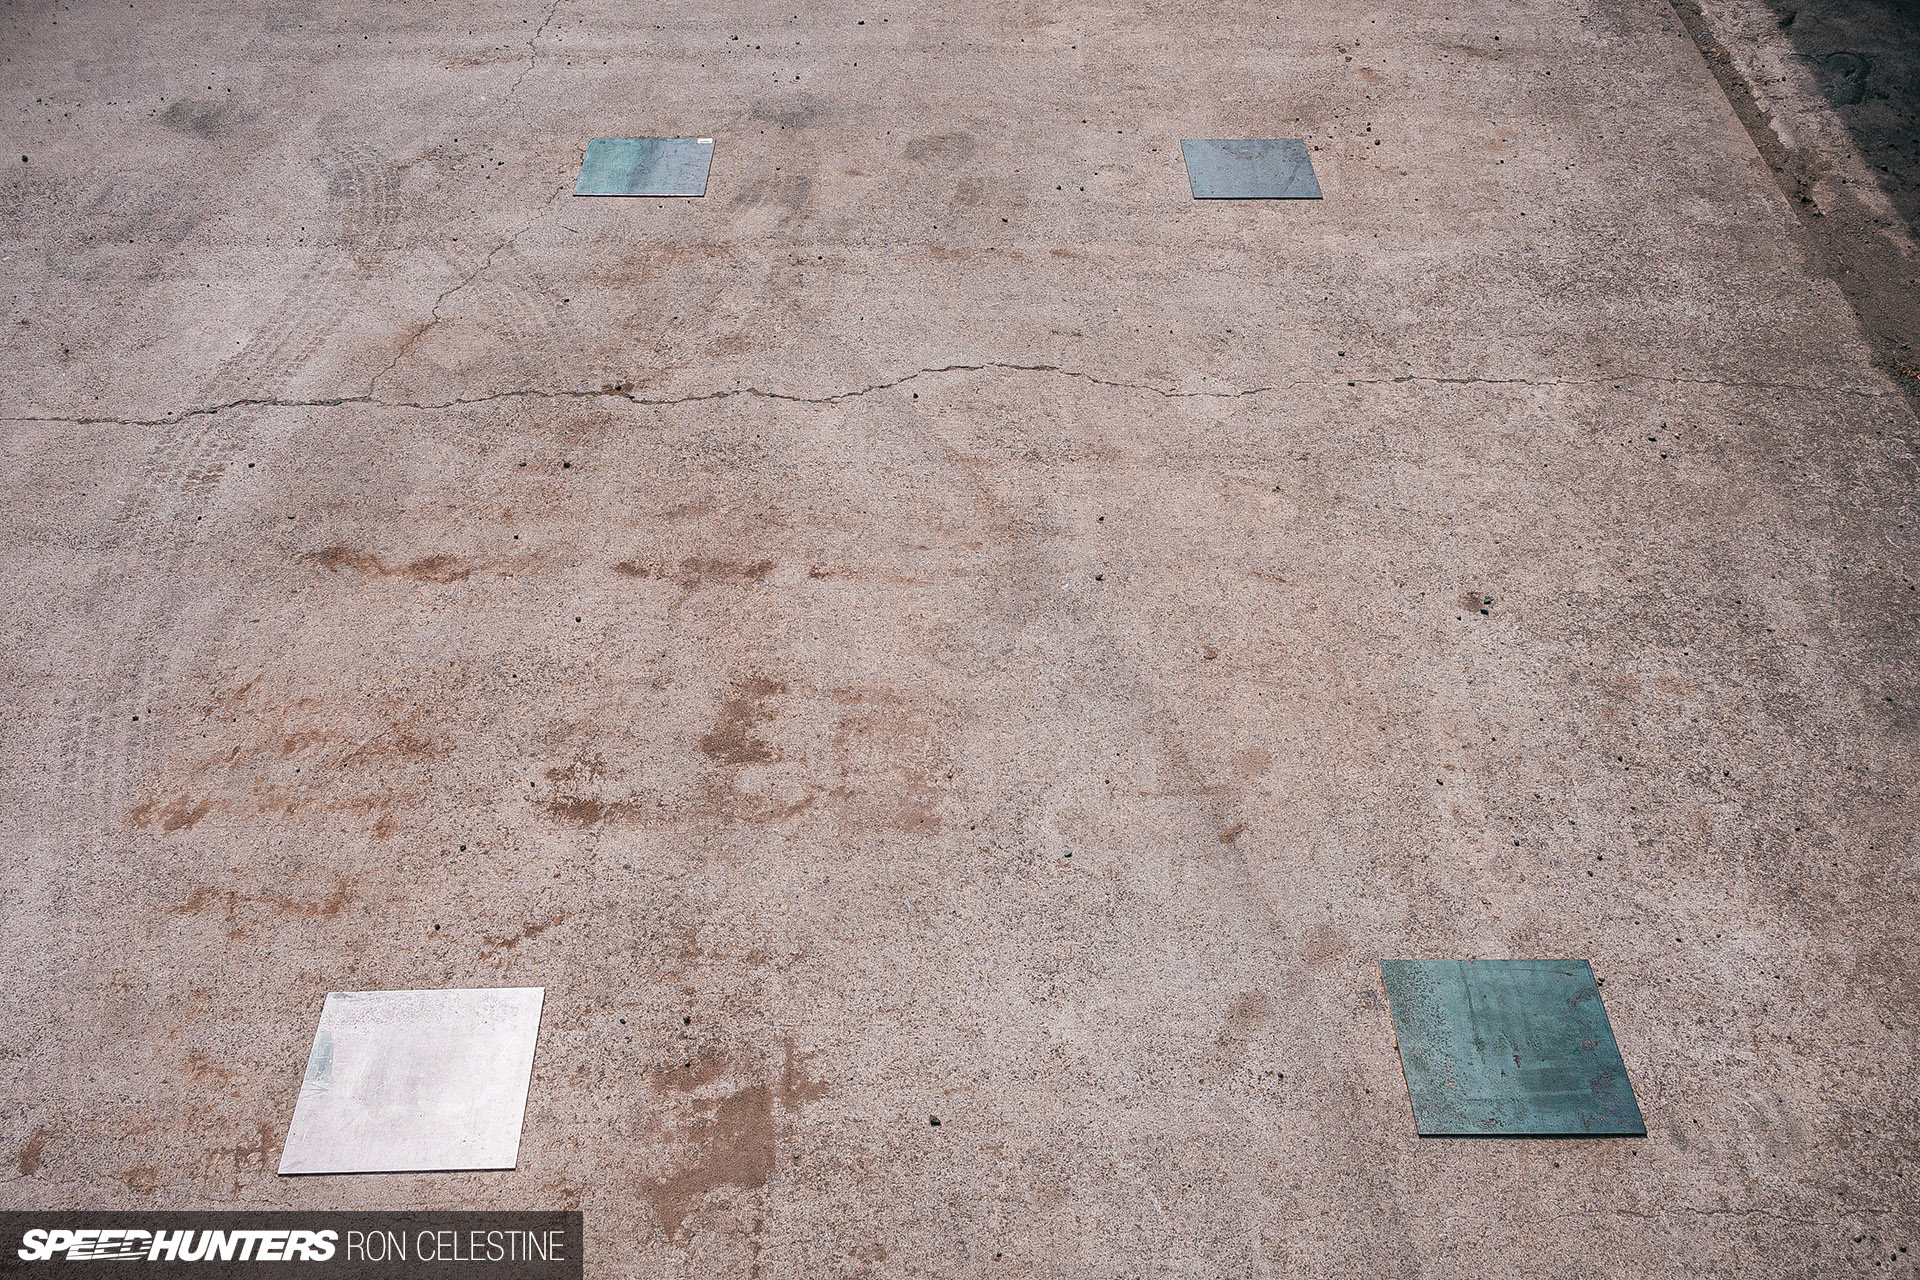
When doing a DIY alignment, most individuals will use their concrete driveway or storage ground. That’s wonderful, however even when it seems to be degree it greater than possible gained’t be, particularly if it’s outdoors.
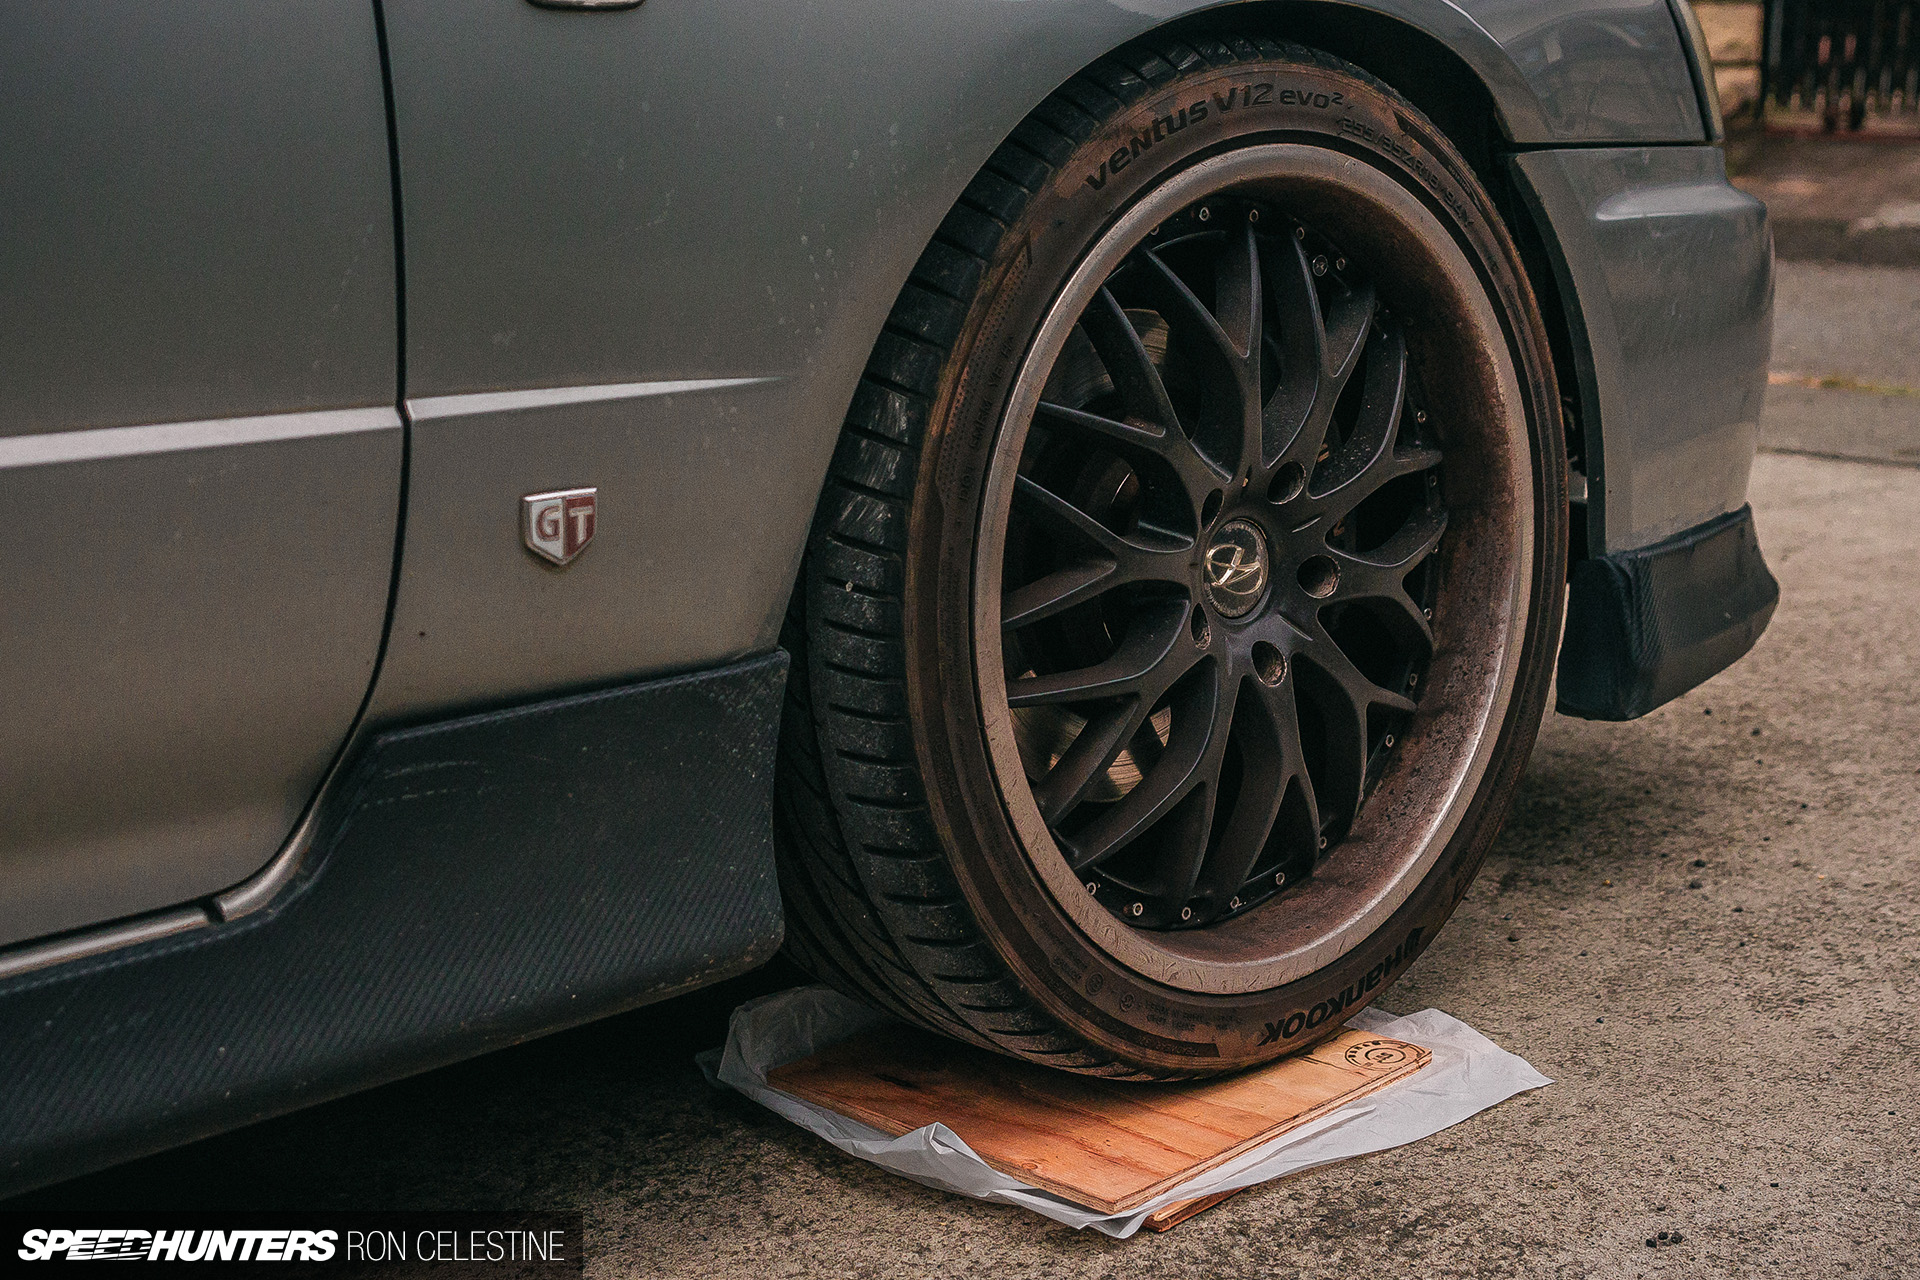
When you’re nonetheless planning on taking the automobile to an alignment store afterwards and simply must do one thing fundamental to get you there, then you definitely in all probability don’t want hassle with this subsequent step. If, nevertheless, you’re attempting to acquire the absolute best outcomes, then you definitely’re going to need to get your automobile completely degree by sitting it on some form of platform.
Ideally, this must be one thing you possibly can drive onto with out jacking the automobile up. If you must jack the automobile, you’ll want to make sure that the suspension has absolutely settled when you decrease it down once more, and that’s one other variable that may throw your outcomes off.
I began off utilizing wooden as I had loads of it left over from varied initiatives round the home, however I shortly determined it wasn’t an awesome choice as it might probably warp and crack.


I as a substitute turned to carpet tiles to behave as shims as they’re comparatively low cost (some locations could even provide you with free ones, although I didn’t have that type of luck) and don’t compress a lot. A bonus that comes with low cost carpet tiles is that they are typically fabricated from tougher plastics and due to this fact are extra inflexible.


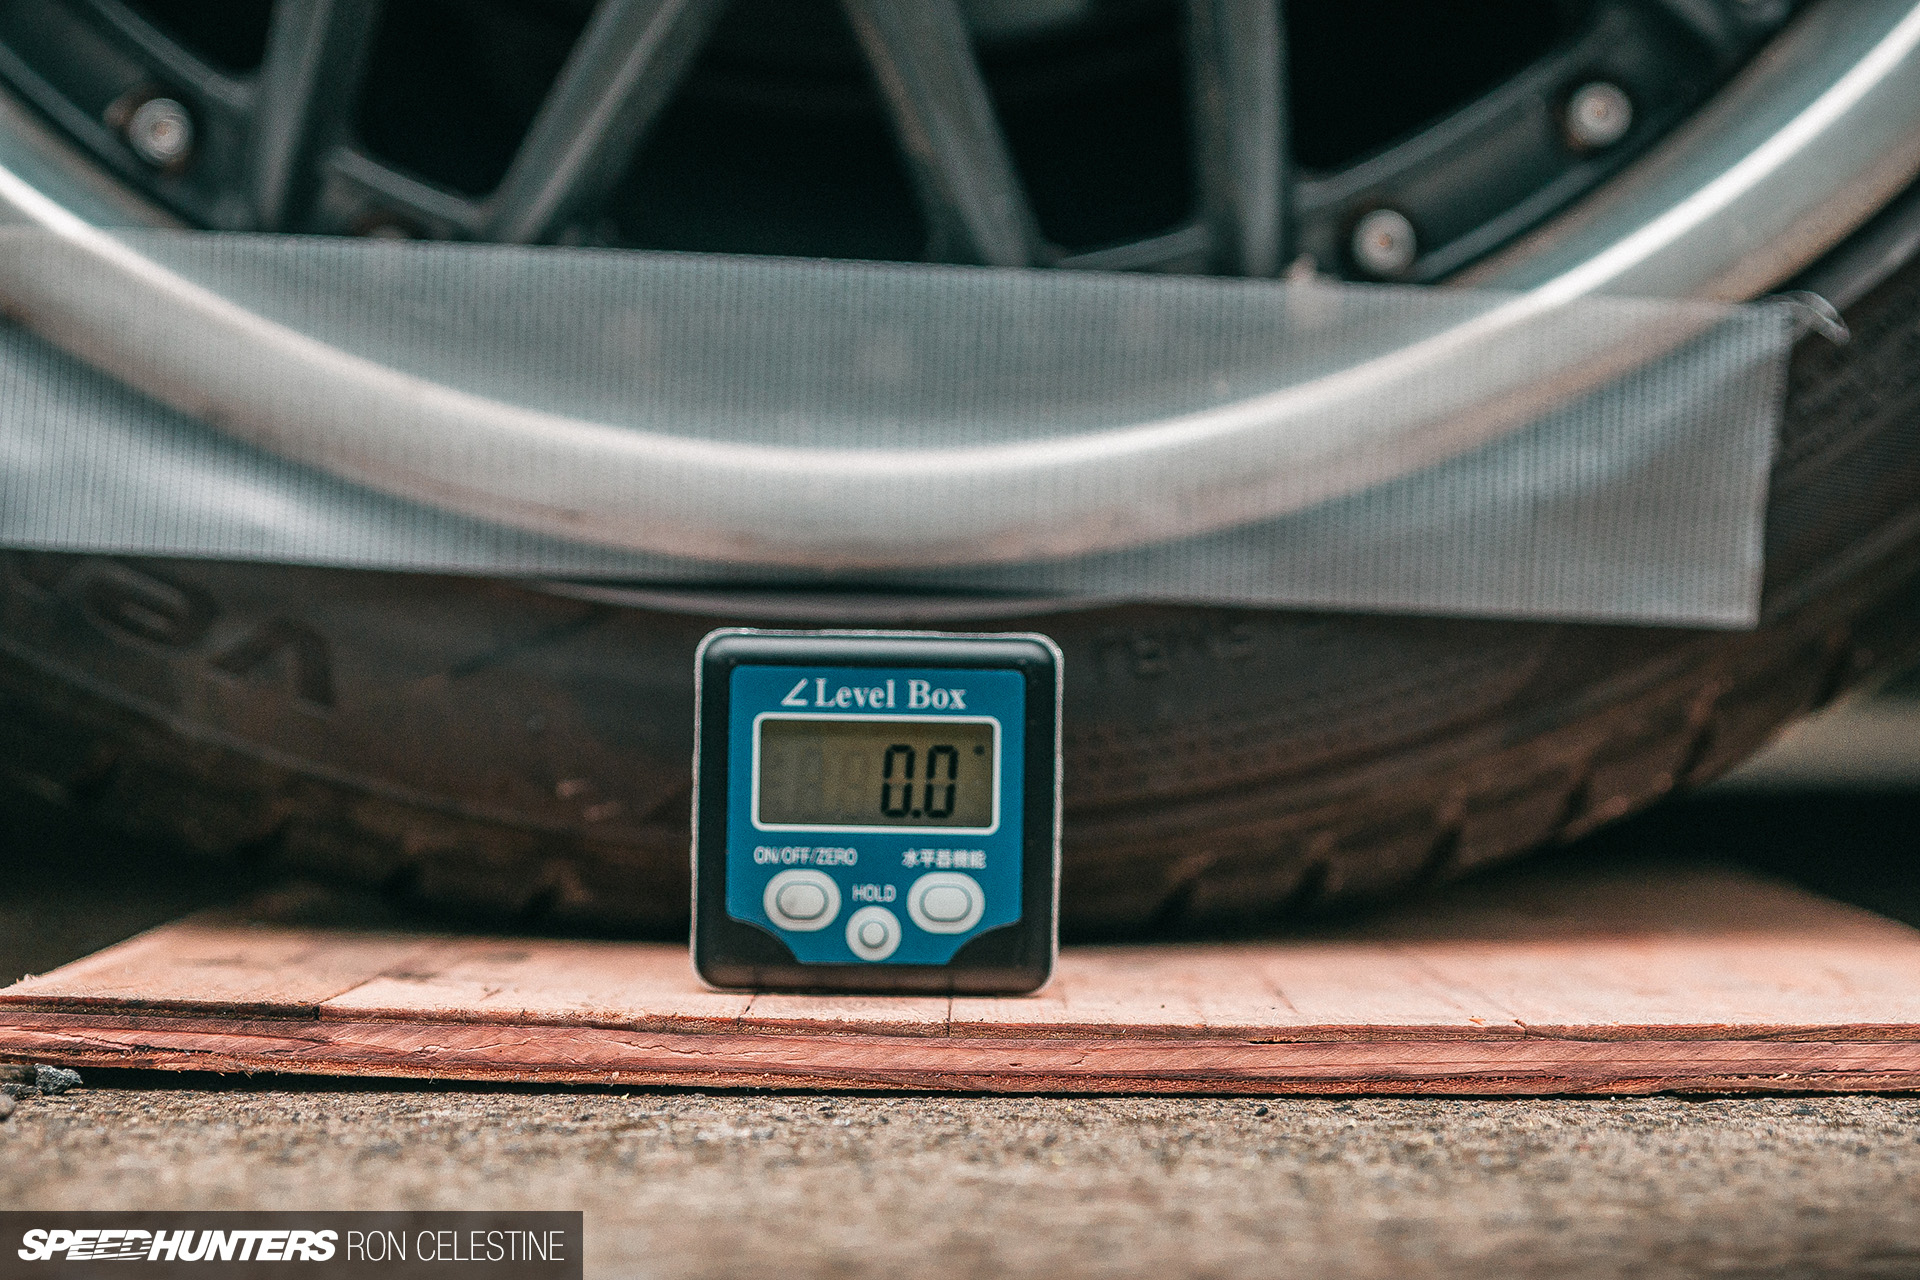
I positioned a metal plate on every carpet tile tower to try to distribute the burden evenly, and provides myself a wonderfully flat floor to take measurements from. With a protracted extrusion bar and bubble degree, I went backwards and forwards including extra tiles till the extent learn zero.

Despite the fact that the driveway appeared flat, simply take a look at what number of carpet tile shims it took to degree every little thing up!
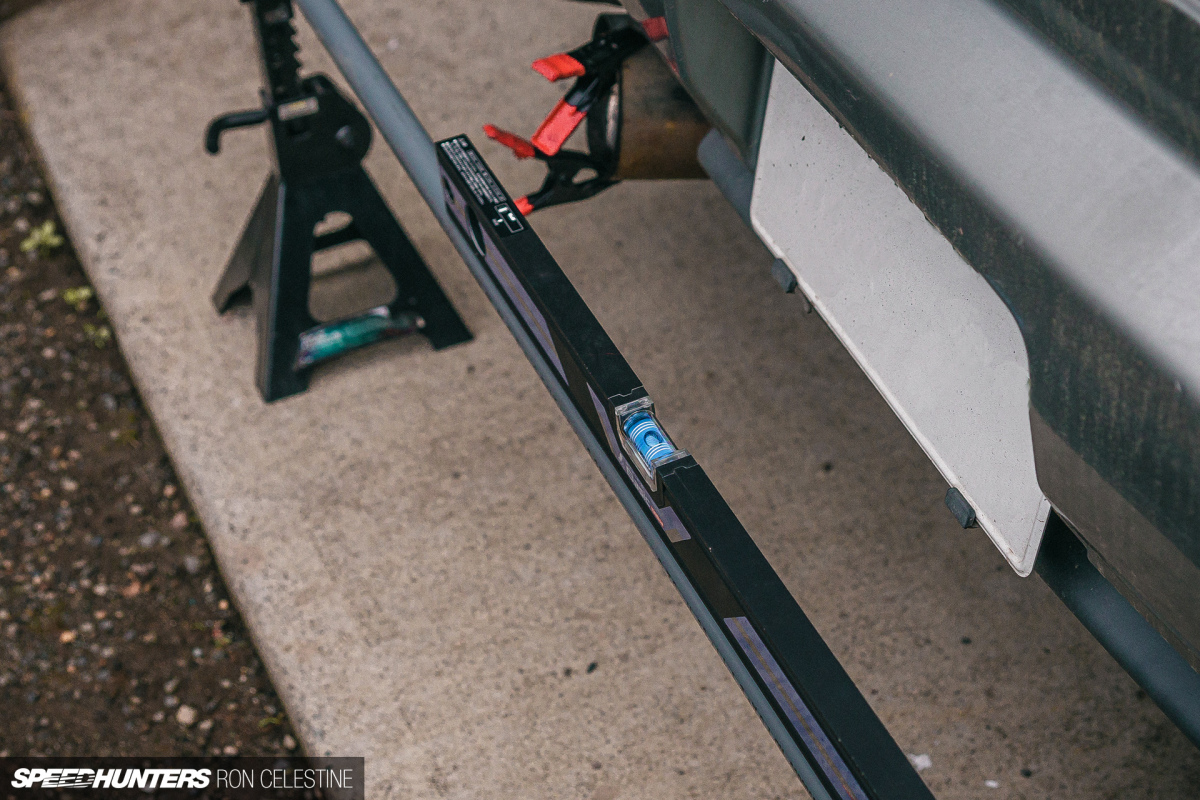
Set Experience Peak
Now that you’ve a degree platform to work with, you possibly can go about taking measurements and setting your required trip top. Adjusting trip top could have a domino impact on every little thing you do, so that you’re going to need that set in stone first earlier than making any changes.
You must disconnect your sway bars and place ballast that matches your physique weight for those who’re going for the very best outcomes. Having stated that, I didn’t have 80kg of stuff laying round that would slot in the driving force’s seat, and I couldn’t discover a set of low cost weights domestically, so I skipped including ballast however I did disconnect the adjustable sway bar finish hyperlinks. Notice your measurements down and transfer on to adjusting the caster.
Caster

These days, many vehicles don’t include adjustable caster/pressure rods – the R34 included – so to make correct modifications right here you’ll must get your palms on a set of adjustable caster arms.
Together with the coilovers, Tuner Idea additionally has caster arms out there for the R34 platform, in order that’s what I’m utilizing. However what’s caster, you ask? With out diving too deep into it, the caster angle can management excessive pace stability, entrance finish cornering effectiveness and steering effort.
Whenever you regulate the caster arms, you’re altering the angle through which the tire rotates. One other approach to have a look at it’s you might be transferring the decrease pivot level both in entrance of the higher pivot level (constructive caster) or behind the higher pivot level (damaging caster).

From my discussion board analysis, I famous that many Skyline house owners run less-than-stock numbers for caster. I’m unsure why that is, however my guess is it has one thing to do with the HICAS delete. What I seen after I lowered the caster angle was that turn-in felt faster because the steering effort was much less, nevertheless, mid-corner it felt just like the entrance wished to wander a bit and little inputs have been wanted. The steering additionally didn’t need to return to middle, which means on nook exit I needed to manually return the steering wheel to the middle place, thus not permitting me to be as easy as I’d like. These are all issues to be anticipated with much less caster angle.
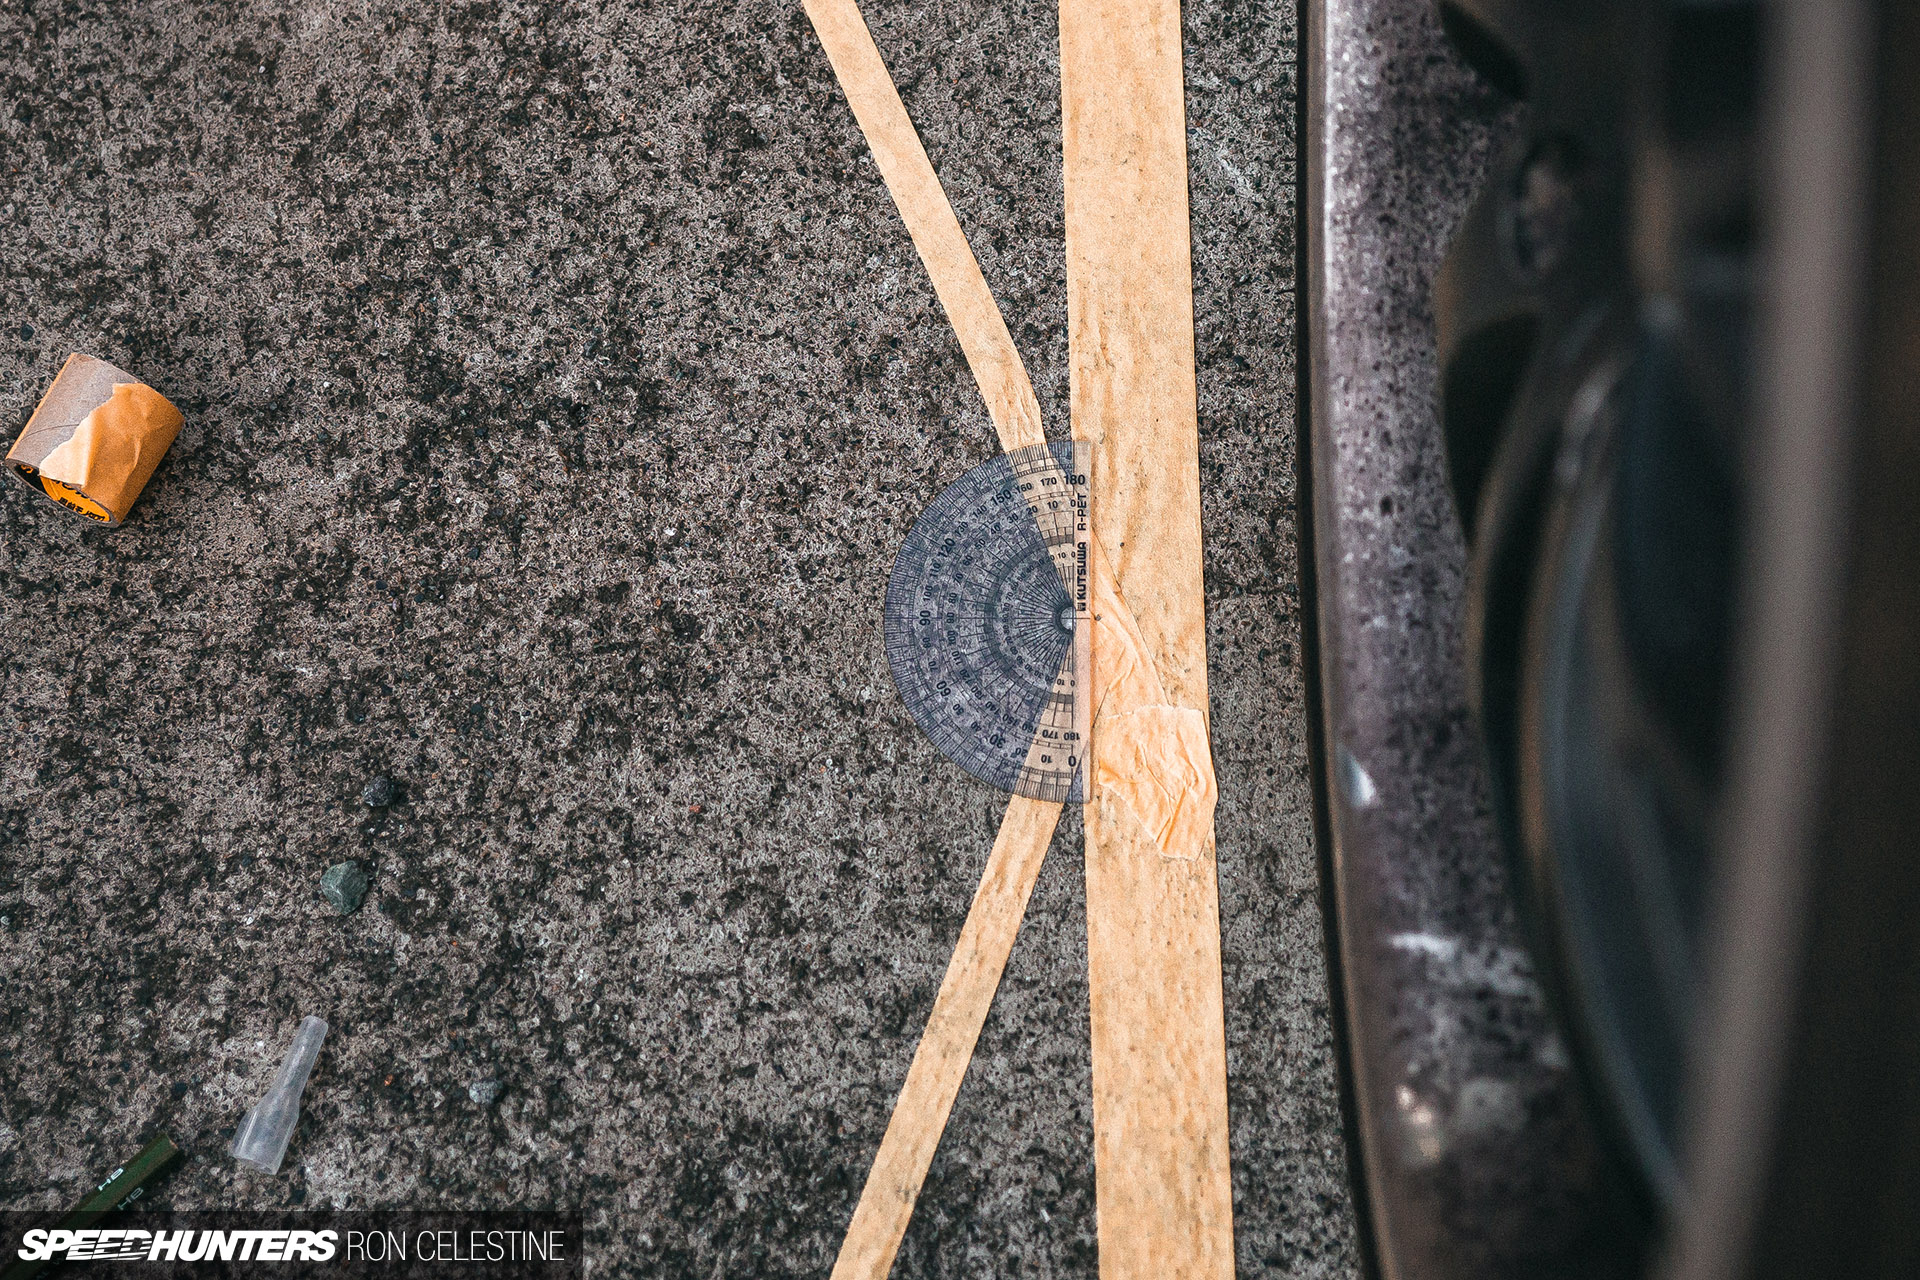
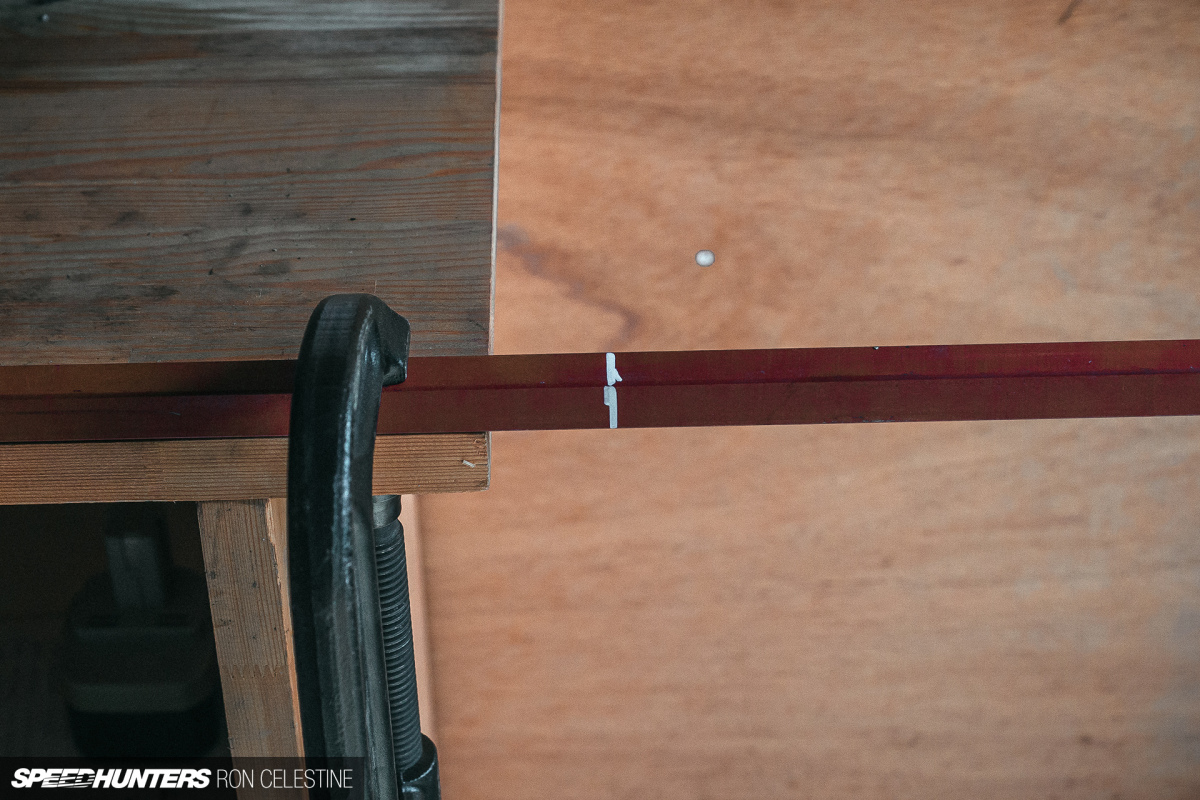
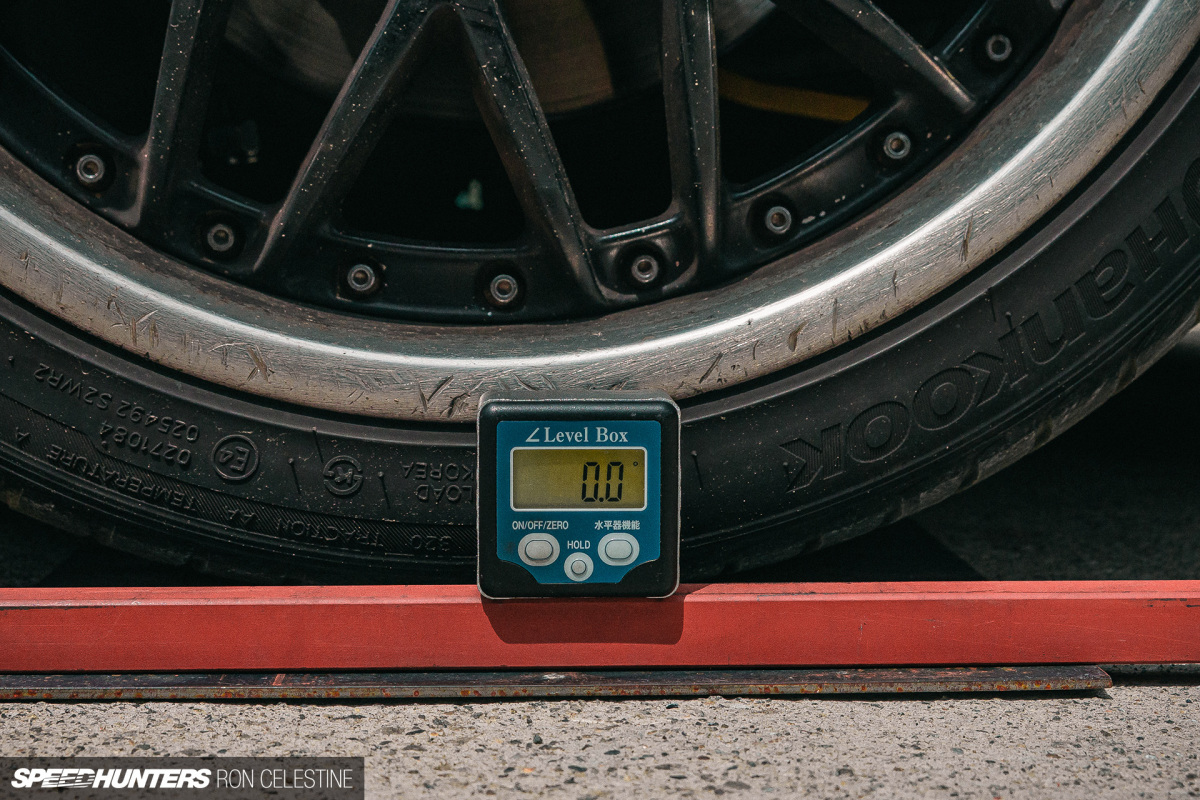
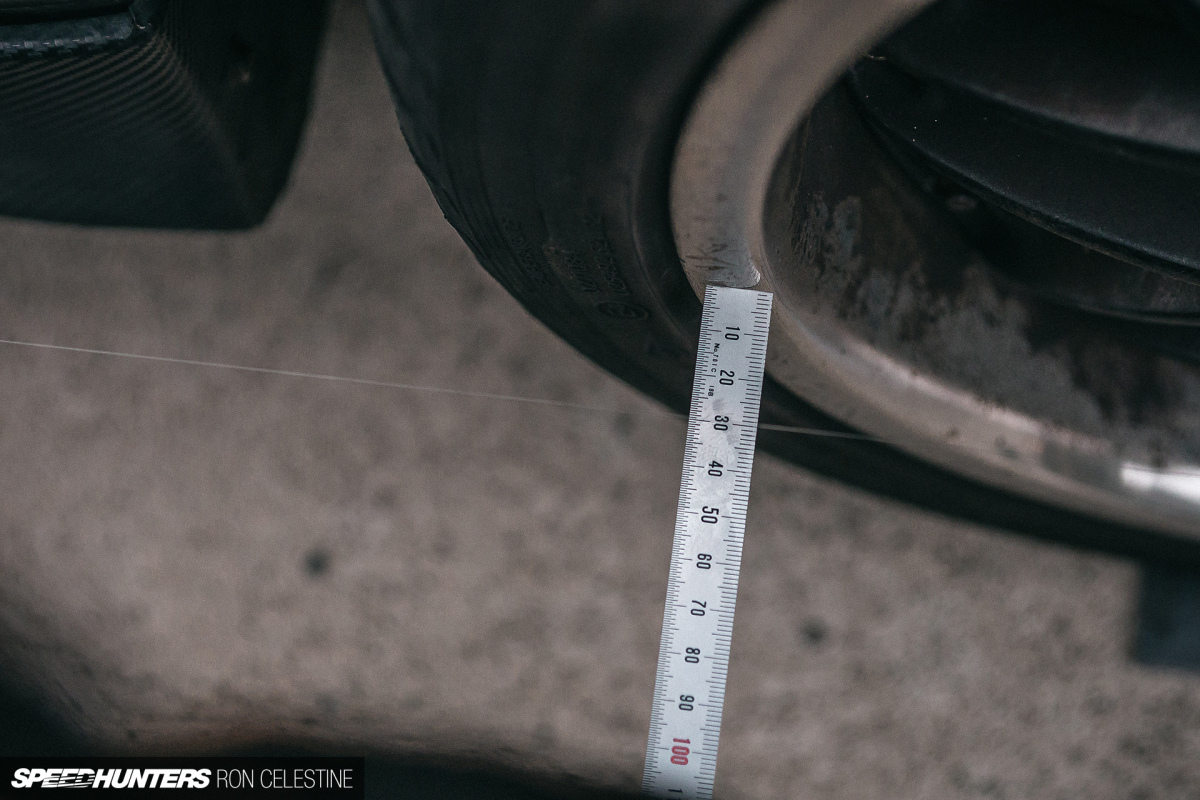
The artwork of measuring caster appears to be a kind of issues that also causes debate. To measure caster, you’re going to want to make a flip plate – an correct method to flip the wheels 20 levels outward and 20 levels inward – and have a instrument that may measure angles helpful. For the flip plate, I sandwiched trash luggage on the metal plates with a little bit lubrication in between them. I additionally made my very own variations of the instruments required to measure angles, although I’ll go over that a little bit later.

The difficulty got here after I tried to get the 20 levels outward and inward. I first tried utilizing a protractor and tape to mark out the angles on the bottom, however I actually didn’t be ok with that methodology. I then used trigonometry to assist plot out precisely the place the tires must be to get the specified 20 levels, however until I had that useless on in the course of the plate, the outcomes can be off.
Although not right, I tried to get as shut as doable to twenty levels with the earlier tape and protractor methodology, and counted the variety of rotations on the steering wheel. I zeroed-out my angle-finding instrument, mimicked that quantity in the other way and took my measurements. For now, I measured the gap prolonged on the arms and added as a lot caster as area allowed (I made certain the driving force aspect measured rather less to assist counteract crowning within the highway).
Although not low cost, it may be finest to try to get your palms on some correct flip plates or buy a camber/caster gauge that has the 20-degree angles reduce into them on the backside. When you have your string field setup, you need to use that mixture however, once more, these aren’t precisely cheap both. If anybody has any good DIY tips, let me know within the feedback. Till then, I’ll proceed scouring Yahoo! Auctions Japan for a good used set.
Camber

Subsequent up is adjusting the camber. It’s necessary that you just go on this order as altering camber will have an effect on your toe. Not like caster, measuring camber is fairly straight ahead.
What’s camber although? Once more, with out getting too deep into it, camber is the inward or outward tilt of the tires if considered from the entrance or again of the car. With damaging camber the highest of the tire tilts inwards in direction of the car; with constructive camber the highest of the tire tilts away from the car.
It did take me a couple of variations to get one thing that measured constantly. My first model was to take an extruded L-shaped piece of metal, reduce it to a workable dimension, and make two holes that I might match lengthy bolts in. The underside gap was taped whereas the highest gap was created so I might slide the bolt up and right down to match any dimension wheel.

I then caught a digital angle finder to take my measurements, and a bubble degree to verify I used to be placing the instrument on the wheel as straight as doable. Though I took a lot of care to make sure the bolts have been the identical size, the slop within the slot meant that the size of the bolt was at all times altering.
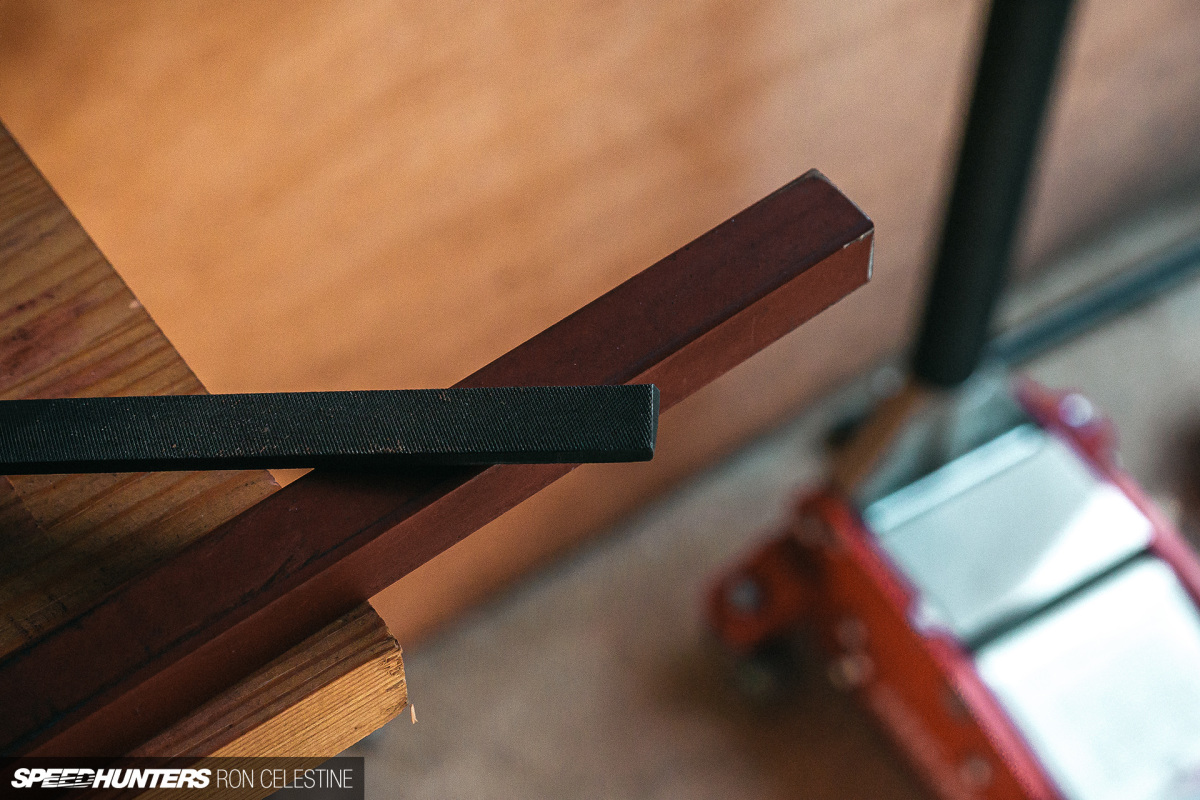
Model two of the angle finder did away with the adjustability, eradicating many doable factors for error. I used an extruded sq. tube that I then reduce to my wheel dimension.
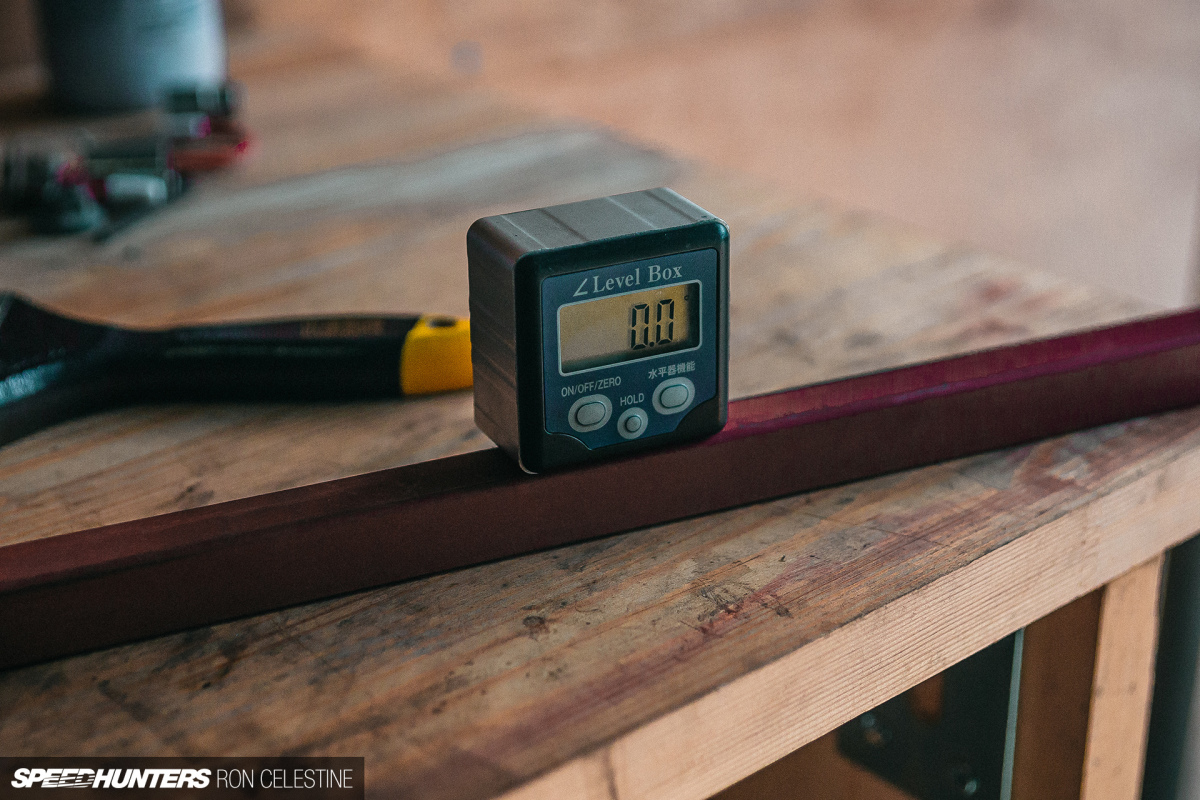
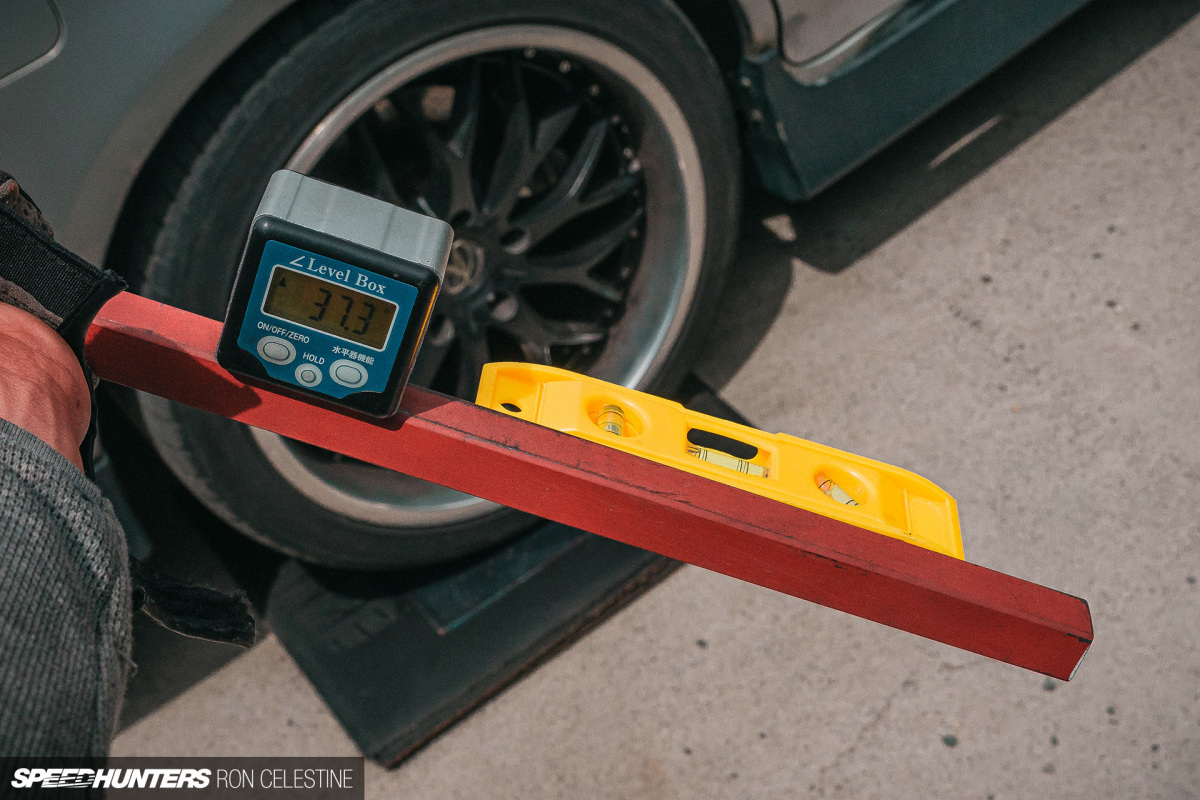
As soon as my digital angle finder and bubble degree was hooked up I received measuring. This model had its points too, because the digital angle finder needed to continuously be zeroed-out when transferring from every platform, and for no matter purpose, it stored reporting a shallow angle for the entrance proper wheel regardless that it visually appeared nearer to three or 4 levels.
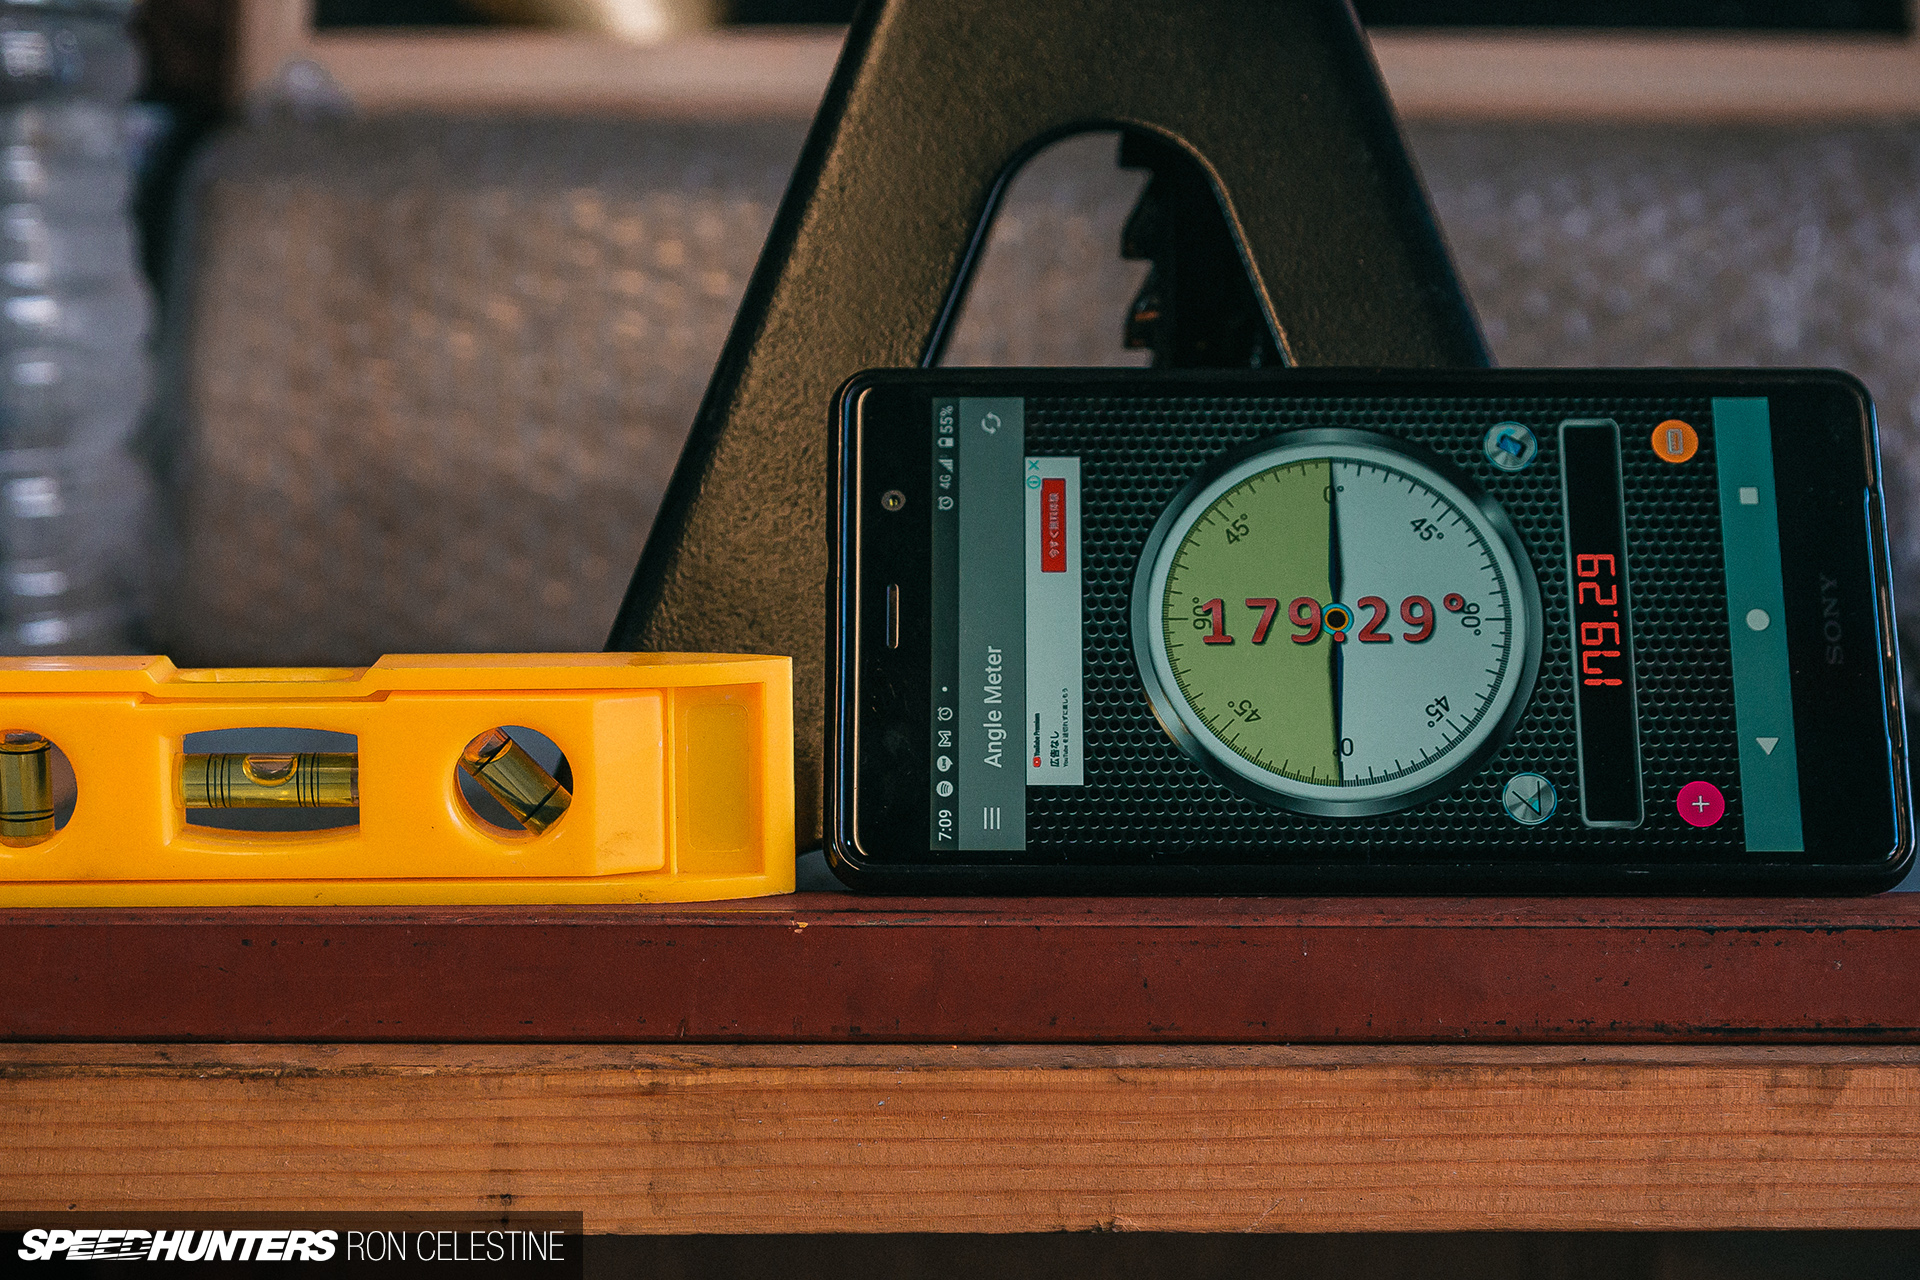
The answer was to get rid of the digital angle finder, and substitute it with my smartphone and an angle finder app that makes use of the gyroscope sensors. This model not solely confirmed my visible suspicions, however was capable of produce repeatable information.
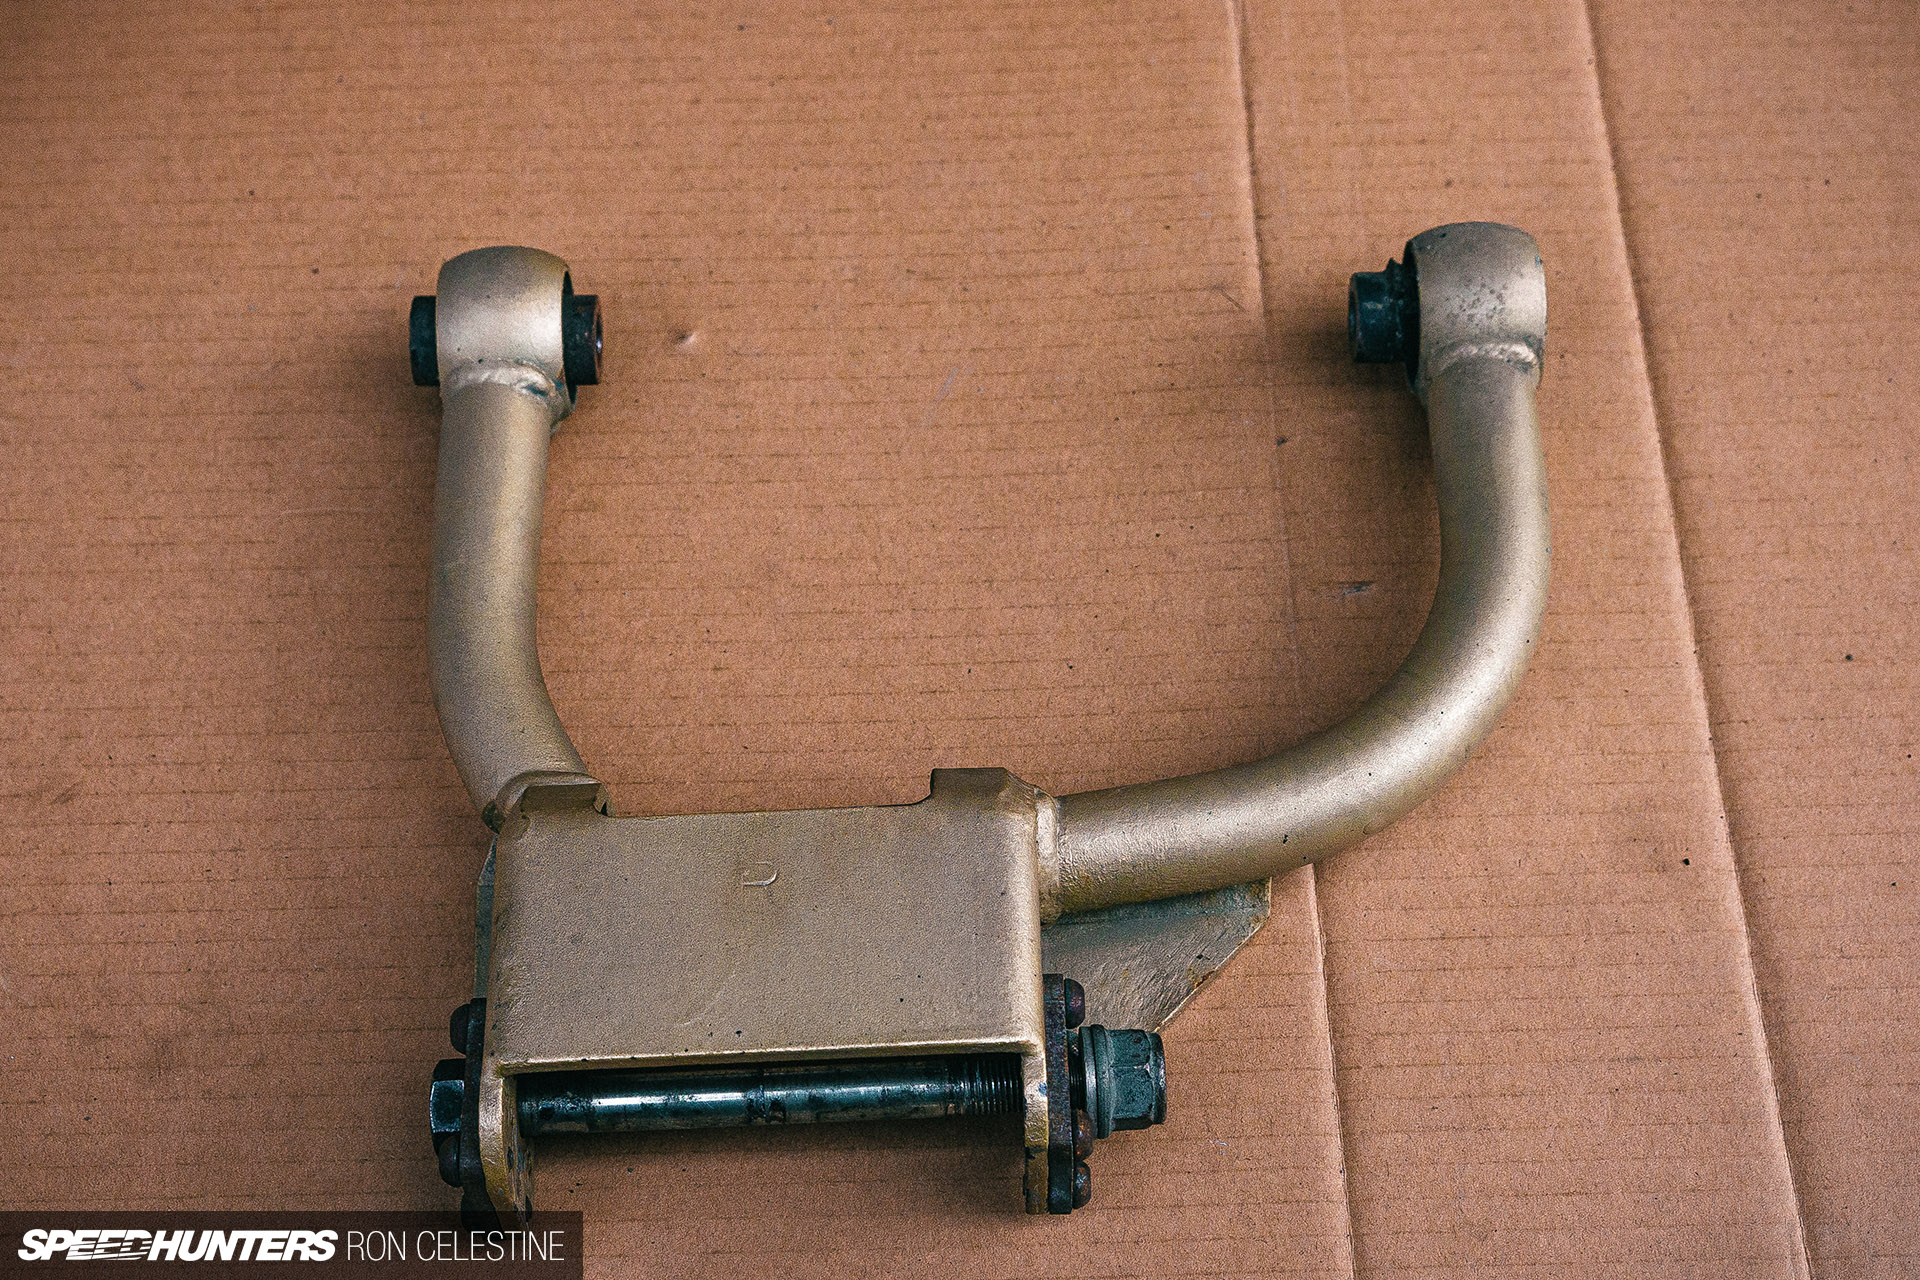
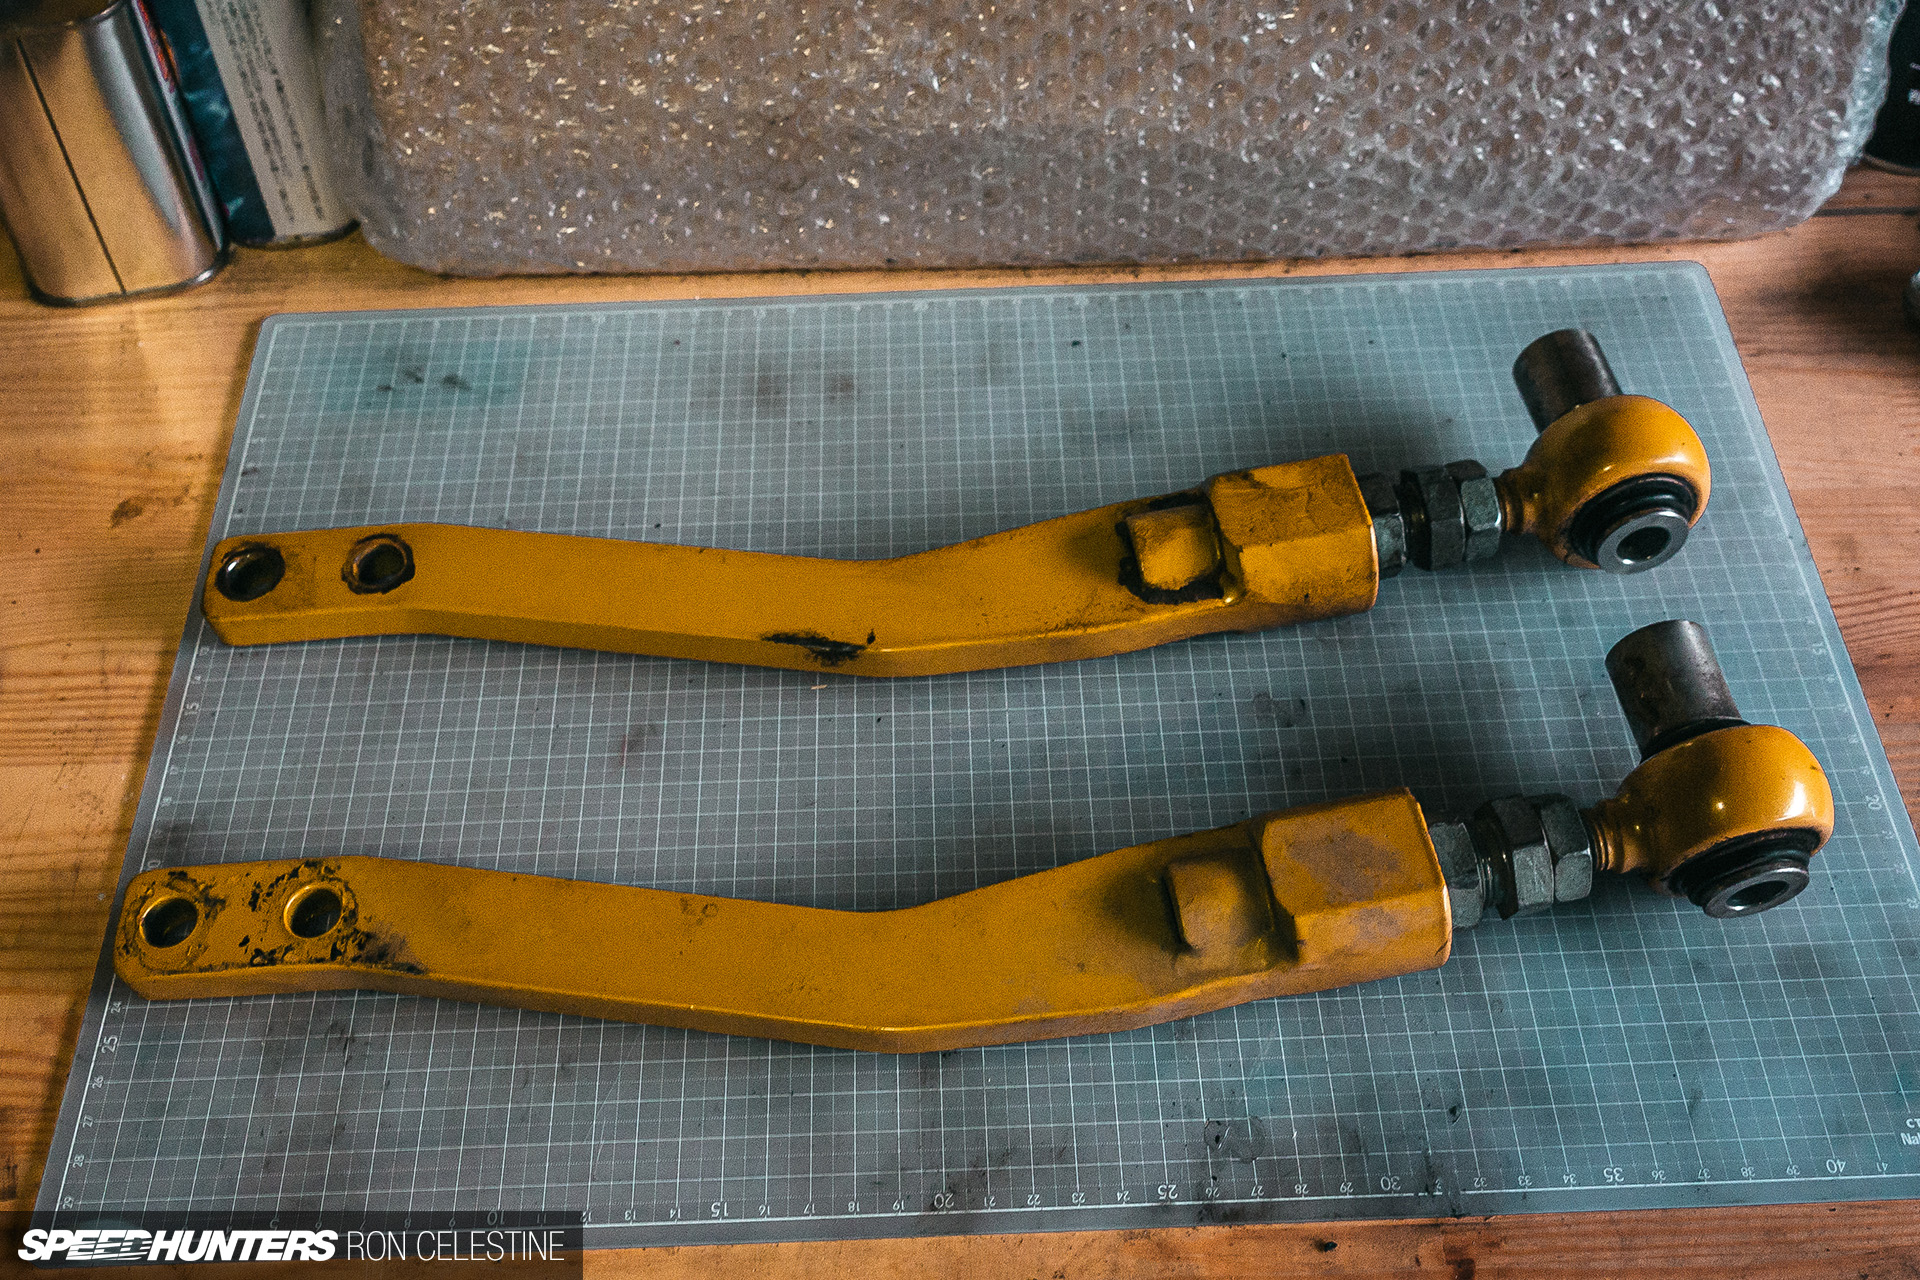
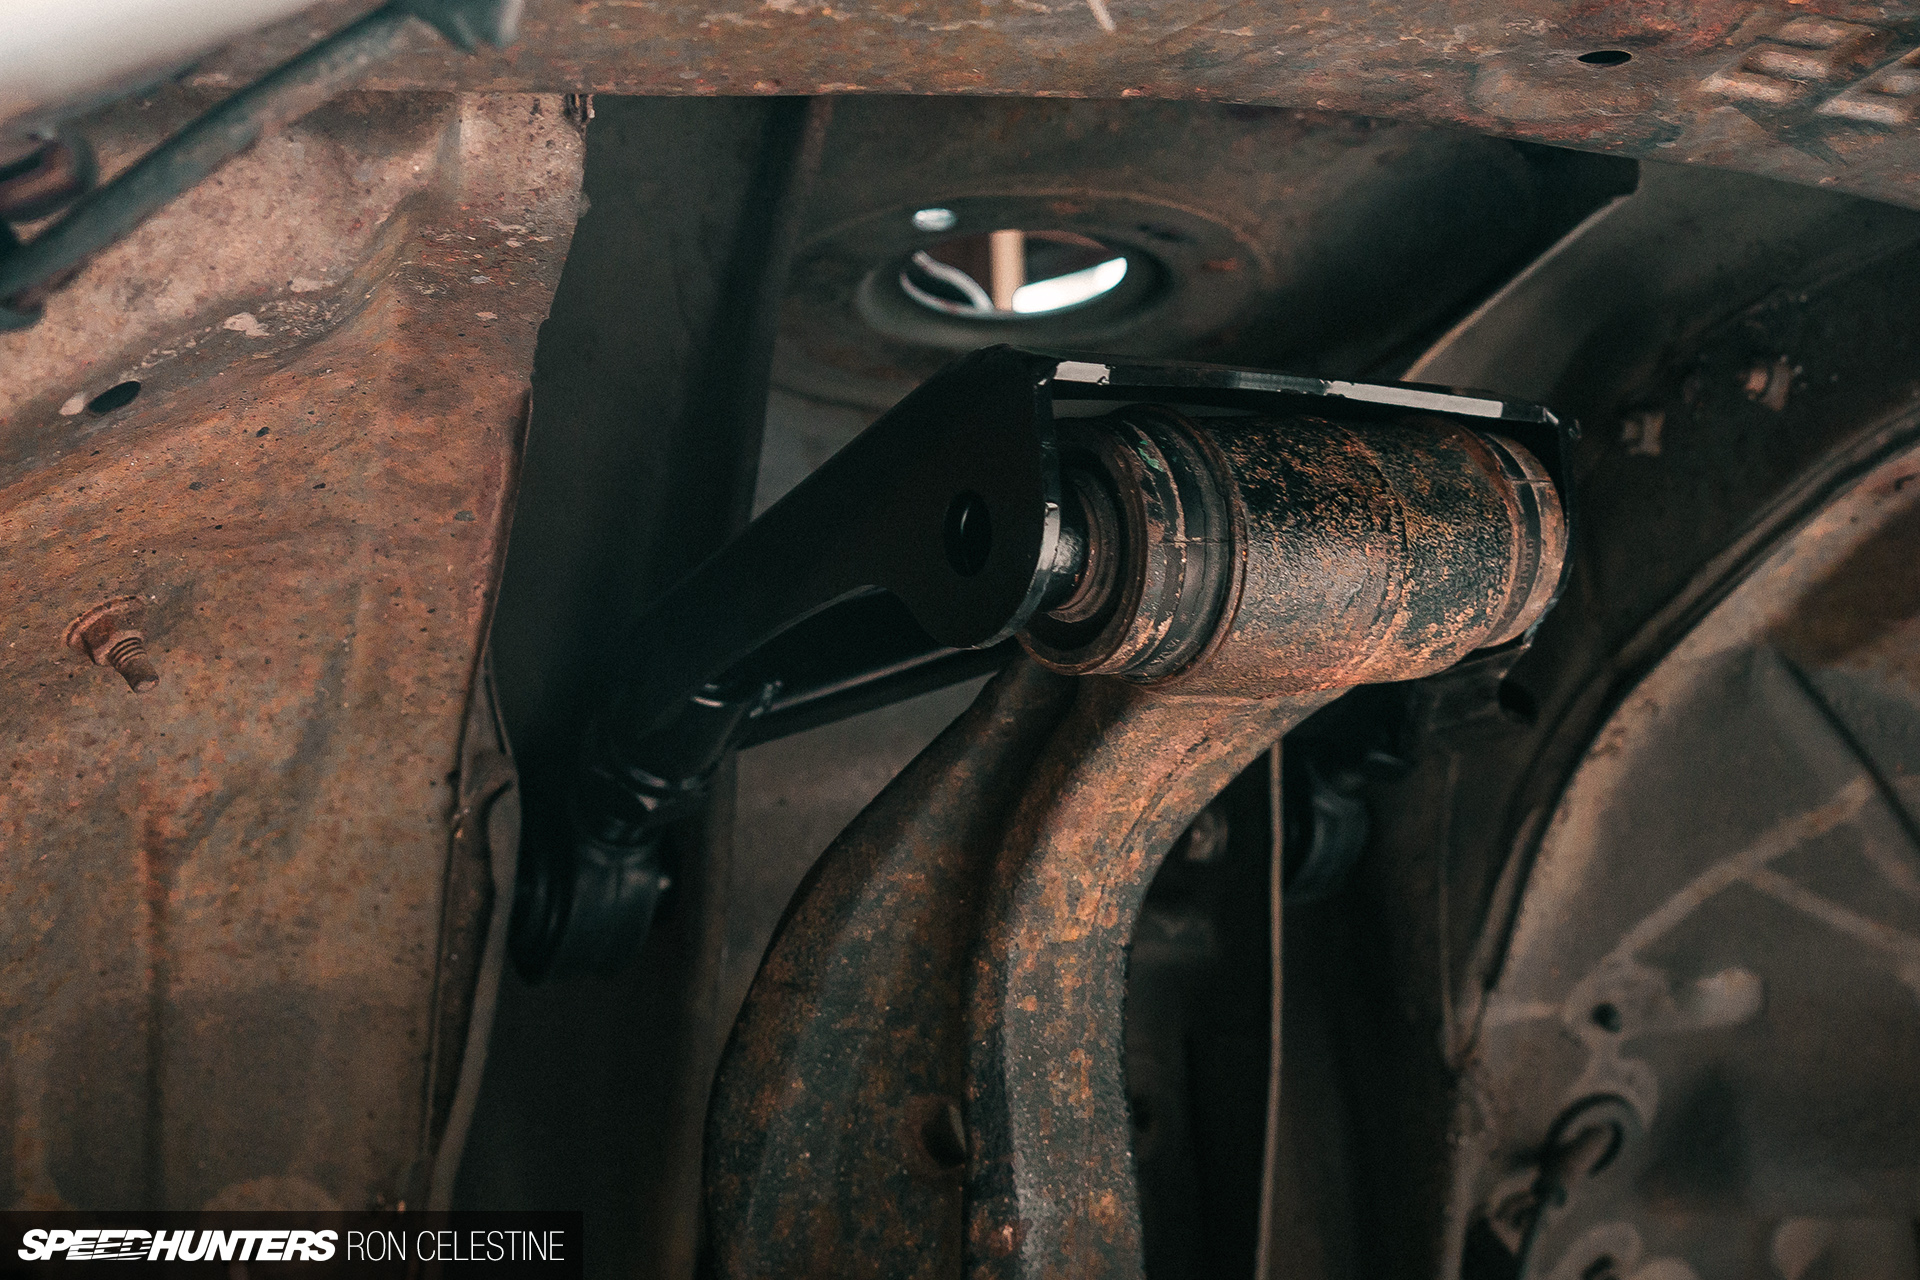
Now that I had a tool that was easy, simple to make use of and dependable, it was time to dial within the camber. Once more, many automobiles don’t come normal with a method to regulate camber and Undertaking Tough is not any exception. As soon as once more, Frank at Tuner Idea got here to the rescue with some rear higher management arms, however I needed to look elsewhere for the fronts.
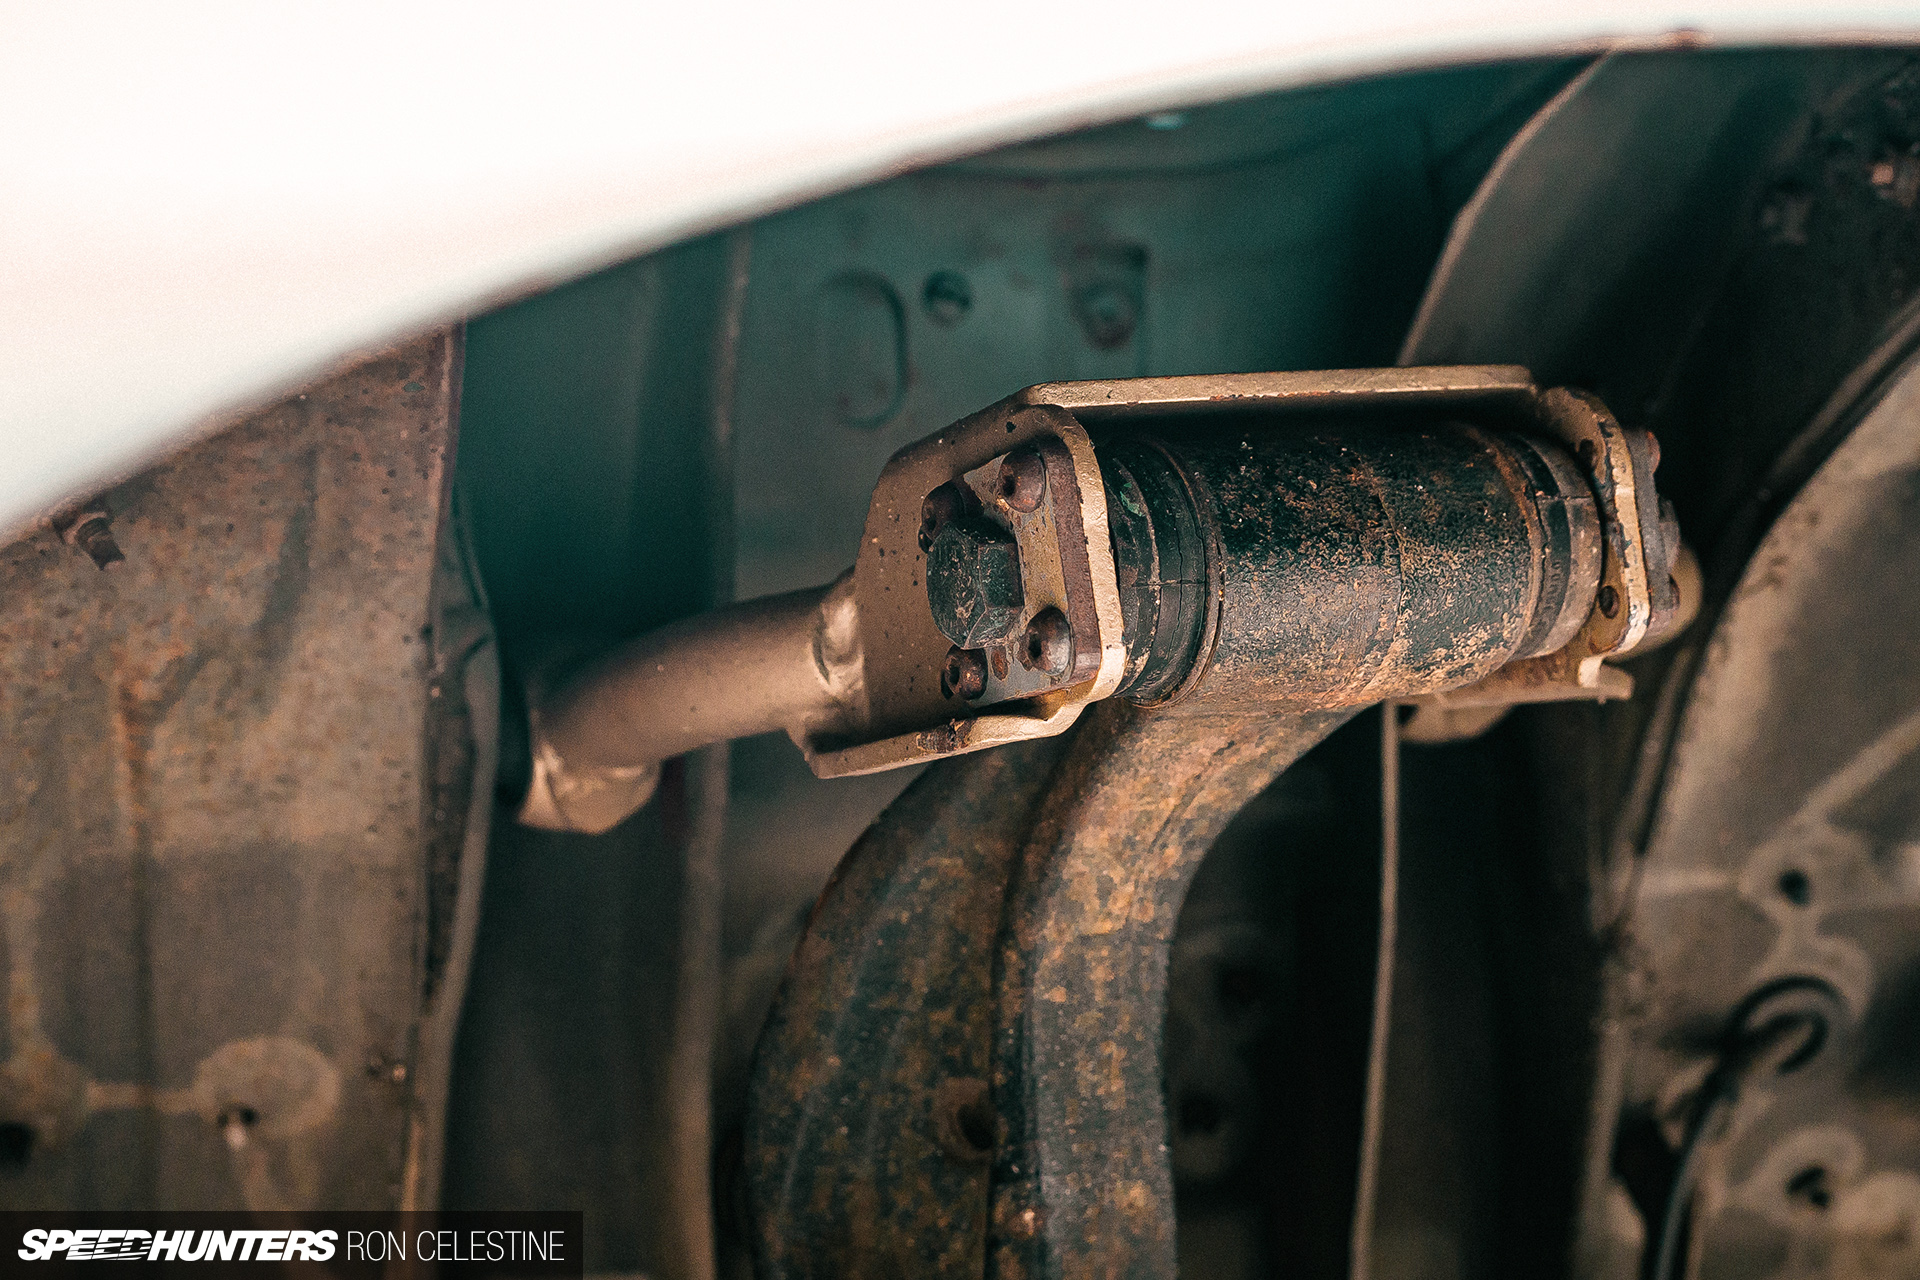
Chances are you’ll keep in mind that I had picked up a set of Cusco higher management arms from the GT-R specialist store Veruza a couple of years again. These did have adjustability, albeit a really restricted quantity as a result of approach you regulate them. This meant that it doesn’t matter what I did, it simply wouldn’t be doable to get the camber to match up entrance because of the automobile’s earlier accident injury that I discussed earlier.
The truth that one of many bushings additionally appeared prefer it was attempting to flee from its house meant it was time for a change.
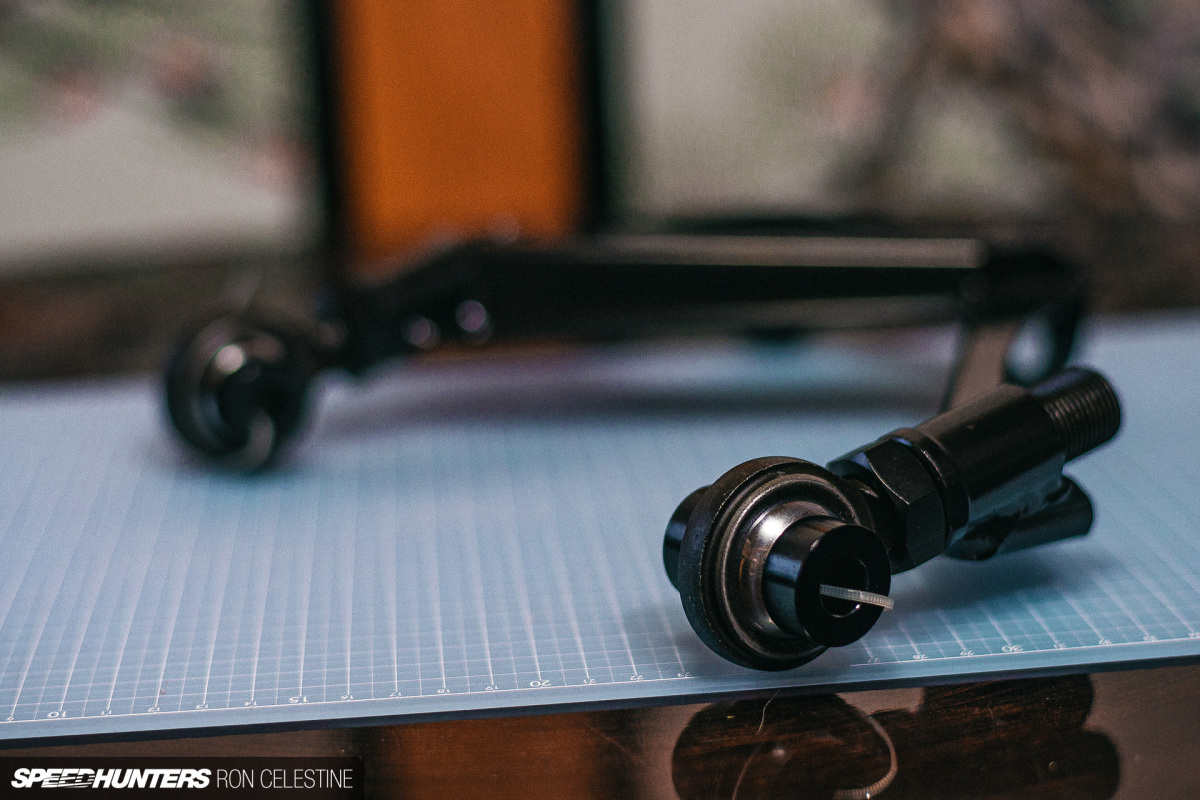

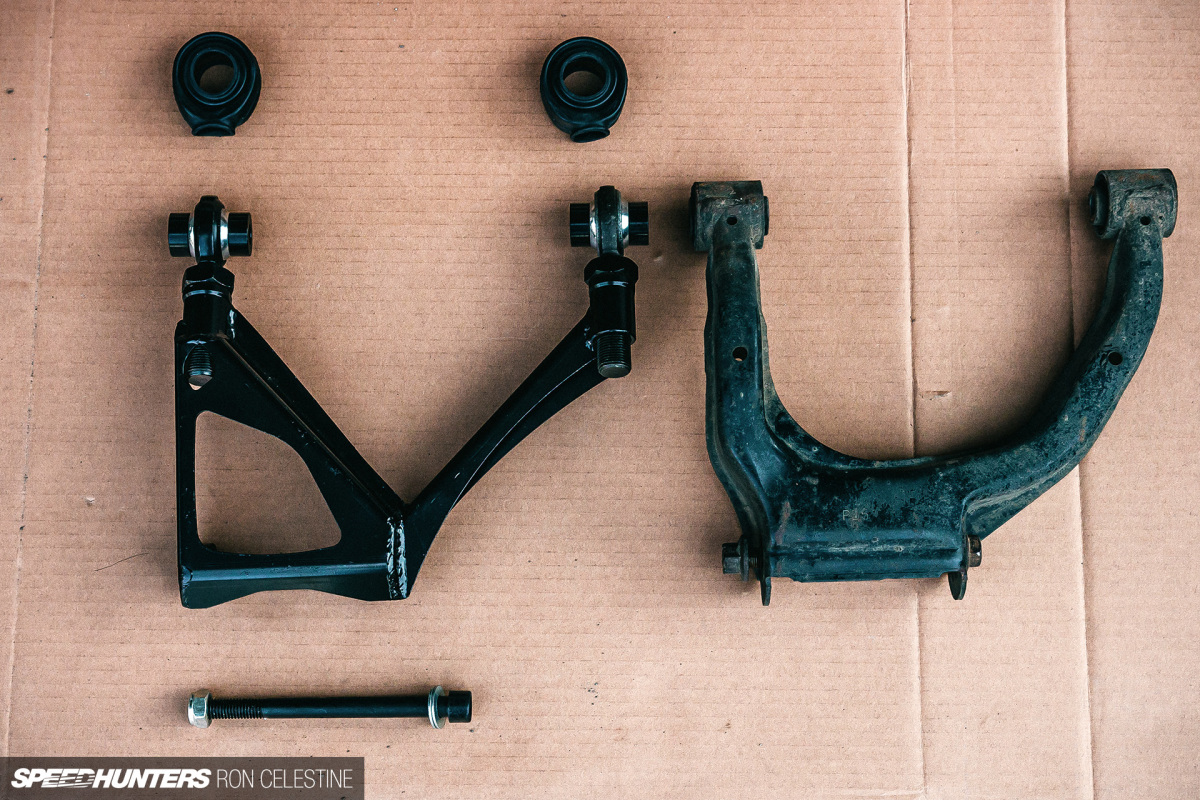
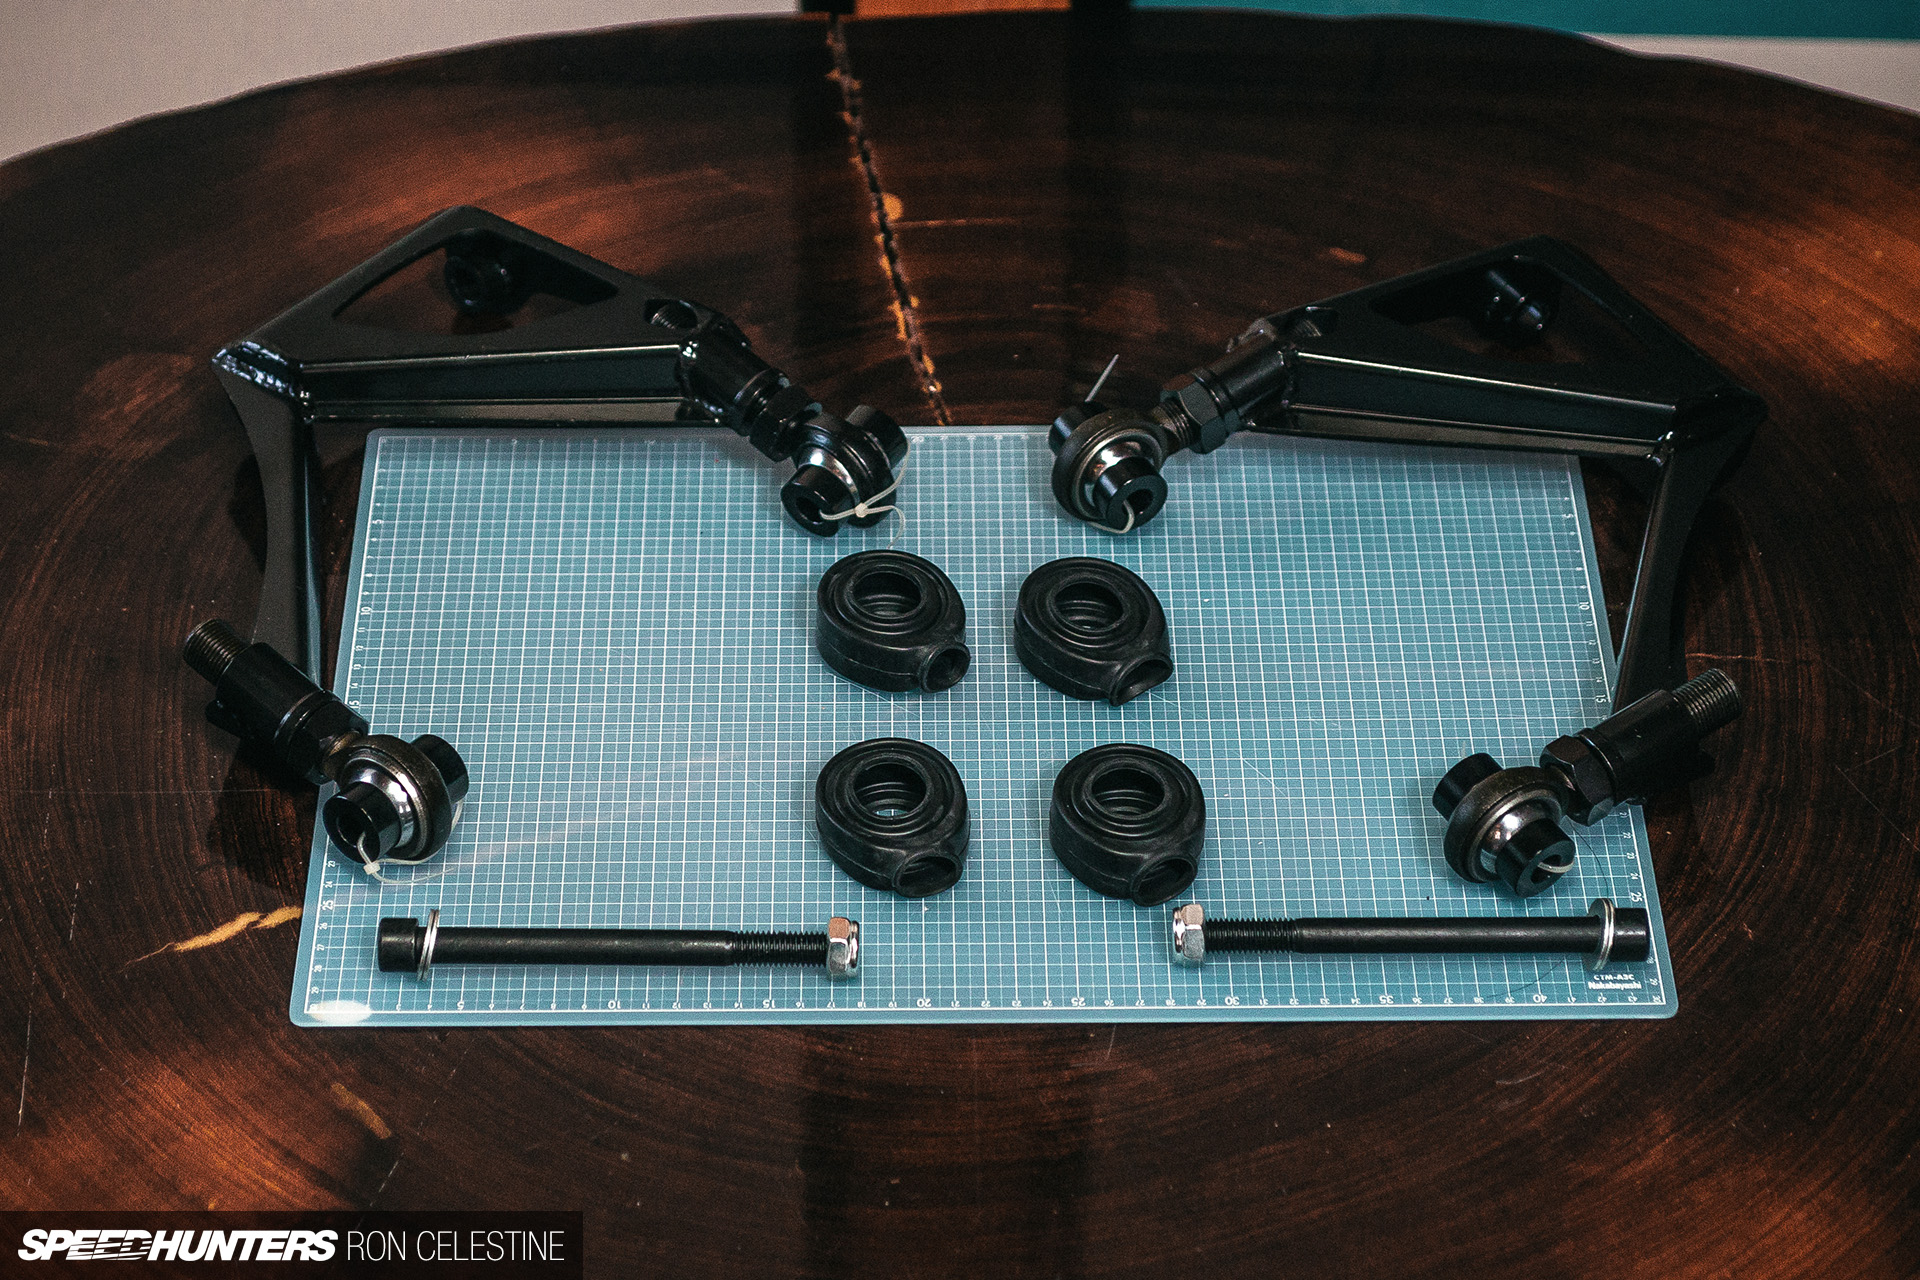
GKTech’s Entrance Higher Management Arms (FUCAS for brief) have been the proper resolution because the arms enable wherever from 0 by way of to +30mm of adjustability. I like how strong and well-manufactured these are, and the Teflon-lined spherical bearings present a extra direct and predictable feeling.
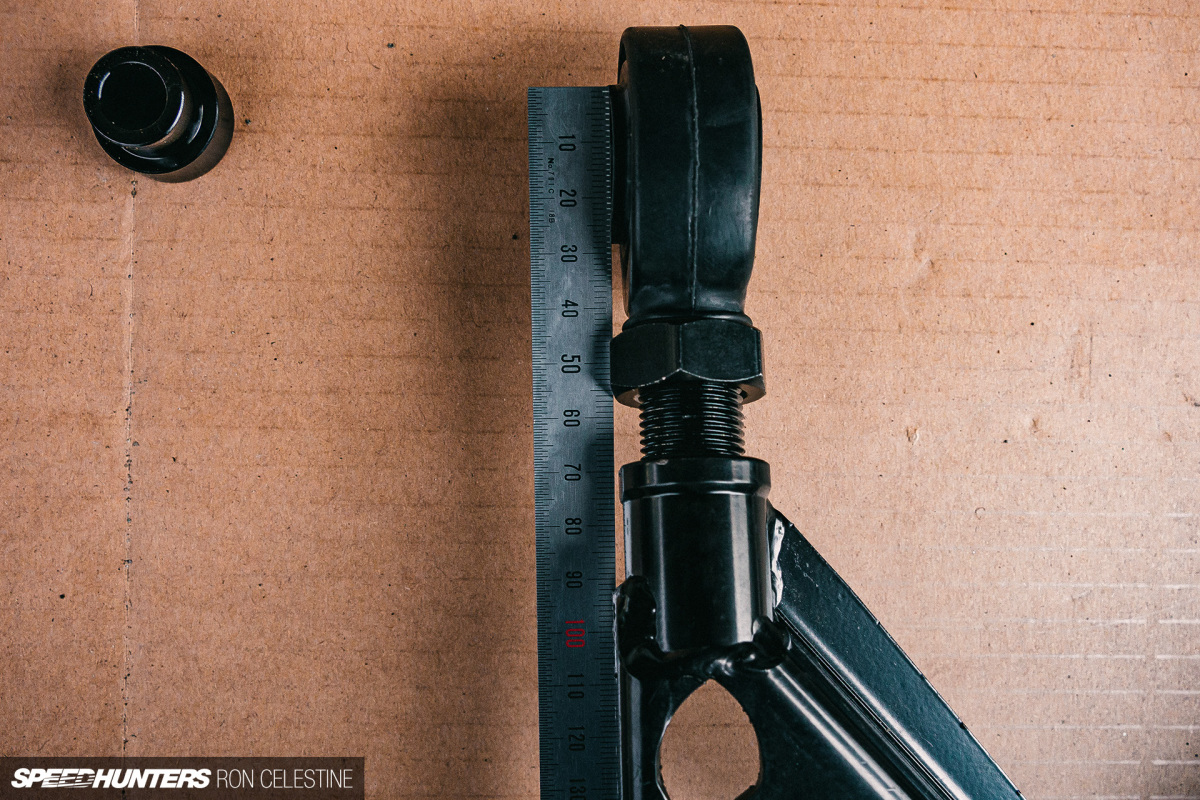
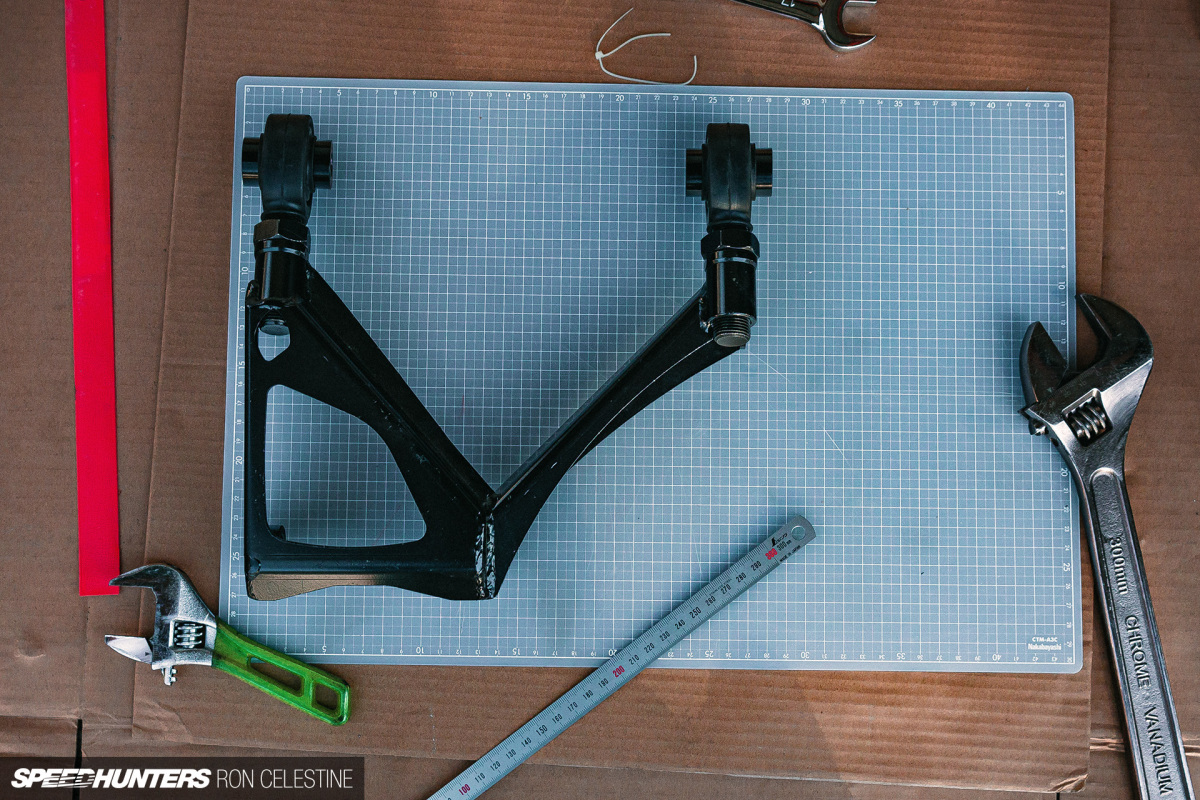
Putting in them is fairly straight ahead. You take away the coilovers to get entry to the inside camber arm bolts, after which take away the outer camber arm bolt and out the arms come. To assist guarantee each side of the management arms have been adjusted to the identical size, I used a chopping mat together with my ruler.
To place them again in, I discovered that changing the outer camber arm bolt first made every little thing a lot simpler. I might then use a jack to get a bit of additional assist to carry the J arm up, and wiggle the inside camber bolts into place.
The one draw back to the FUCAS is the truth that you possibly can’t regulate them on the automobile, thus you must jack the automobile, so I needed to drive Undertaking Tough backwards and forwards on and off the platform to verify the suspension had settled earlier than checking my measurements. Once more, because of the Skyline’s earlier accident, I had to do that course of many instances as I wanted to mess around with the adjustment to seek out the steadiness. When you’re not coping with a broken automobile, you might simply set each passenger and driver sides the identical and be accomplished with it.
As soon as once more, hold monitor of all of your measurements together with the distances every size is ready to.
Toe

Toe is the one setting that you possibly can change on all vehicles, and it pertains to the angle the tires level when trying from above. If the tires level outwards, that’s toe-out. In the event that they level inwards, that’s toe-in. Once more, with a watered-down definition, a toe-in setting will scale back the tendency for oversteer because the tires are pointed inwards and can resist change in instructions in consequence. This may even enhance stability at speeds. A toe-out setting will scale back understeer because the tires are pointed outwards and are already prepared to vary instructions. Extreme toe-out may cause a twitchy and unstable feeling. I appeared to boards to get a tough thought on the place to begin, after which performed round till it felt proper.
When going about measuring toe there are two ways in which you are able to do that – the toe plate methodology and the string methodology. Although the toe plate methodology is the simpler and faster of the 2, it solely means that you can measure the toe between two wheels at a time (entrance or rear), which implies the measurements to the true middle of the car relative to one another are unknown. This could result in the angle being off, which isn’t good. So, string it’s.
When you’re unfamiliar with the string methodology, you’re primarily making a field across the car that runs completely parallel to the middle of the wheels. To make it simpler, you often need to have a bar that runs in entrance and behind the automobile, which you connect the string to. You then go backward and forward, entrance to rear, ensuring that the measurement from the middle of the wheel matches the opposite aspect. If the entrance measurements are the identical and the rear measurements are the identical, you already know you’ve an ideal field, no matter whether or not the monitor width is completely different from entrance to rear.

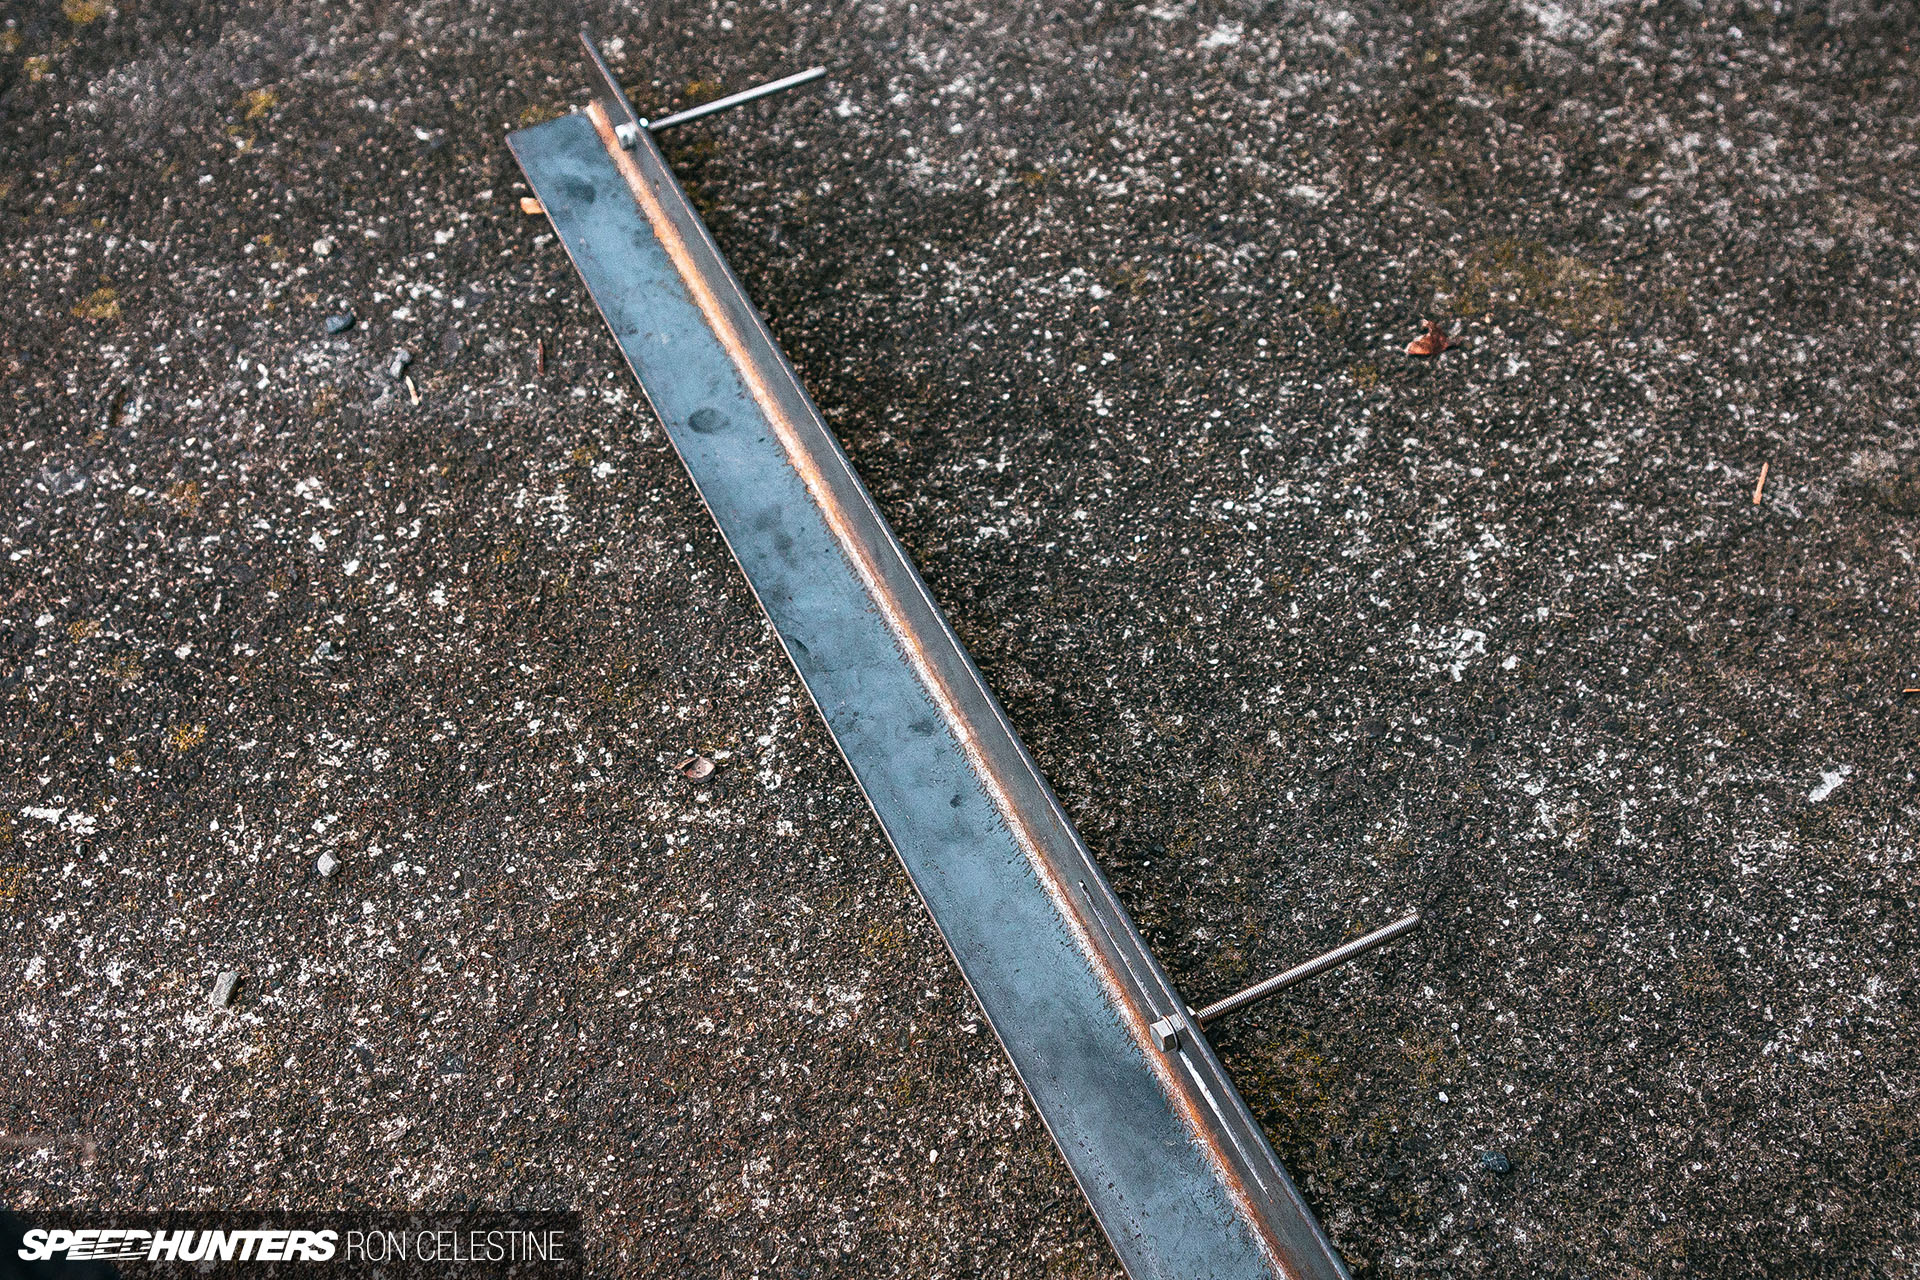
Model considered one of my string field used piping that my landlord had laying round (sure, I requested for permission to make use of it first). I measured the entrance wheel base, added a buffer to make sure I had sufficient area, and notched slits ensuring that I put them in the very same place on each bars.
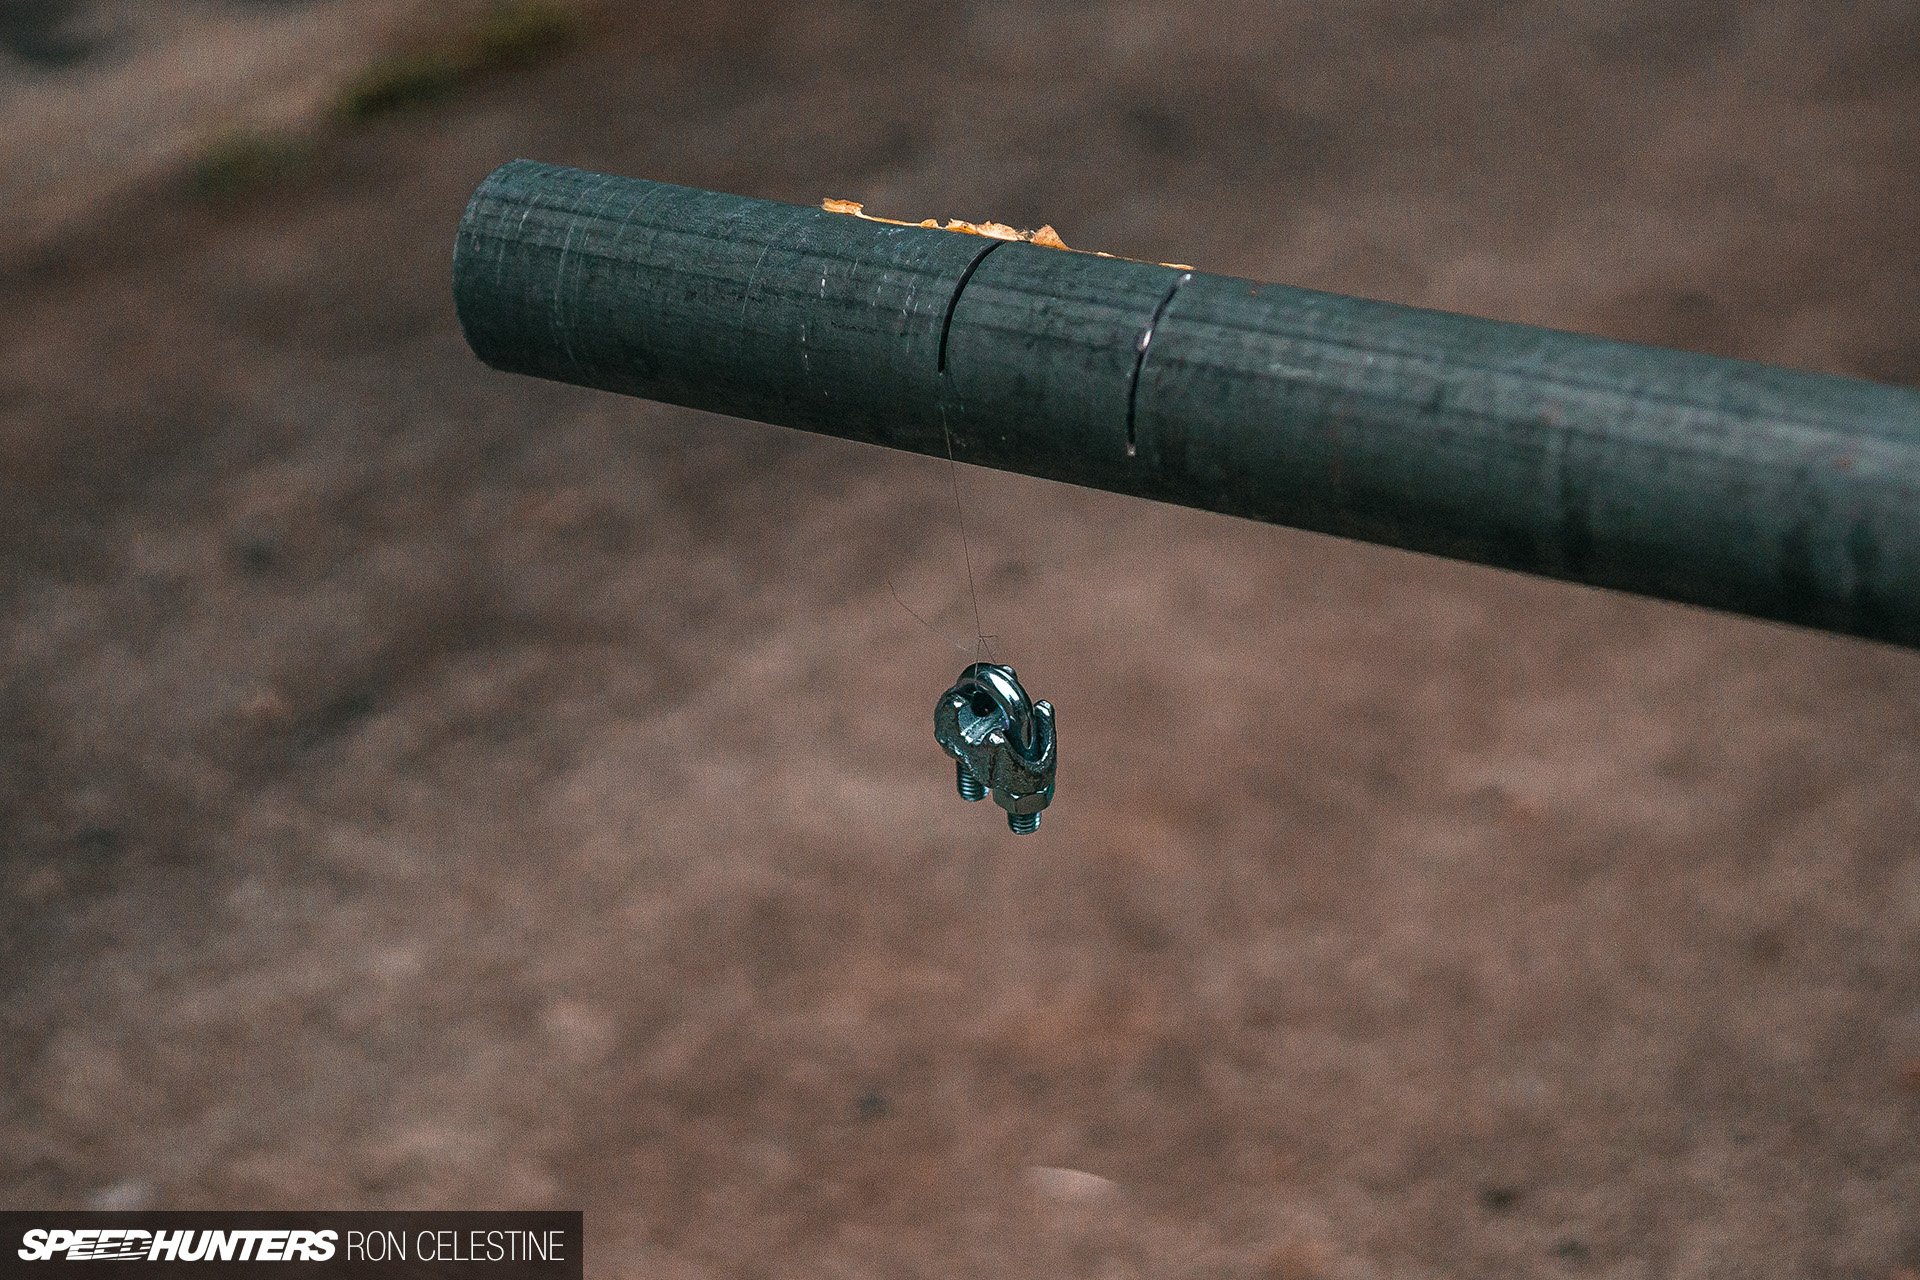
I then used fishing wire and weighed them down to finish my field. Since fishing wire has an extremely tiny diameter, it can provide you a extra correct measurement than utilizing common string. Once more, we’re enjoying with millimeters so that you need essentially the most accuracy as doable.
However that is the place my first model struggled. The piping, though strong, wasn’t precisely the identical diameter, particularly at one of many ends the place it necked down for some purpose. I had a sense it wouldn’t work, so actually shouldn’t have spent such a very long time testing that idea.
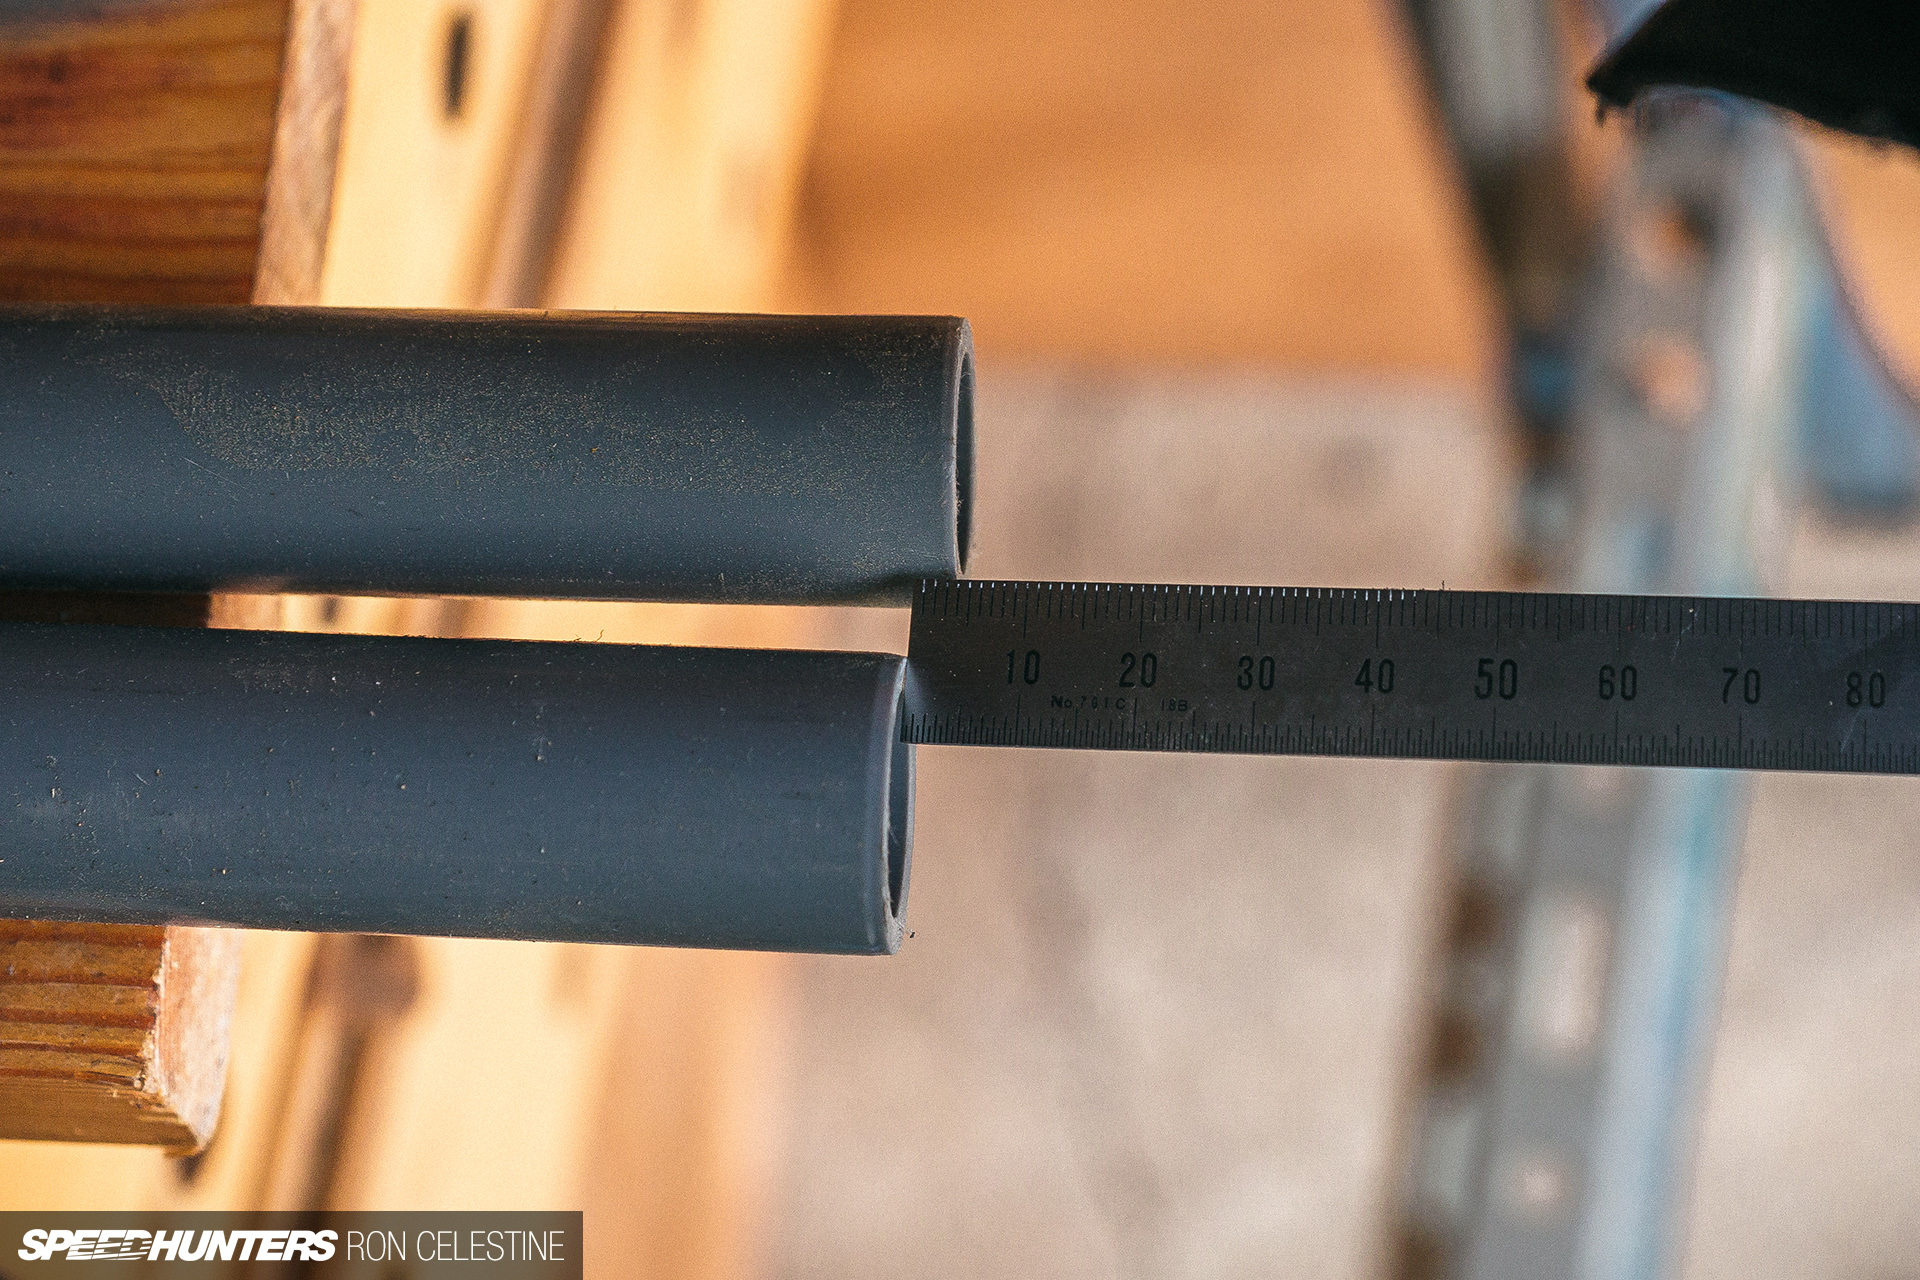
Model two used two 2-meter lengths of PVC piping. When you go the identical route, double examine that they’re in reality the identical size; the ironmongery store claimed these have been 2m, however one was almost 4mm longer than the opposite. This might actually stuff up your toe alignment and also you’d by no means know why issues weren’t including up.
I reduce the 2 PVC pipes so their lengths matched completely, notched them, and put them on jack stands each in entrance and on the rear of the automobile, guaranteeing they have been degree. I then strapped the steering wheel straight so it couldn’t transfer on me whereas I adjusted the tie rods, and strung my string field. I then went across the automobile, taking measurements from each side of the wheel faces.

As regards to the string, the measurements might inform you how a lot toe-in or toe-out that particular wheel had. That is an instance of the final measurements I did after the most recent modifications, and you may see how drunk my settings have been. It dealt with as dangerous as you’d think about it will too.
Relying on what sort of clearance you’ve, you may need to loosen the jam nuts in your tie rods to regulate them after you’ve your string field in place. The platform ought to assist create a bit of additional area relying on what number of shims you used. It then turns into a easy matter of creating modifications, checking the modifications, after which locking the settings in when you’re pleased with the measurements.
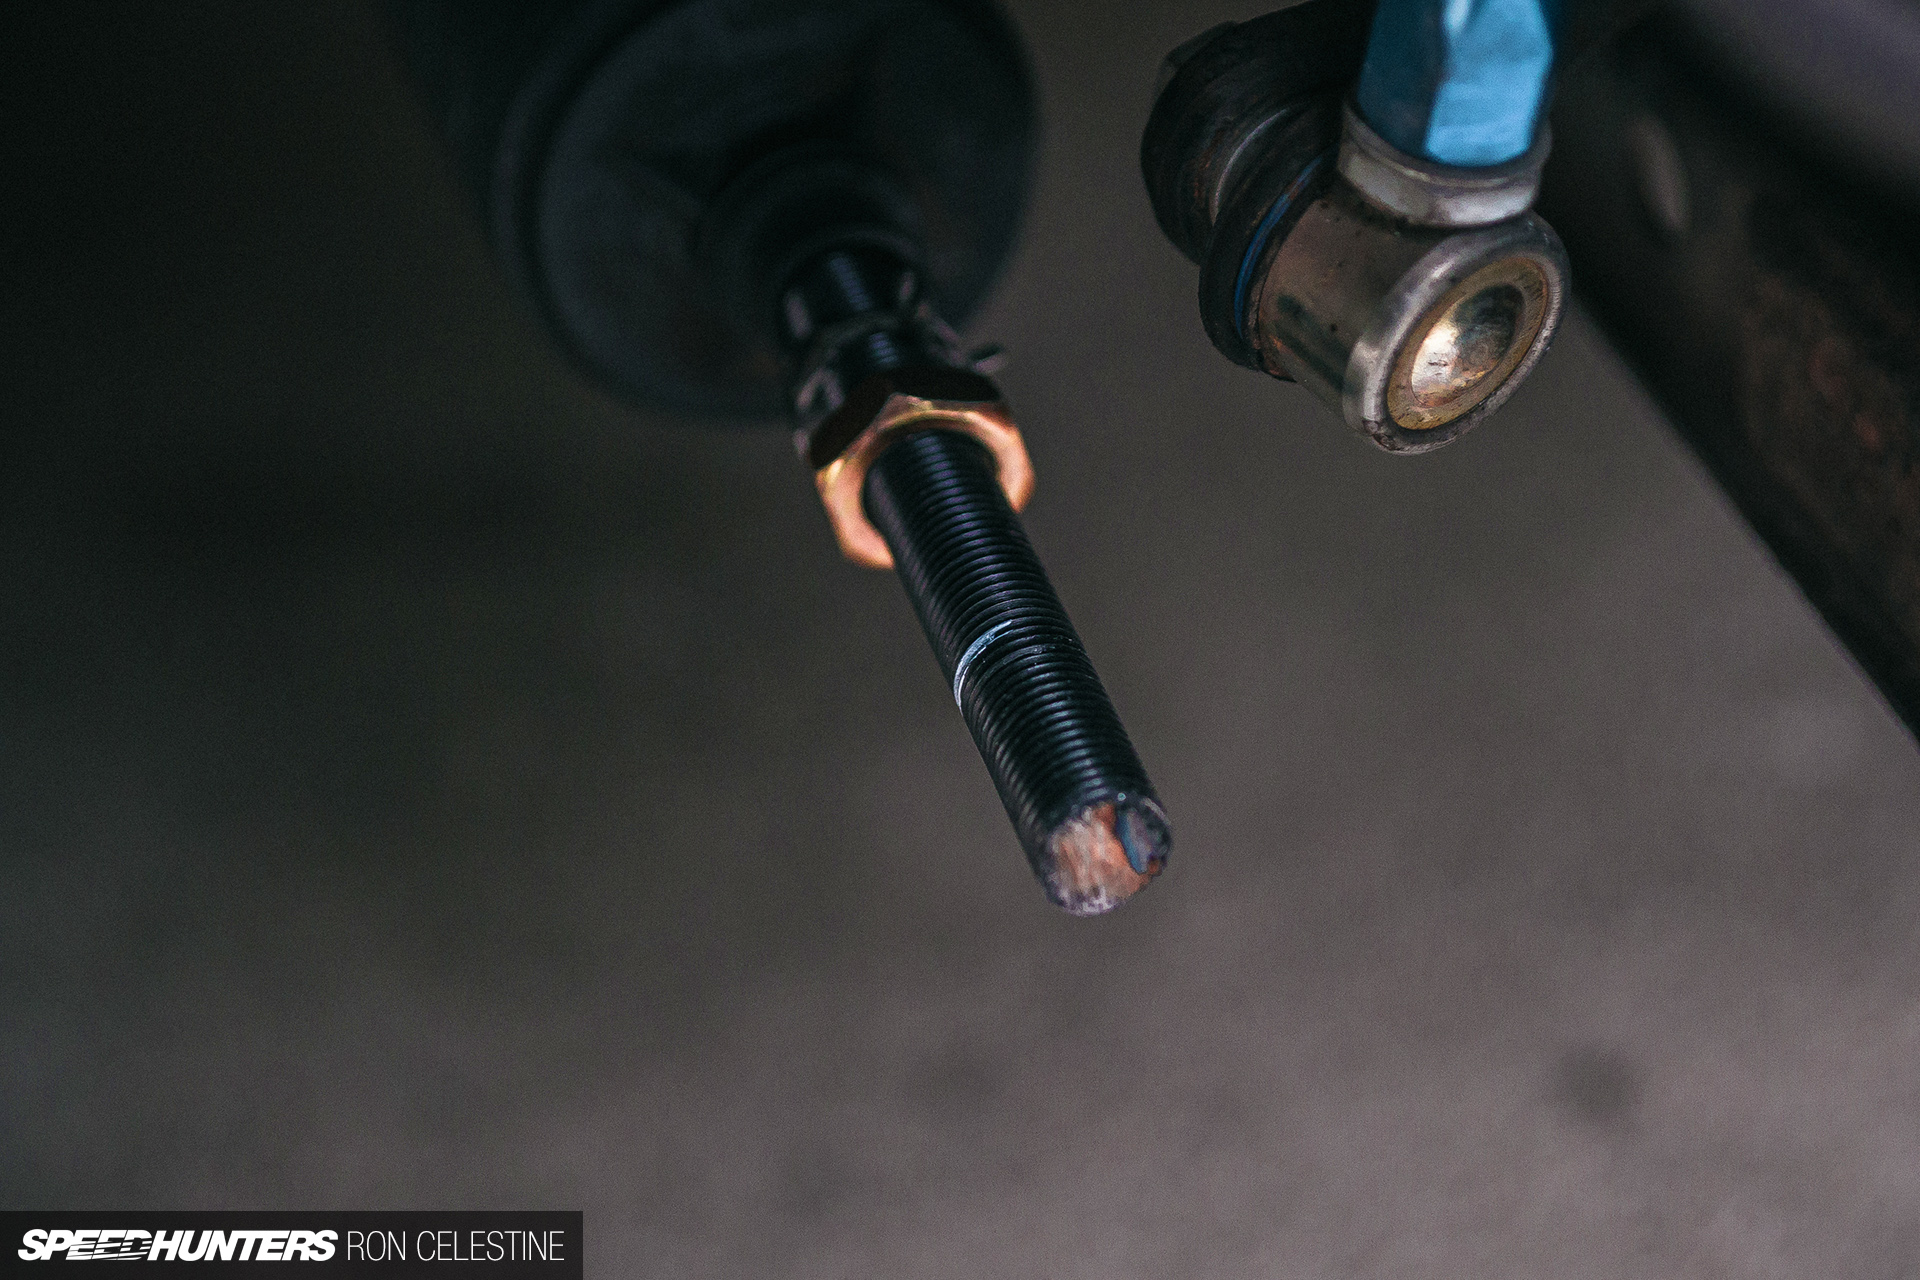
The rear tie rod jam nuts have been pretty simple to interrupt free and make changes, nevertheless the fronts have been nearly seized. I managed to interrupt them free, however when it got here to tightening them up once more, it was nearly unimaginable to maintain the settings.

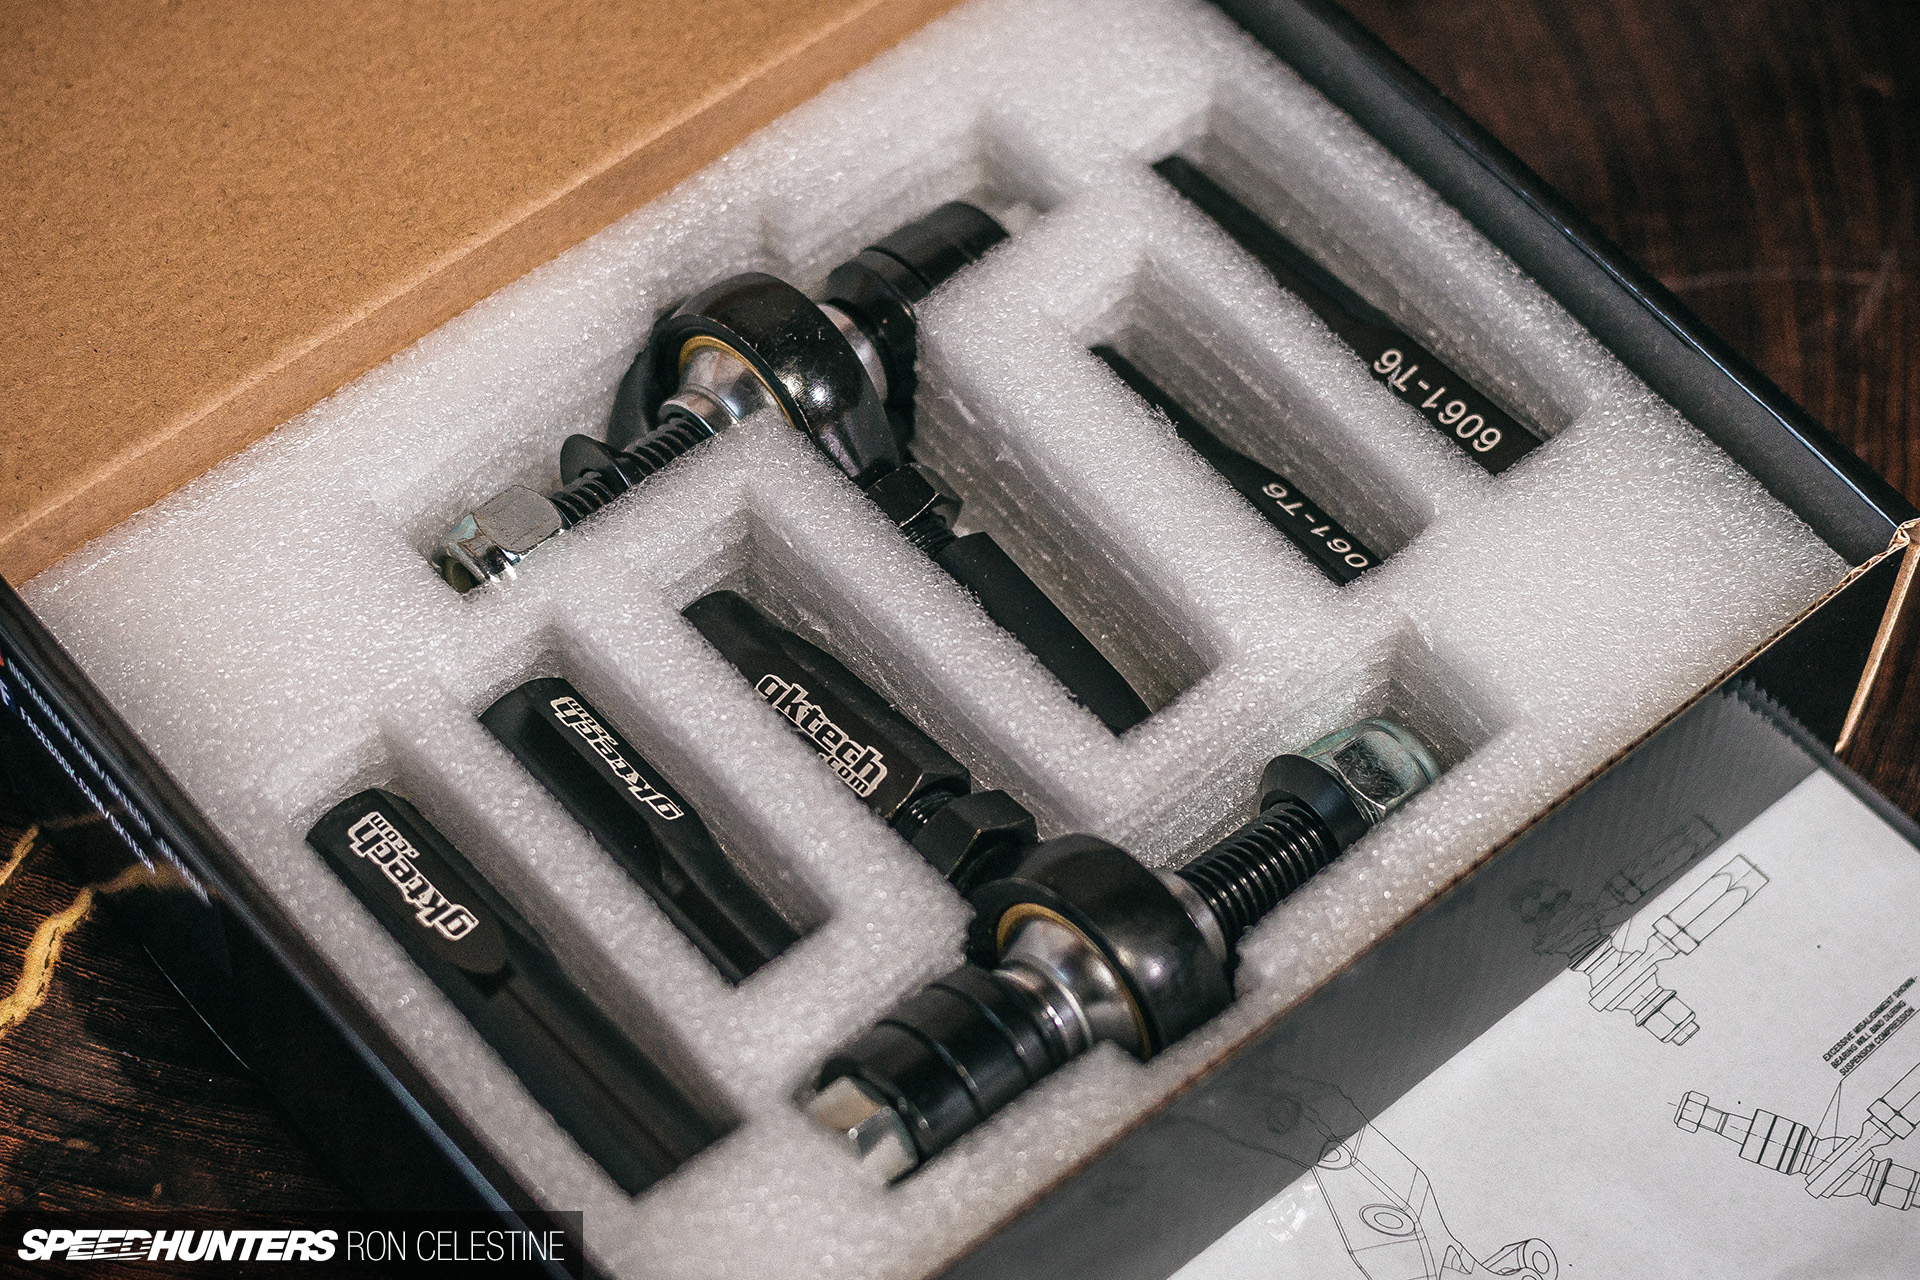
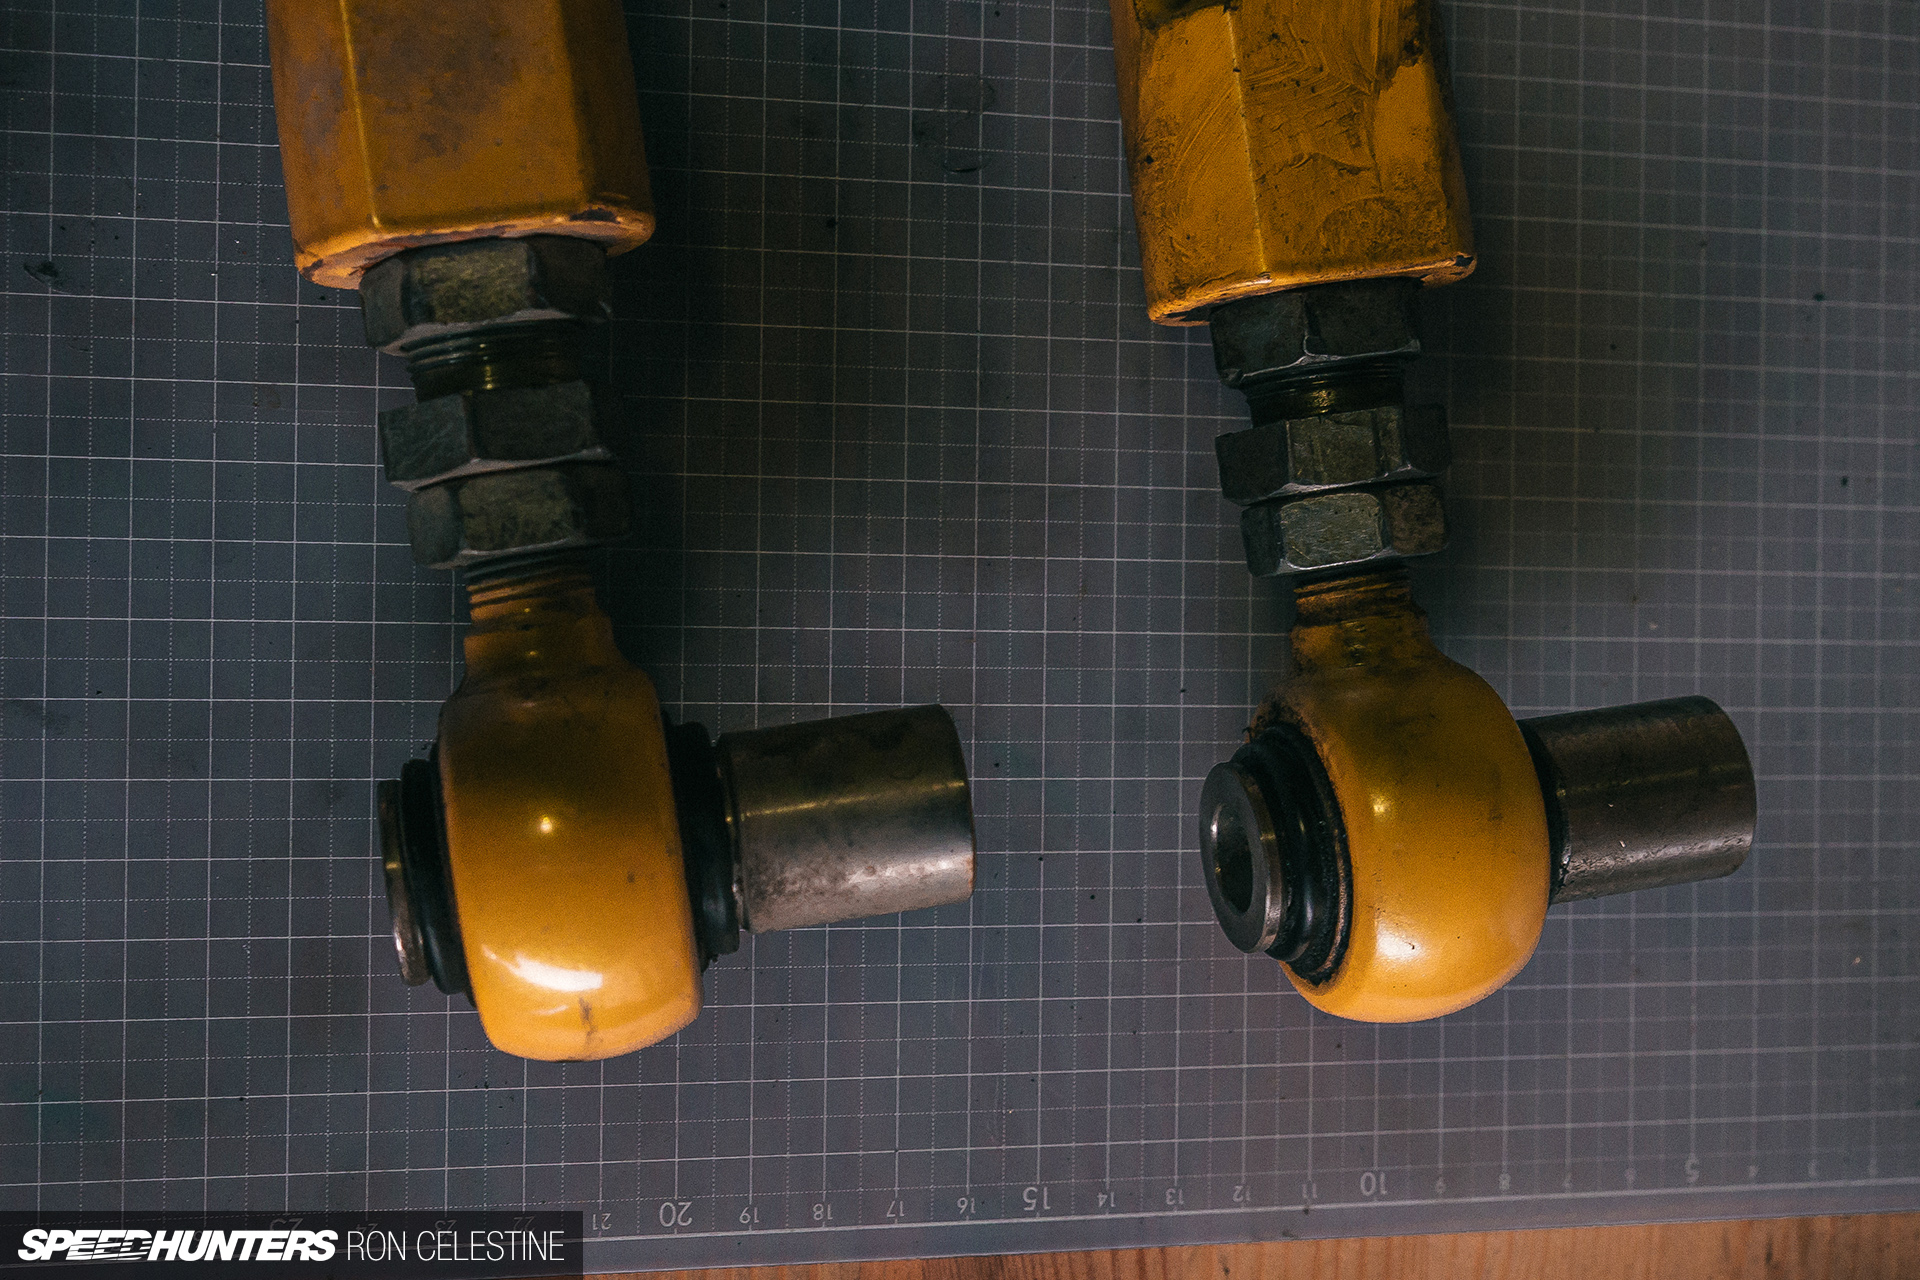
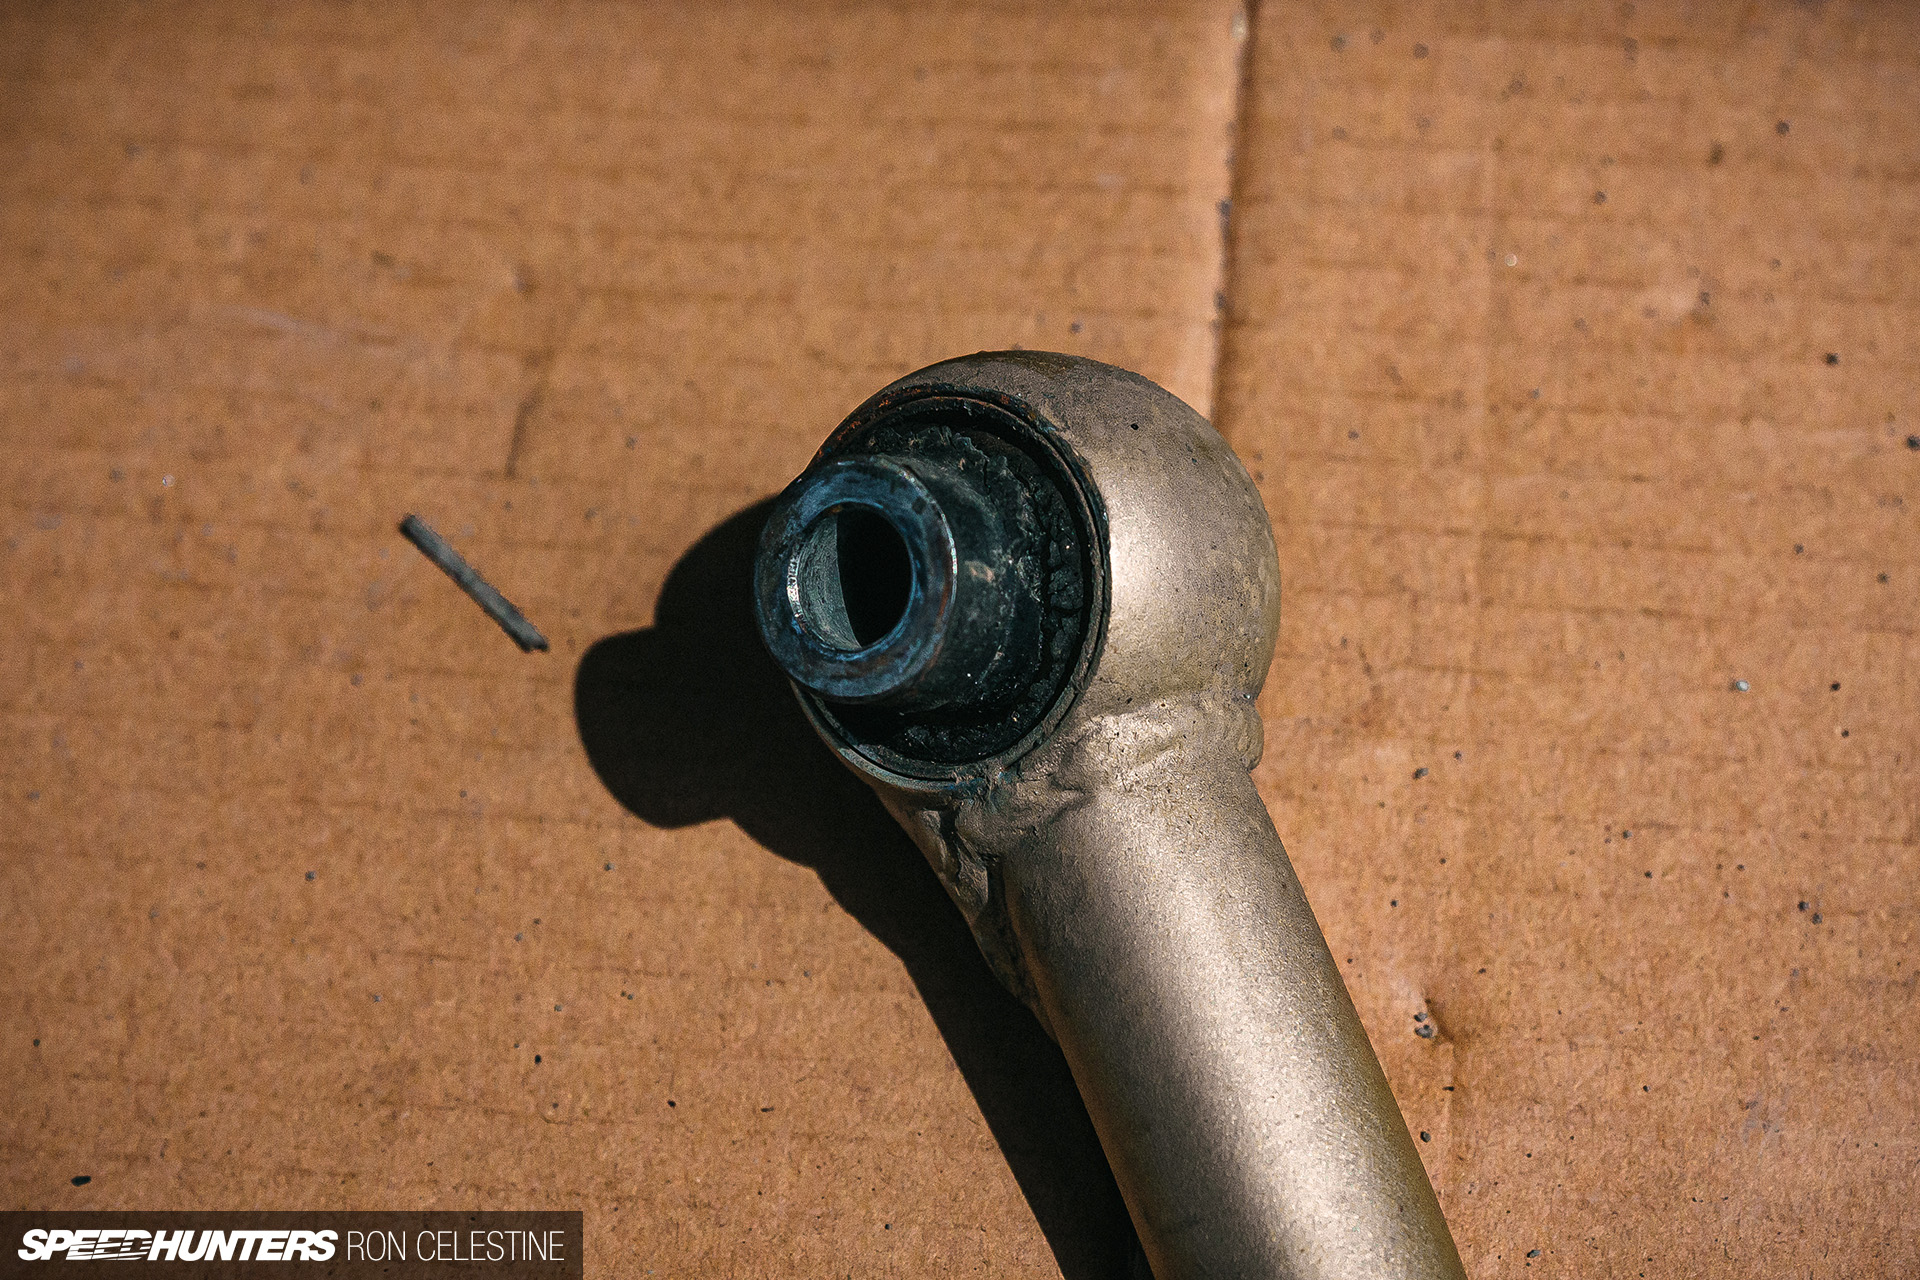
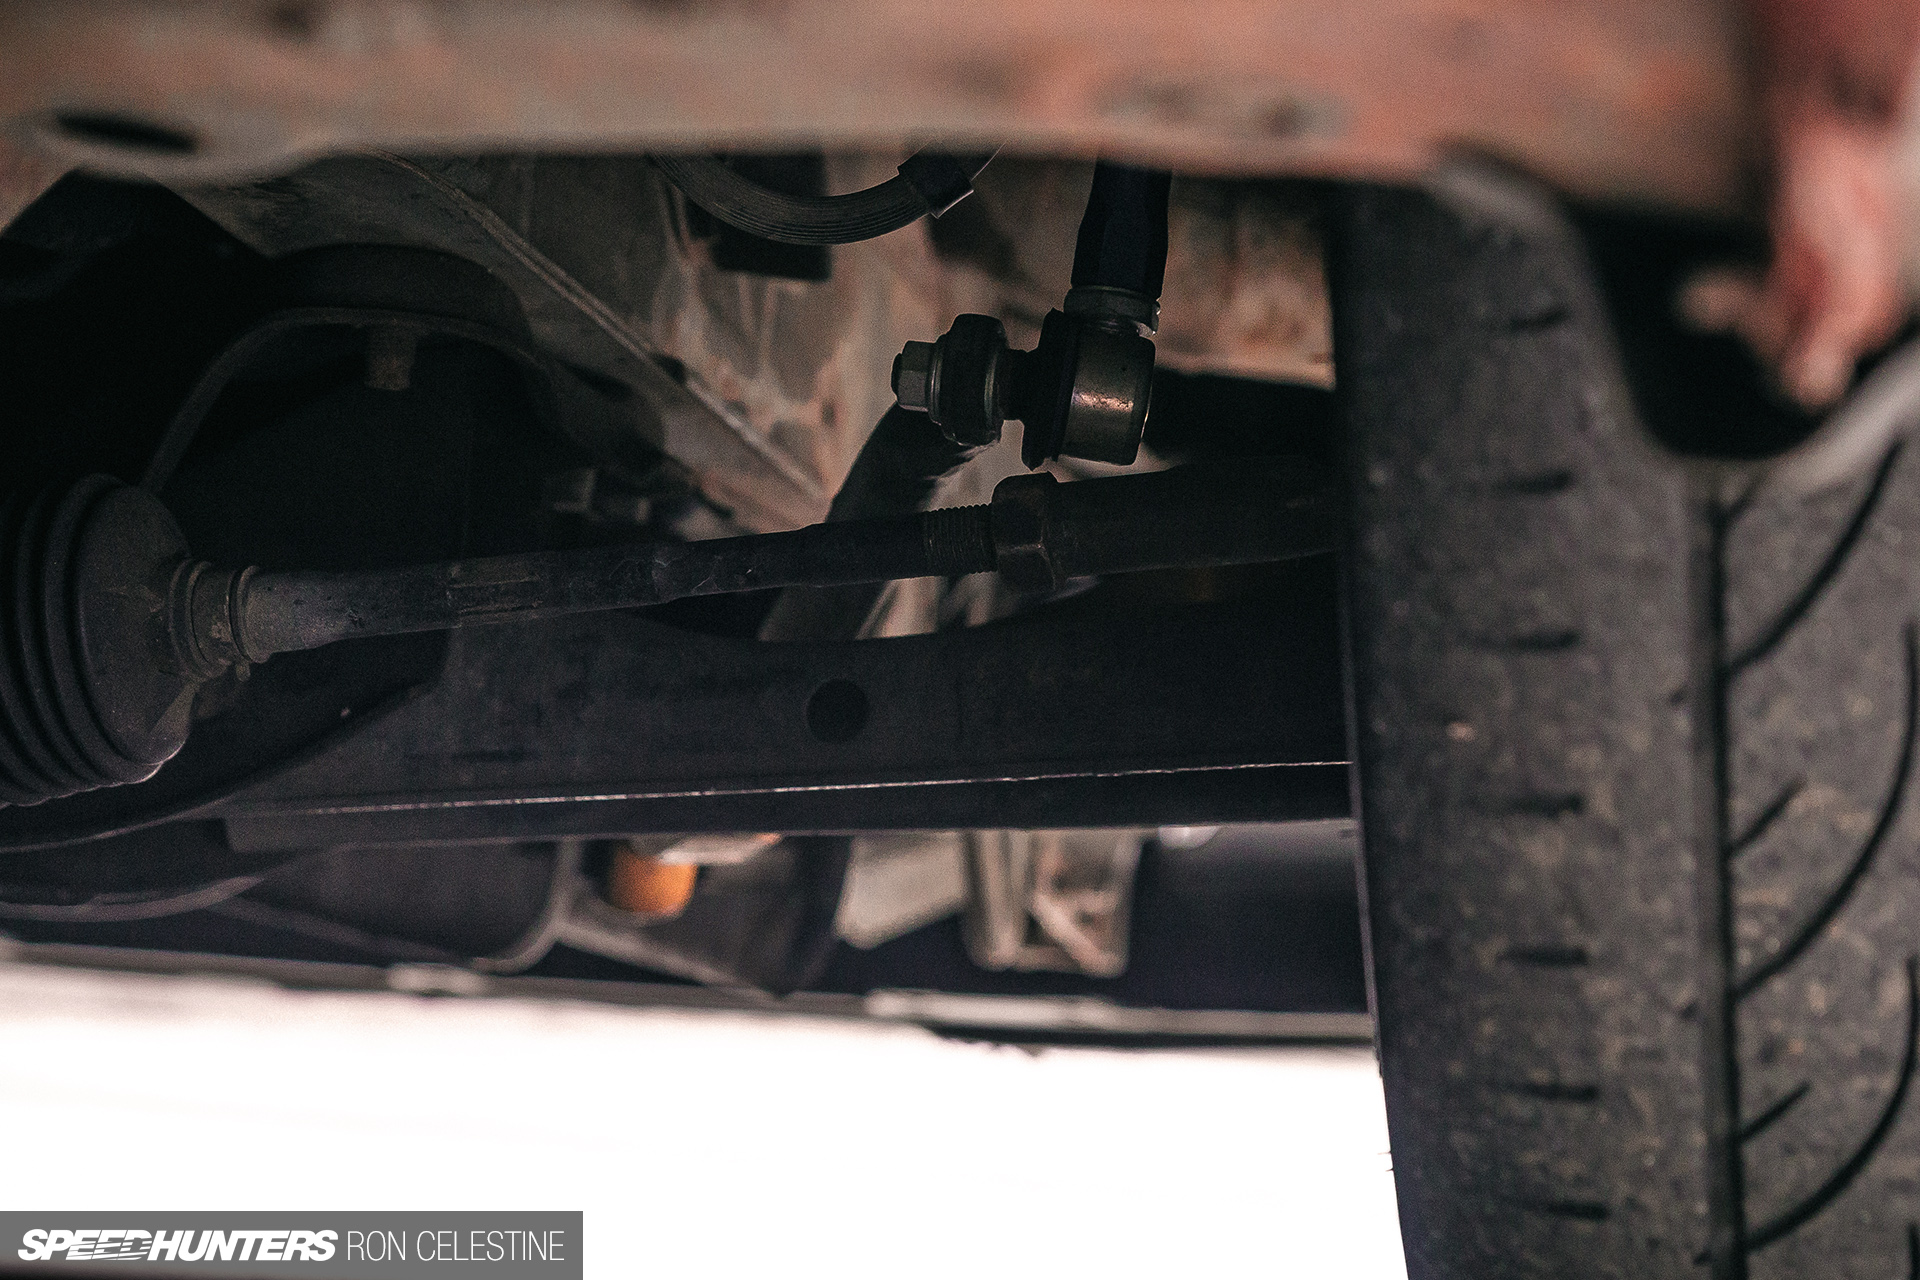
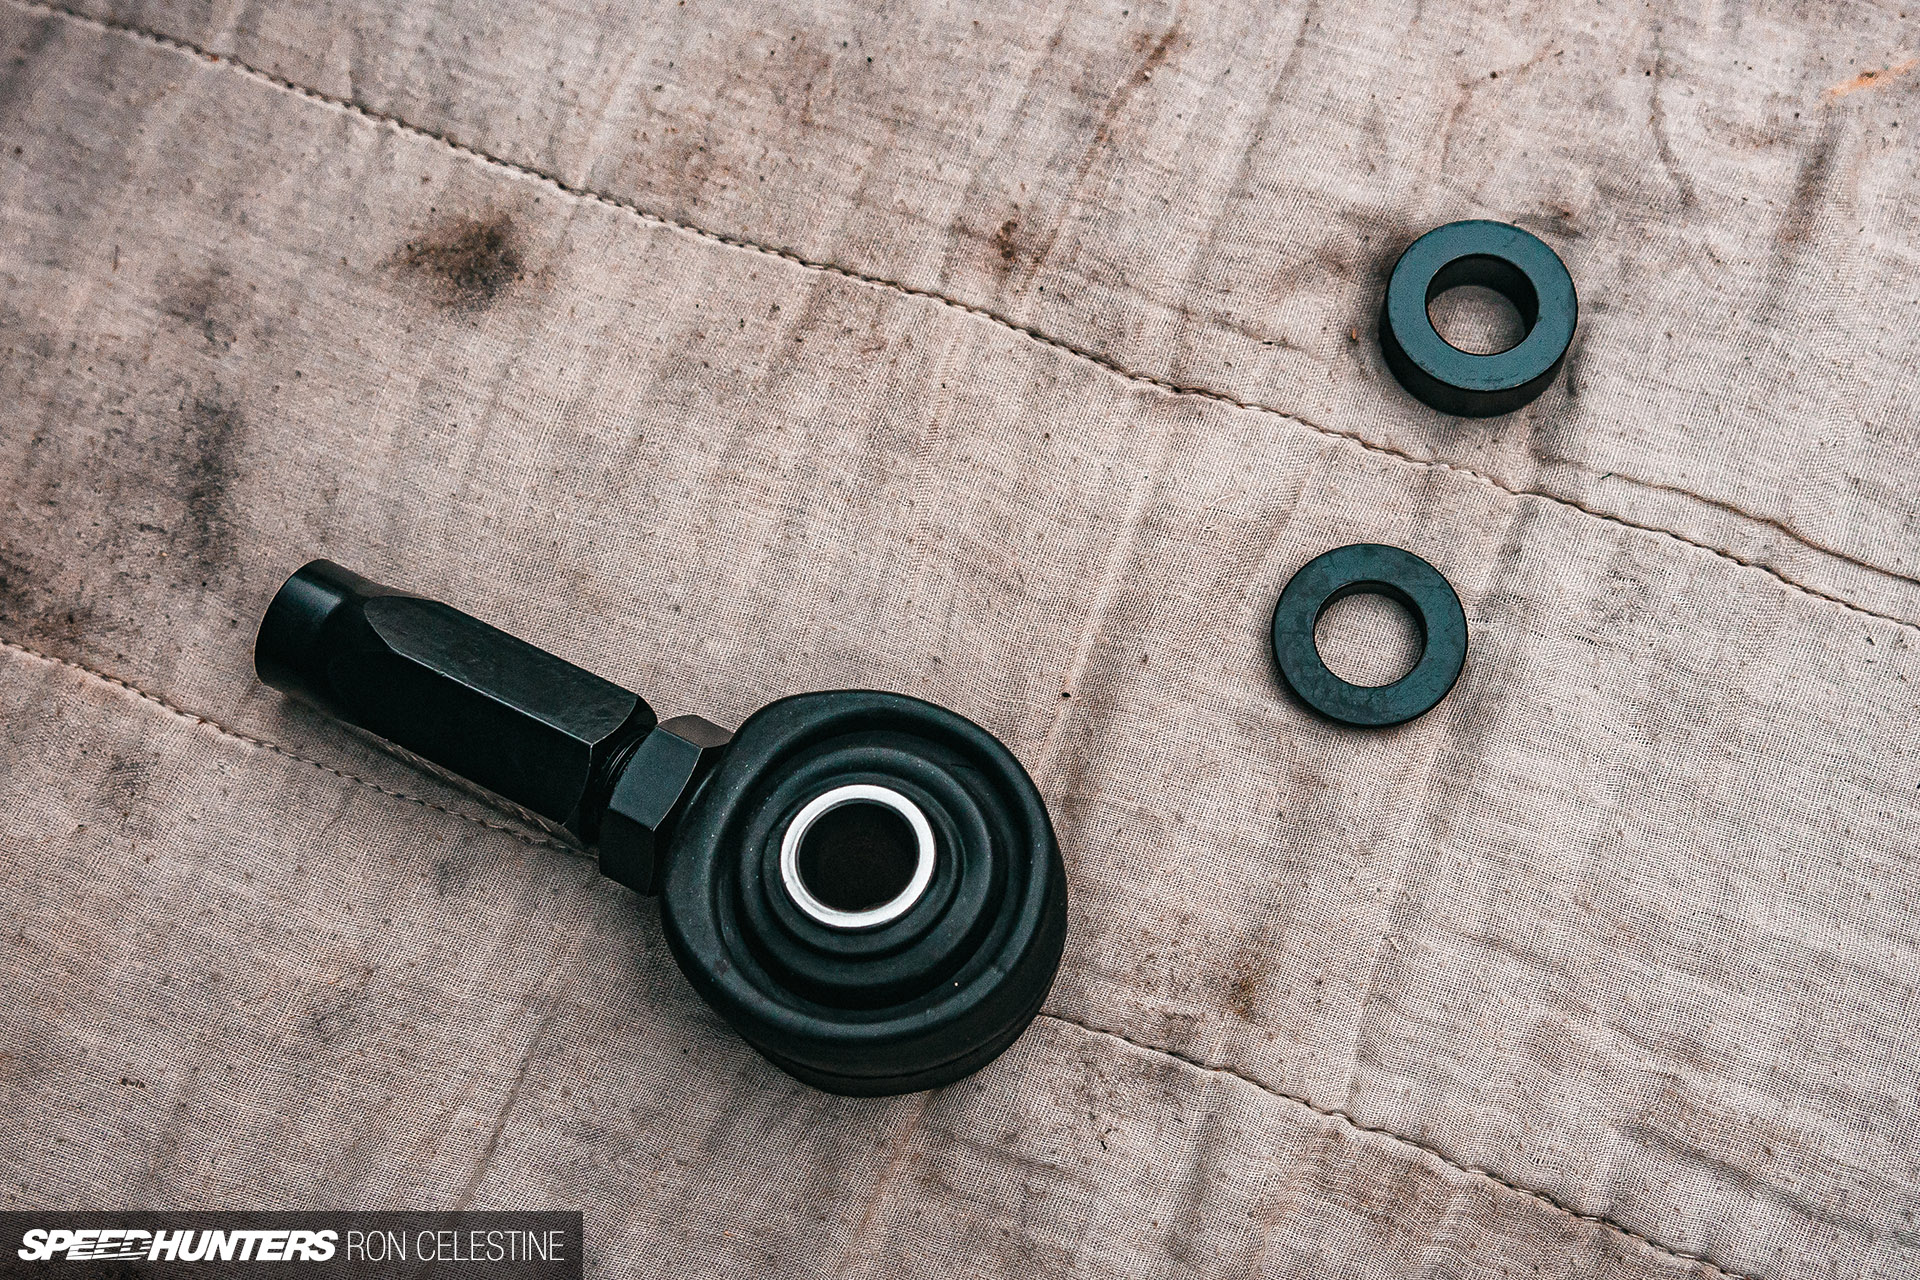
GKTech got here to the rescue once more with their M14 Tremendous Adjustable Inside Tie Rods. Despite the fact that I’m not operating rack spacers, completely different knuckles, or have adjustable decrease management arms, these inside tie rods will swimsuit all these upgrades.

It was a good suggestion that I eliminated the inside tie rods too, as they’d no resistance left within the ball joint and easily flopped round. It makes me surprise in regards to the rear inside tie rods…
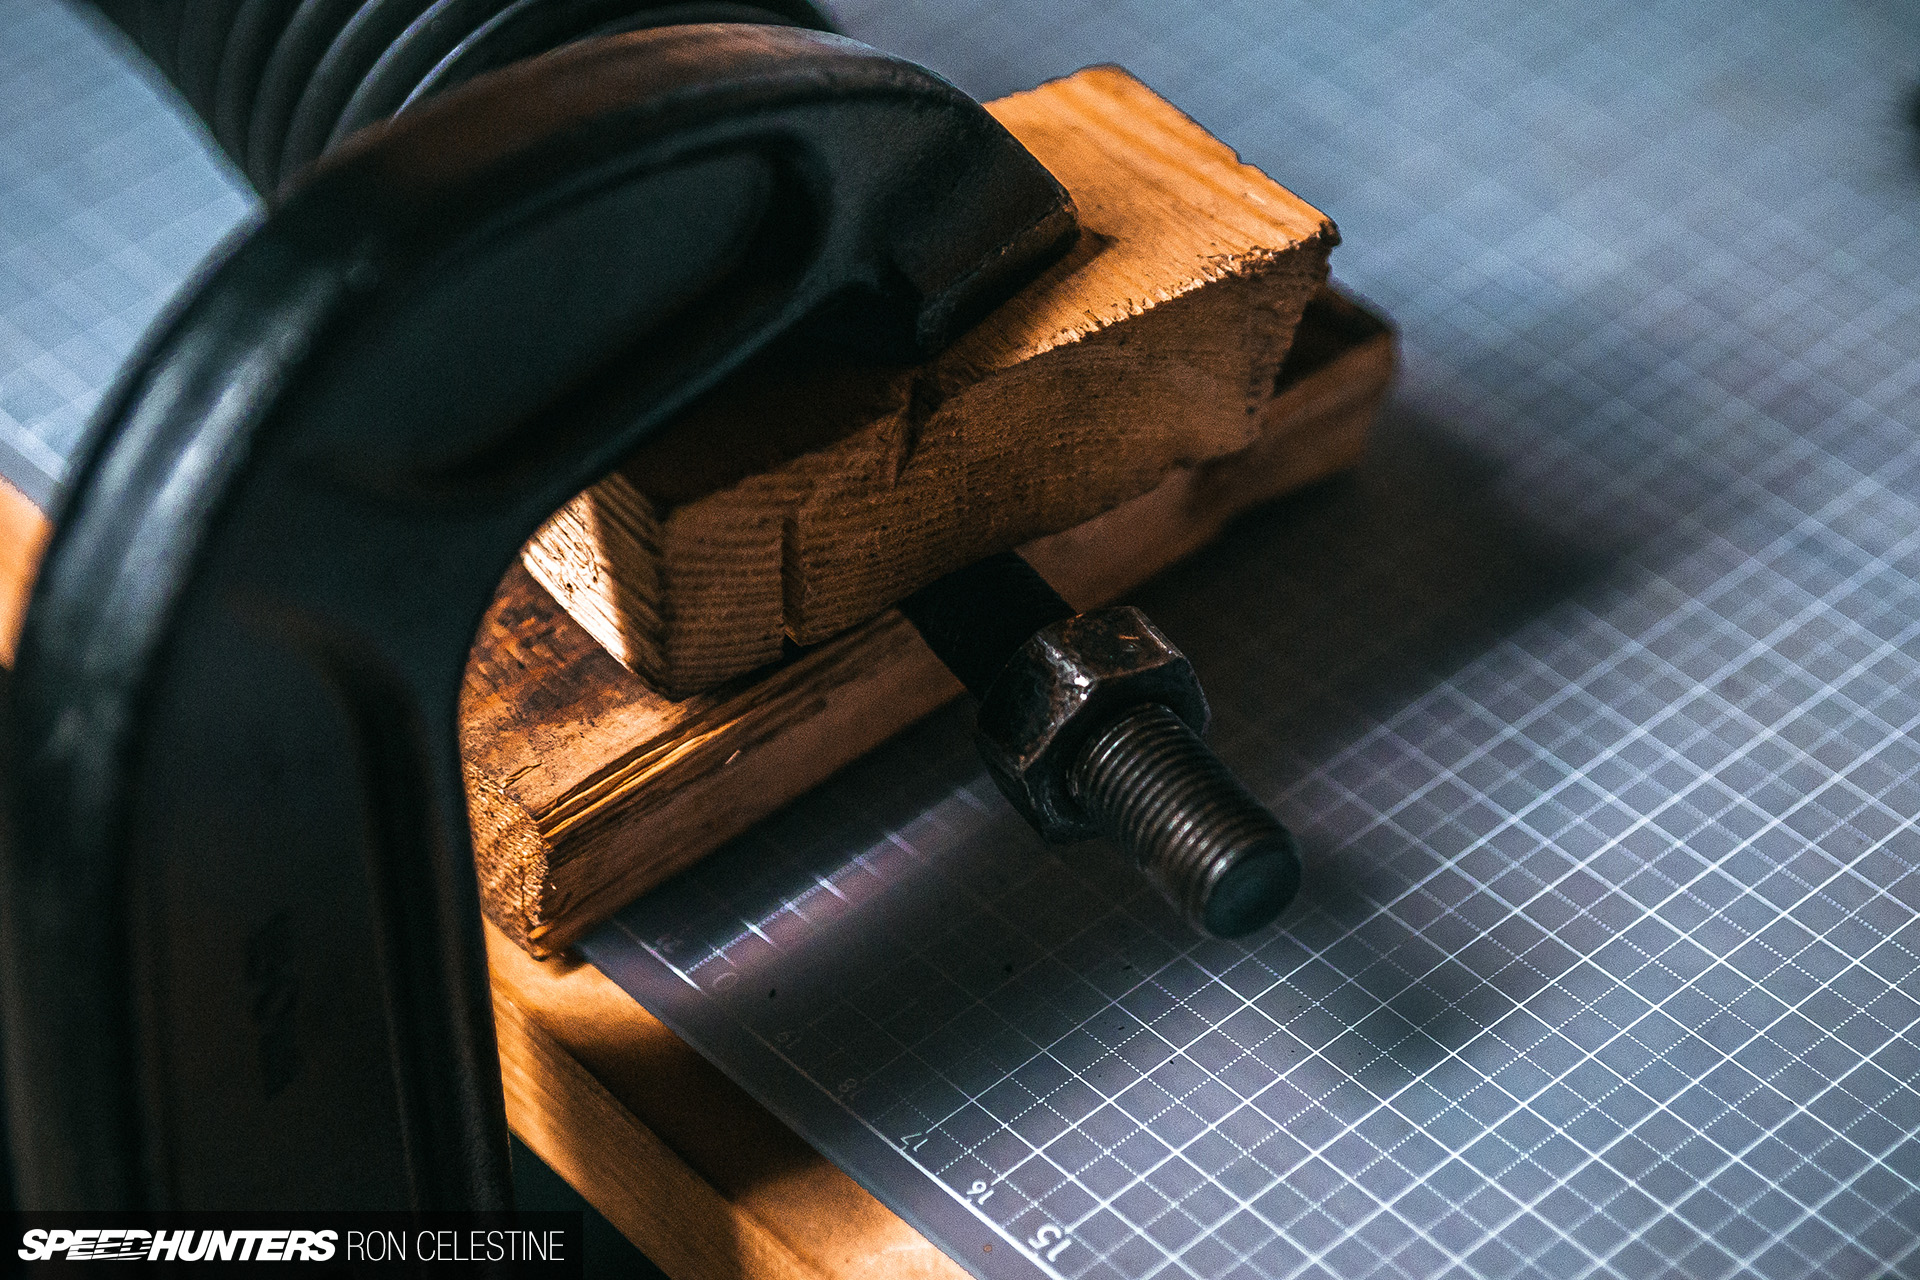
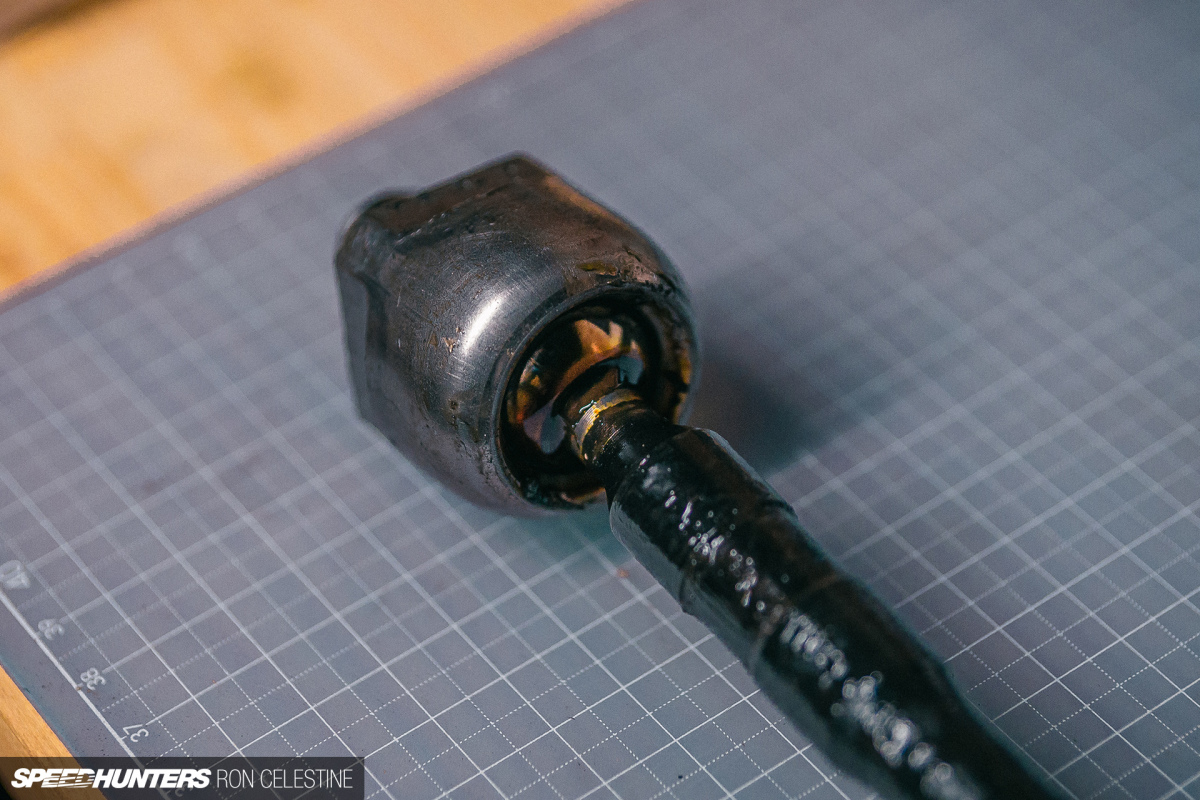
Since I wished to reuse the boots for the inside tie rods (they have been in fine condition), I needed to take away the jam nut from the previous tie rod. To take action, I needed to clamp it down and use a wrench and hammer combo on the nut. There’s completely no approach you possibly can take away this whereas it’s on the automobile.
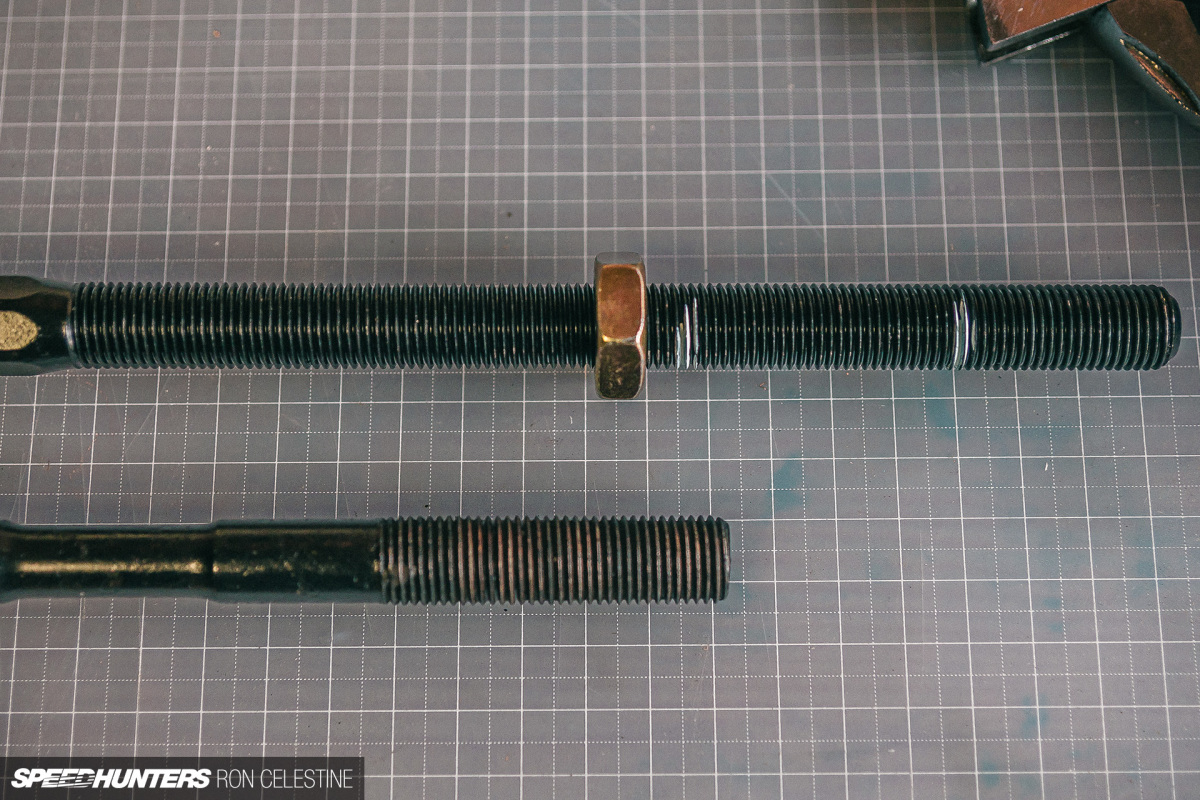
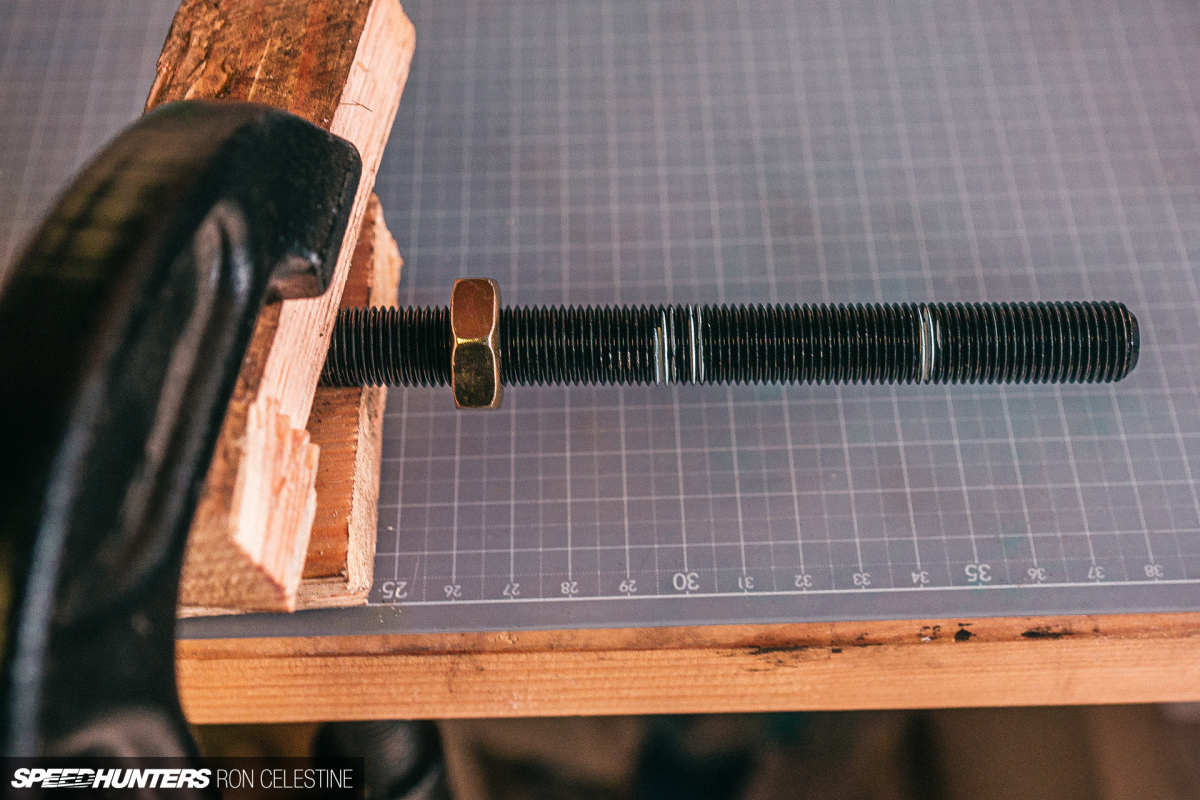
With the previous inside tie rods out, I measured the size (many instances) and reduce the size. Relying on for those who’re conserving the inventory outer tie rods or not will play a task in how a lot you narrow. For my software, I wanted to chop greater than anticipated as I used to be additionally altering the outer tie rods to GKTech’s Excessive Misalignment Package. Additionally, be sure you go away the nut on at any time when chopping to size as it would clear up the threads.
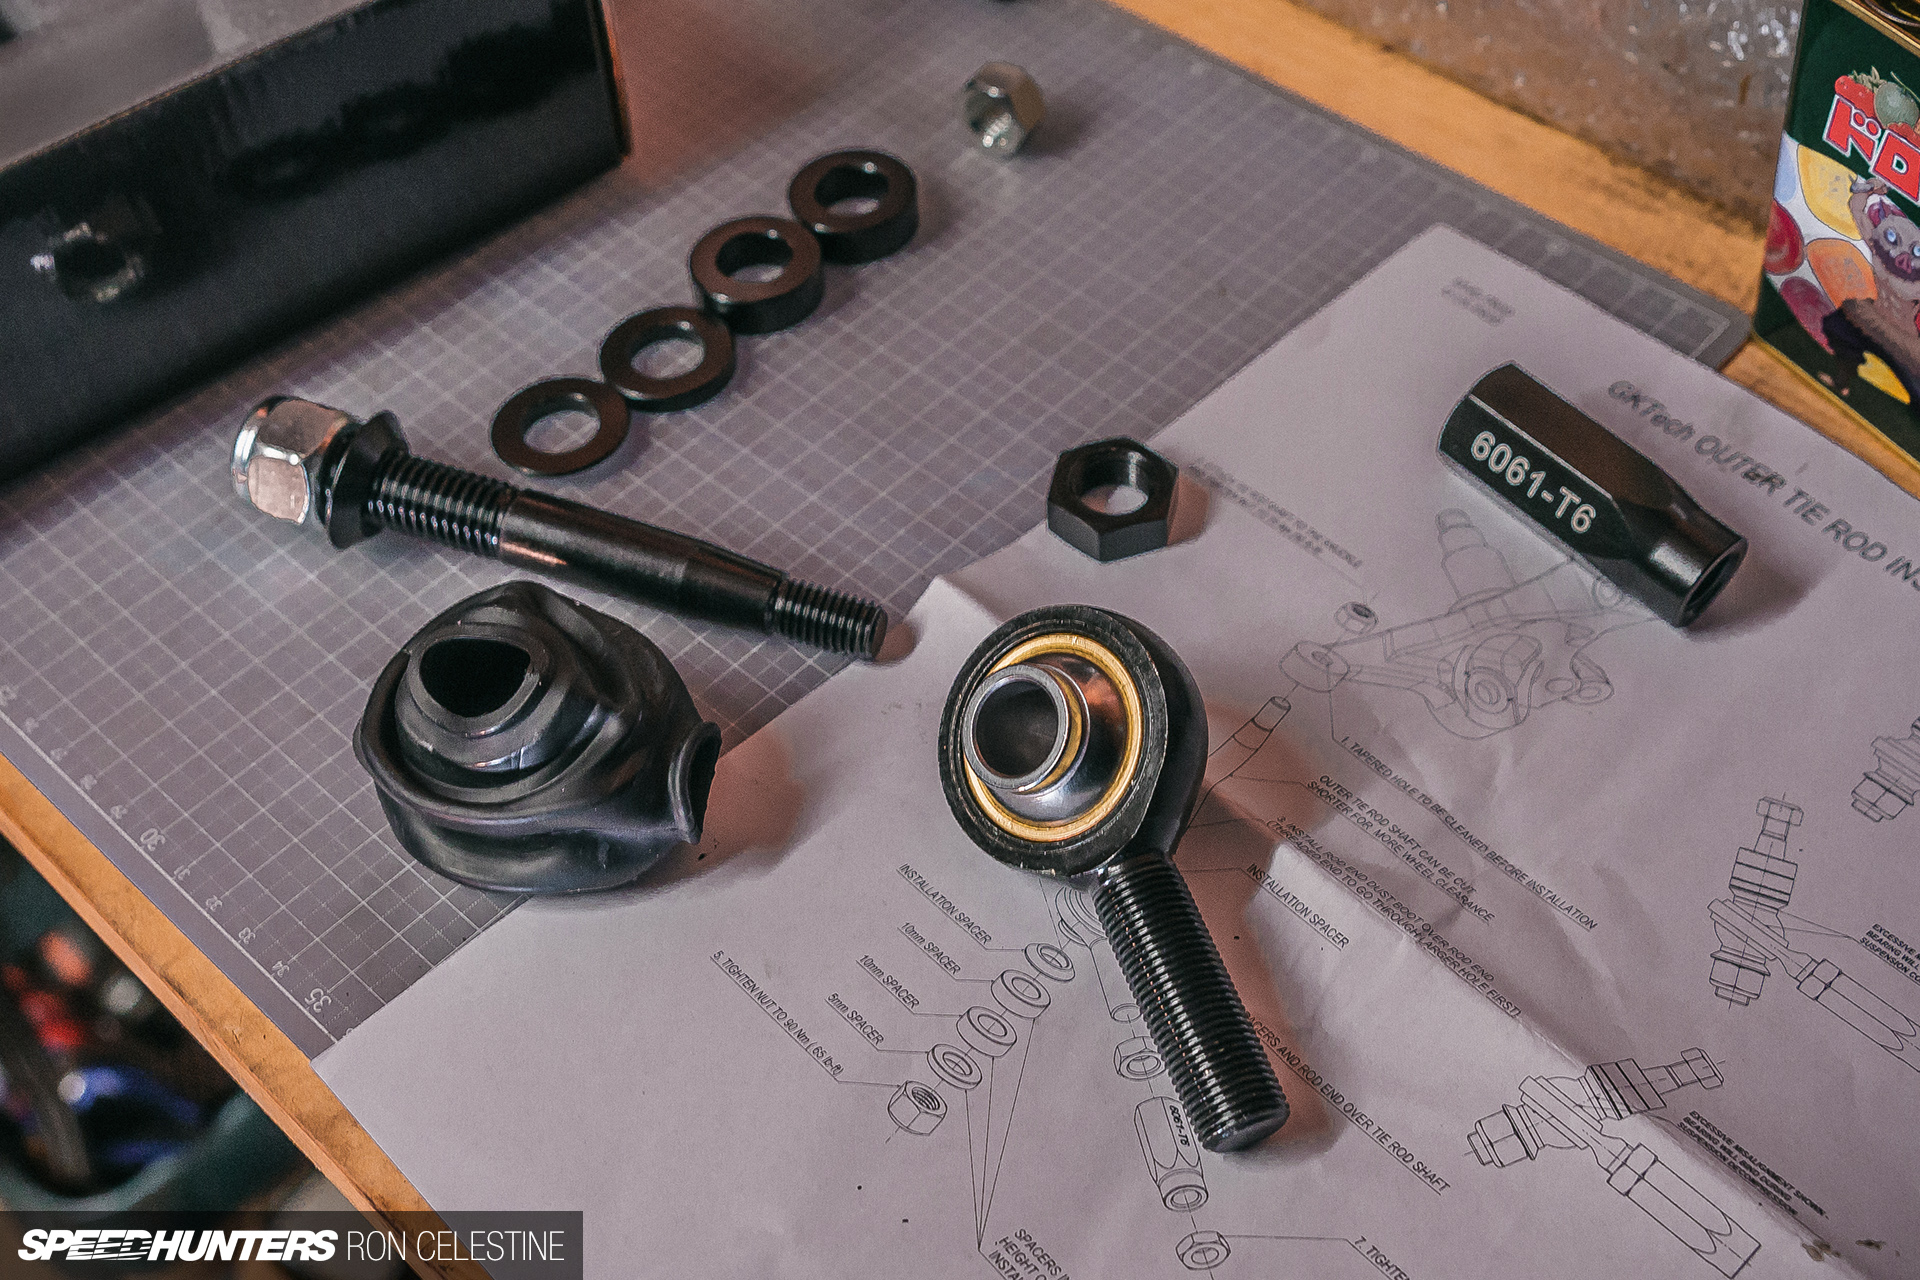

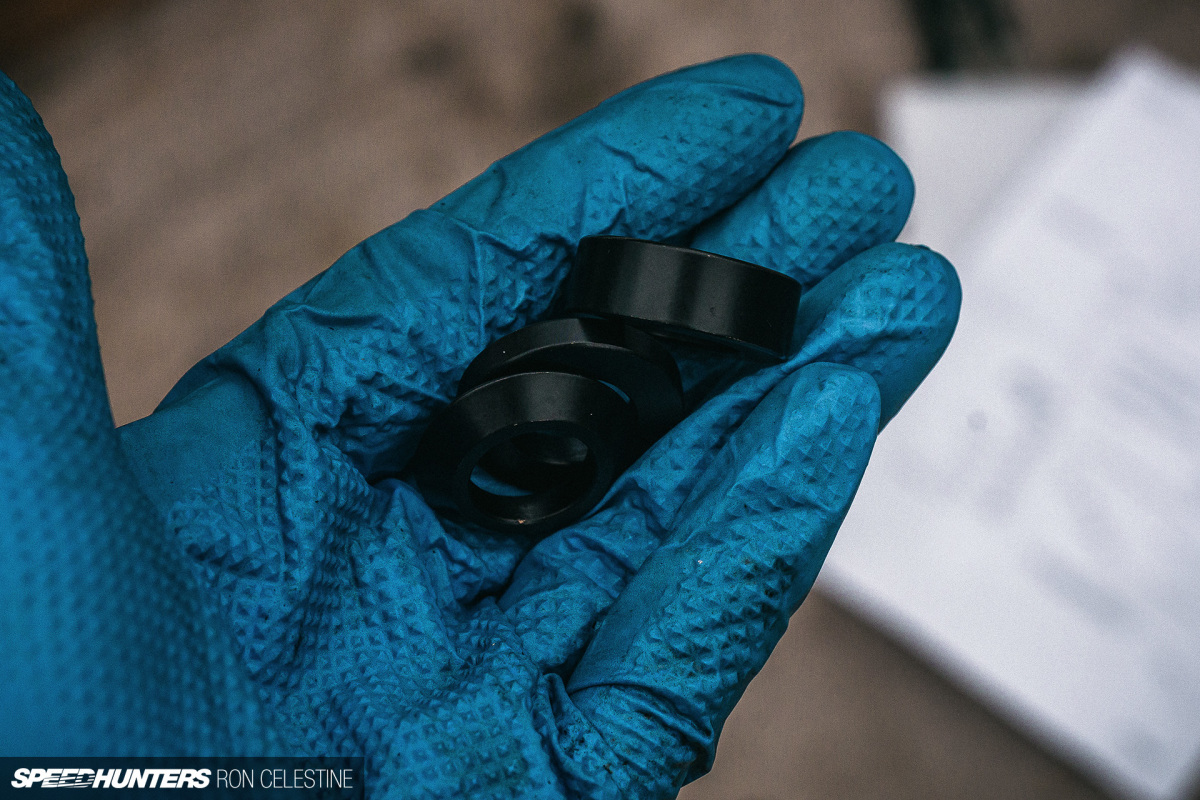
I’ve heard nothing however wonderful issues about putting in a correct bump steer package, and GKTech’s Excessive Misalignment package checked all of the packing containers. With the power to right as much as 25mm of bump steer, I used to be eager to play with the adjustment and see if I might discover a distinction.
With the GKTech inside and outer tie rods in place, I set the shims to 15mm and gave it a take a look at drive. I instantly returned house as I felt just like the automobile wished to kill me on the slightest trace of a bump. I modified the setting to 5mm and it felt fairly good – higher than ever in reality – however I used to be curious to see what would occur if I break up the distinction and went with 10mm.
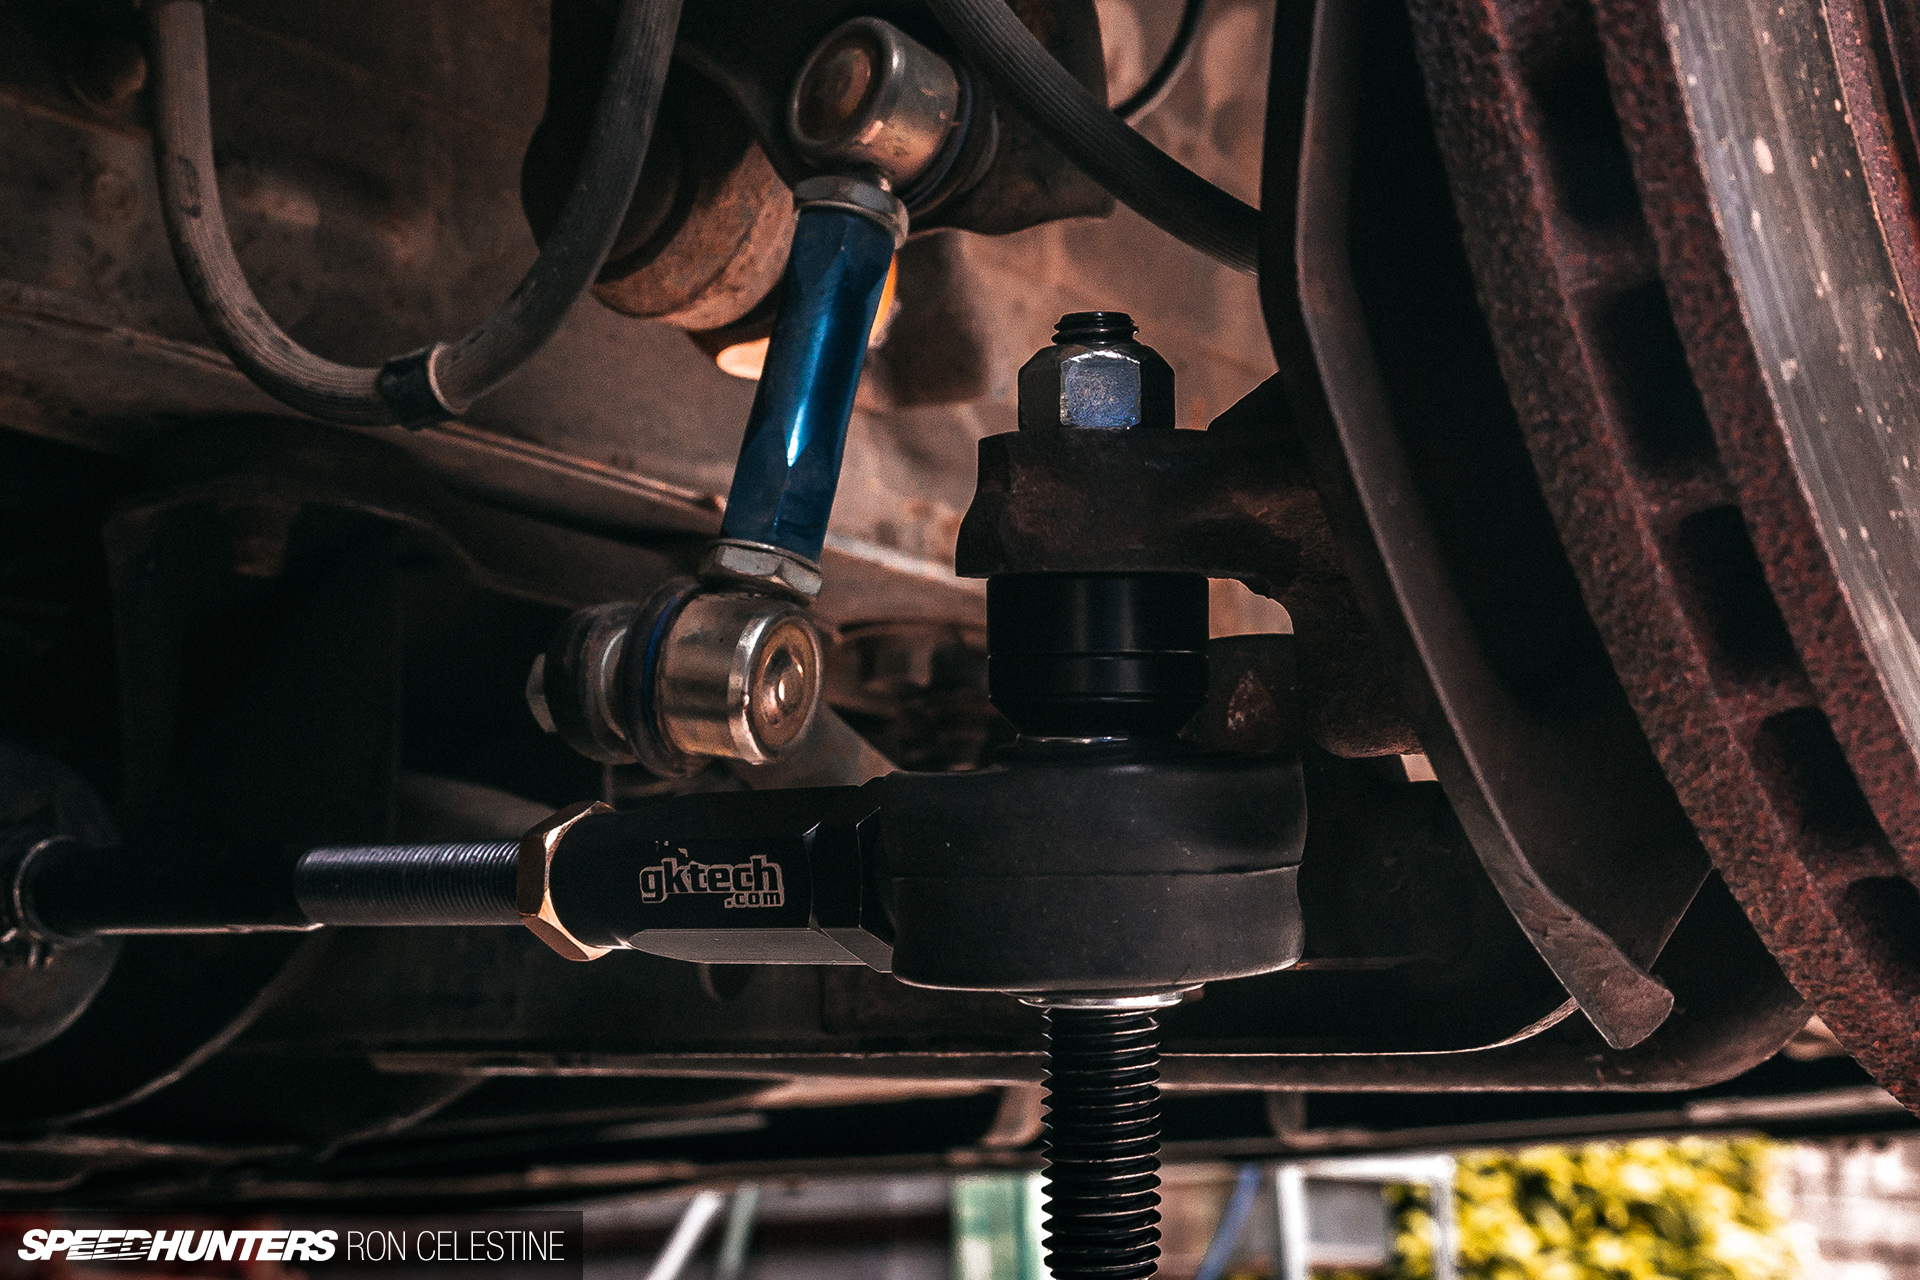
Because it stands, 10mm appears to be the golden ticket for my automobile. It glides effortlessly over bumps and in some cases evens handles them higher than my Honda Stepwgn. Significantly, why didn’t I set up these earlier?! I’m interested by how a lot bump steer is definitely there and need to construct a bump steer gauge that I found on-line, however that will likely be for one more time…

Undertaking Tough drives straight, the steering wheel is straight, and total it handles in a really predictable and responsive method. That’s every little thing I used to be aiming to perform whereas studying the ins and outs of a DIY wheel alignment.

I can nitpick and say the rear doesn’t rotate as a lot as I’d prefer it to as a result of the toe setting isn’t out sufficient, or that the camber setting is a bit too aggressive up entrance, however the great point is I can now make changes at any time when I see match.
Simply not now, as a result of I’m uninterested in alignment stuff. I need to get pleasure from Undertaking Tough for some time, and what higher approach than with a while on the monitor. Keep tuned for the third and last installment on this ‘Huge Grind’ mini collection…
Ron Celestine
Instagram: celestinephotography
[ad_2]
Source link