An impressive concrete floor is an asset to any home. However, to achieve the desired results from this project, care must be taken when performing this process. Check out the Best info about floor sanding company.
Moisture content, crack repair, and choosing an appropriate grit are among the many key considerations when installing new tiles on surfaces. Working in sections and overlapping each pass will also prevent gouging or uneven surfaces that might arise during installation.
Table of Contents
Clean the Surface
Unsealed concrete floors can be vulnerable to damage from various sources. Harsh chemicals, abrasive tools, and improper cleaning techniques may all contribute to irreparable harm; however, using the appropriate products and cleaning techniques will preserve your unsealed floors for years to come.
Before beginning to sand your concrete floor, it’s advisable to clean it thoroughly. Start by sweeping or vacuuming away dust, dirt, and debris; move furniture decorations and rug mats from the floor; place protective caps on furniture legs so they won’t scratch the concrete surface; and use either a mop and water or a pH-neutral cleaner to scrub your floor as needed.
Concrete floor cleaners can help remove stubborn stains on the surface, such as oil, grease, and ink stains. Oil-based cleaners should be chosen instead of acidic cleaners like muriatic acid, as these could potentially etch into the concrete surface and leave permanent marks.
Oxalic acid solutions may be used for severe stains. Commercial solutions come both in liquid and powder forms; always follow the manufacturer’s instructions when handling this powerful acid, and wear gloves and goggles to stay safe when applying. Oxalic acid may help remove stubborn stains when scrubbed properly afterward – ensure you brush and rinse carefully to make the most of its effectiveness!
Prep the Area
Before beginning to sand your concrete floor, it is essential that the area where you will be working be adequately prepared to ensure safety, efficiency, and optimal results during the project. This will allow for optimal performance at every step.
Start by sweeping or vacuuming the floor, paying particular attention to corners and hard-to-reach areas. Remove furniture, rugs, and any fixtures that could hinder your work; use plastic covers, drop cloths, or masking tape to shield adjacent surfaces, walls, and baseboards from dust and debris accumulation; close or cover vents to reduce airborne contamination spreading further;
When sanding old carpet that had previously been laid on concrete, any glue, mastic, or tack strips still attached must be removed before beginning the sanding process. As these materials can be challenging to extract manually, renting a floor grinder from a concrete equipment supplier might be required for removal.
Fill any cracks or holes with high-quality filling compounds that blend seamlessly into the surrounding concrete, then sand them to ensure smooth and level surfaces. Clean the sanded floor thoroughly before following the manufacturer’s instructions to apply any sealers or finishes; this will protect your investment and enhance its appearance for many years to come.
Prepare the Tools
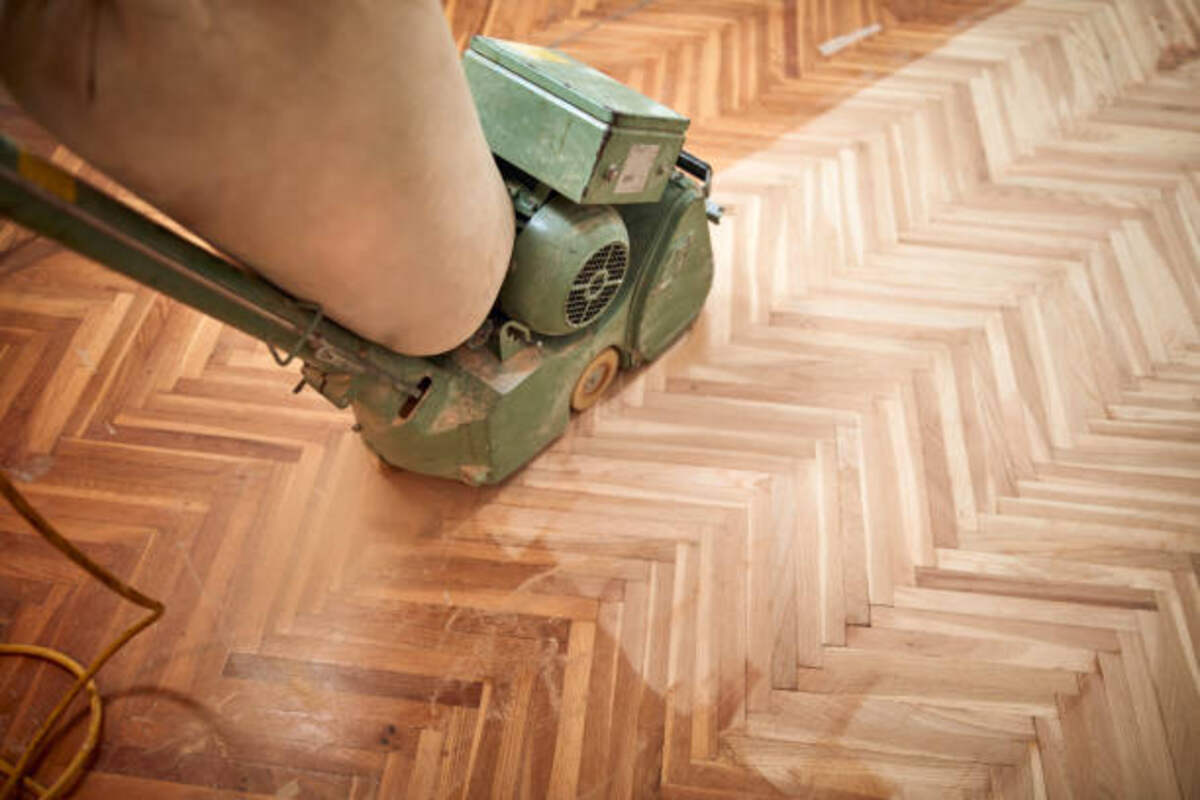
Assuming your concrete is of a particular type and condition, size, and surface area size, specific equipment and supplies may be needed for seamless sanding. When hand sanding, polishing pads or diamond sandpaper provide smooth results with long strokes and consistent pressure applied throughout. Start out using coarser grits and gradually progress to finer ones until smooth surfaces are reached.
When it comes to larger sanding projects, using a floor concrete grinder or walk-behind sander may be the way to go. Load up with appropriate sandpaper, follow the manufacturer’s instructions, and follow along as instructed for best results. Be sure to wear proper protective equipment like dust masks and goggles; concrete dust contains silica that could pose risks to health if inhaled directly.
After you have finished sanding, the concrete surface must be thoroughly cleaned to eliminate any remaining dust or debris from sanding. A thorough cleaning will also prepare it for staining, painting, or sealing and will ensure that treatments adhere effectively to the surface. In addition, be sure to protect tools and equipment from dirt and dust by covering them with plastic sheets or drop cloths when not in use – tape may help seal off doorways and vents, preventing dust from spreading throughout your home.
Start the Work
Once you’ve assembled all the tools and organized your work area, it’s time to start the concrete floor sanding process. Depending on your floor’s size, condition, and preferences for dust control, you have several methods available. Dry or wet sanding methods could work better, depending on which you choose.
No matter which sanding equipment and mix you use, it’s always wise to follow the manufacturer’s guidelines for efficiency, optimal results, and safety.
Before beginning the sanding process, carefully examine your concrete floors. If there are any cracks or holes, fill them using an appropriate filling compound and allow them to cure fully before sanding any excess off, ensuring that their surface matches seamlessly with their surroundings.
As concrete dust can be harmful if inhaled, it is wise to wear eye and mask protection when dry sanding. Alternatively, wet sanding methods use water-based solutions that lubricate grinding pads or sandpaper, helping minimize dust while also keeping tools from becoming clogged up with dust particles.
Once sanding has been completed, it’s advisable to mop and clean the floor to eliminate any residual dust. Next, apply a concrete sealer to protect your floor extra durablely. Following manufacturer guidelines is critical, as the protection level depends on the type of sealer chosen and the desired finish.
Read also: Shed Demolition And Removal Cost