Table of Contents
A Little Bit of Background
Spring-flowering lamps (tulips, daffodils, hyacinths, crocus, alliums, and some lilies, along with others) are planted in the fall, ideally several weeks before the ground freezes. Even though the light bulb contains most of the energy necessary for the following spring’s flowers, the bulbs typically need some time to establish their very own roots in the soil before it freezes solid.
Almost all summer-flowering bulbs (iris, dahlias, gladioli, begonias, cannas, plus some lilies) are planted in the spring as soon as the ground can be worked.
Starting with a Simple Strategy
First, decide where and how big you want your light garden to be. When might determine where you want your light garden located, make an excellent estimate of the total region (the square footage) from the area to be planted. You may also want to make a rough drawing of the area to be grown. This will help you plan what number of bulbs you should buy to create an extraordinary bulb garden. Virtually all light bulb catalogues and bulb bundles in garden centres incorporate information regarding the recommended teeth for specific bulbs.
Purchase the Right Bulbs
Many light bulb catalogues have great deals on larger quantities, and some light bulb catalogues even offer designed bulb gardens with encouraged combinations and diagrams intended for planting. Generally speaking, within just about any specific variety, the larger the bulb, the higher the quality. Much larger daffodil bulbs are almost always superior to smaller ones and are more expensive. The higher the quality, the extra likely you are to have a great exhibit the first year, and the more probable you are to have a bulb back garden that will last several years.
Be aware, however, that not all spring-flowering bulbs will last for many years. Daffodils tend to last a lot longer than most tulips, for instance. Some Dutch gardeners regard most tulips because of annuals. And, some light bulbs are more likely to succumb to deer or even rodents. Deer usually will not eat daffodils, but they like tulips and lilies.
What are bulb catalogues and internet sites for complete information concerning deer tolerance?
Remove Grass from the Planting Area
In case your new bulb garden will be in a location that is presently lawn, it’s much easier to eliminate sod than to attempt to until it into the soil. You don’t need to want grass plants to compete with bulbs and water.
Prepare the Land for Planting
Bulbs want to soil with good drainage. The objective is to prepare a sleep with both good tilth and fertility. Should your soil has a high clay surfaces content, you should till throughout compost or other natural and organic material, ideally to an exciting depth of at least 12″ and since much as 18″ serious if possible. Regardless of your bulb garden size, it’s simpler to plant in loose, regularly hoed soil.
Remove the Soil or even Make Wide Furrows for Planting.
Depending on the size and shape of the bulb garden, you may want to briefly remove the soil to a level equal to the planting level of the bulbs you’ll be growing (usually 8″ or so with regard to tulips and daffodils, as well as 3 to 4″ about smaller bulbs). You can use the tiller with a Plow add-on for narrow bulb gardens to create large planting furrows.
All bulbs need phosphorous for good root development. Whilst all garden soil consists of some amount of phosphorous, the latest bulb garden will gain the benefit addition of some phosphorous at the bottom of the planting sleep. When you’ve typically removed the soil, or created your planting furrows, add some light bulb fertilizer, bone meal, or superphosphate to the soil sleep.
Position the Bulbs Appropriately
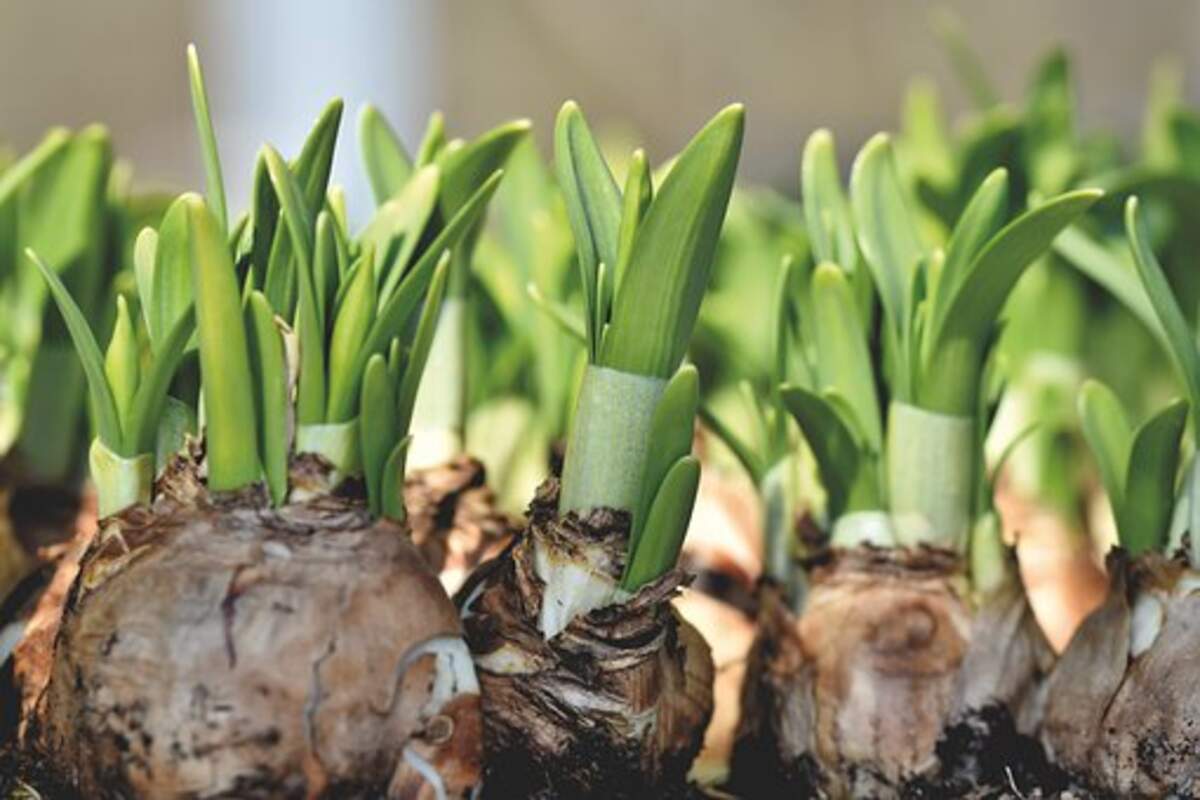
Most bulbs are flat on the bottom and “pointy” at the top. Place the bulbs while using a pointy side up, along with positioning the bulbs to ensure that daffodil bulbs are four to six inches apart and tulip glasses are 3 to 6 ins apart. Smaller bulbs, such as crocus bulbs, can be grown 2 inches apart.
If you are planting multiple varieties with assorted heights, position the higher flowers in the back of the garden, using the shorter flowers in front. It can almost always be more appealing to position the actual bulbs in “clumps” instead of rows to create a more stunning display.
Carefully Cover the actual Bulbs.
Replace half of the land for mass plantings, or maybe fill your planting hole about halfway. Now is a fun time to add a balanced slow-release natural and organic fertilizer, especially if you’re planning on maintaining the bulb back garden for many years.
Water gently to buy a home the soil around the lamps and give the bulb roots a good head start. Do not over-water, as some lamps will rot if these kinds are forced to sit throughout waterlogged conditions too long. Should you have tilled the bulb on your bed as described above, you should not have any problems with lights rotting.
Replace the remainder in the soil, and water once more – gently – plenty to settle the remaining soil.
Include a mulch layer to stop late-season weeds and hold moisture.
Enjoy the Demonstrate Next Spring!
Daffodils, tulip glasses, and hyacinths are excellent since they cut flowers and also help to make beautiful bouquets for close friends.
When the Show is Over
May remove the foliage immediately after the particular flowers have bloomed. Managing daffodil foliage begins to convert yellow or brown; the longer you leave it solely, the more energy will be repaid to the bulbs for adhering to the year’s display. You may tend to “dead head” your think; this will usually divert strength that would otherwise be used for seed product development back to the balloon for next year’s think.
Carefully Remove Foliage in addition to Stems.
You can carefully help foliage and stems very well after they’ve turned brown and leafy. Use a clean, sharp chef’s knife to cut foliage at the basic of the soil, being watchful not to “uproot” the light sources. Or, you can simply mow often the foliage with your lawn mower if the bulb garden is large and the foliage is accessible.
Plant Flowering Flowers for Continuous Color
It is possible to continue the show for the remainder of the season simply by planting annuals on top of your lights. Generally, bedding plants may lead to a quicker display regarding colour, but annuals can be directly seeded. In either case, try not to dig too deep so that you will don’t disturb the lights.
Feed Bulbs each Discover the Following Spring
Fall is an excellent time to feed the lamp garden for the next season, mainly when you’ve grown annual over them all summer. Bone fragments meal, organic flower foods, or bulb fertilizer may enhance the show for the following spring.
Read also: Save Your Home From Flooding Before It Happens With Basement Waterproofing Toronto