Installed correctly, a standing seam metal roof can last 30-50 years with proper care and attention taken during its installation process. As such, homeowners must understand all six steps that go into installing their new metal roof. Check out the Best info about standing seam metal roofing.
Conventional asphalt shingles may lose their sheen over time, leaving debris behind them that needs cleaning up. That is why so many homeowners opt for metal roofs.
Table of Contents
The Basics
Standing seam metal roofs involve many moving parts, which makes installation challenging. To help ensure successful implementation, you must understand all of the steps required for correct installation – otherwise, there may be issues down the road that you cannot quickly resolve. Mistakes during installation, such as improper fastening, incorrect panel layout, or inadequate flashing, could prove costly in terms of repairs later on. We created this comprehensive guide on how to install a standing seam metal roof, from prepping the roof deck through installing roofing underlayment, laying your first panel, and finishing touches such as installing roof and rake trim.
Prep Work For Standing Seam Metal Roof Installation: The foundation for installing a standing seam metal roof begins by prepping its deck. This involves removing existing roofing materials and clearing away debris before using water-resistant underlayment that breathes well, as this will help avoid moisture build-up that could potentially harm the roof over time.
Before beginning assembly of the roof panels, it is necessary to obtain some essential tools and supplies. These should include a sturdy ladder, level, chalk line, and other essential tools and supplies. It would be best if you also had on-hand tin snips and hand seamers, which allow you to cut metal quickly. In addition, one-piece standing seam action clips may also come in handy for fastening together metal panels more securely – don’t forget your hard hat and gloves too!
If you plan to install the roof yourself, it is advisable to watch a video tutorial on how to install a standing seam metal roof so you know exactly what to expect and can start immediately. Furthermore, the video can also demonstrate effective techniques during installation.
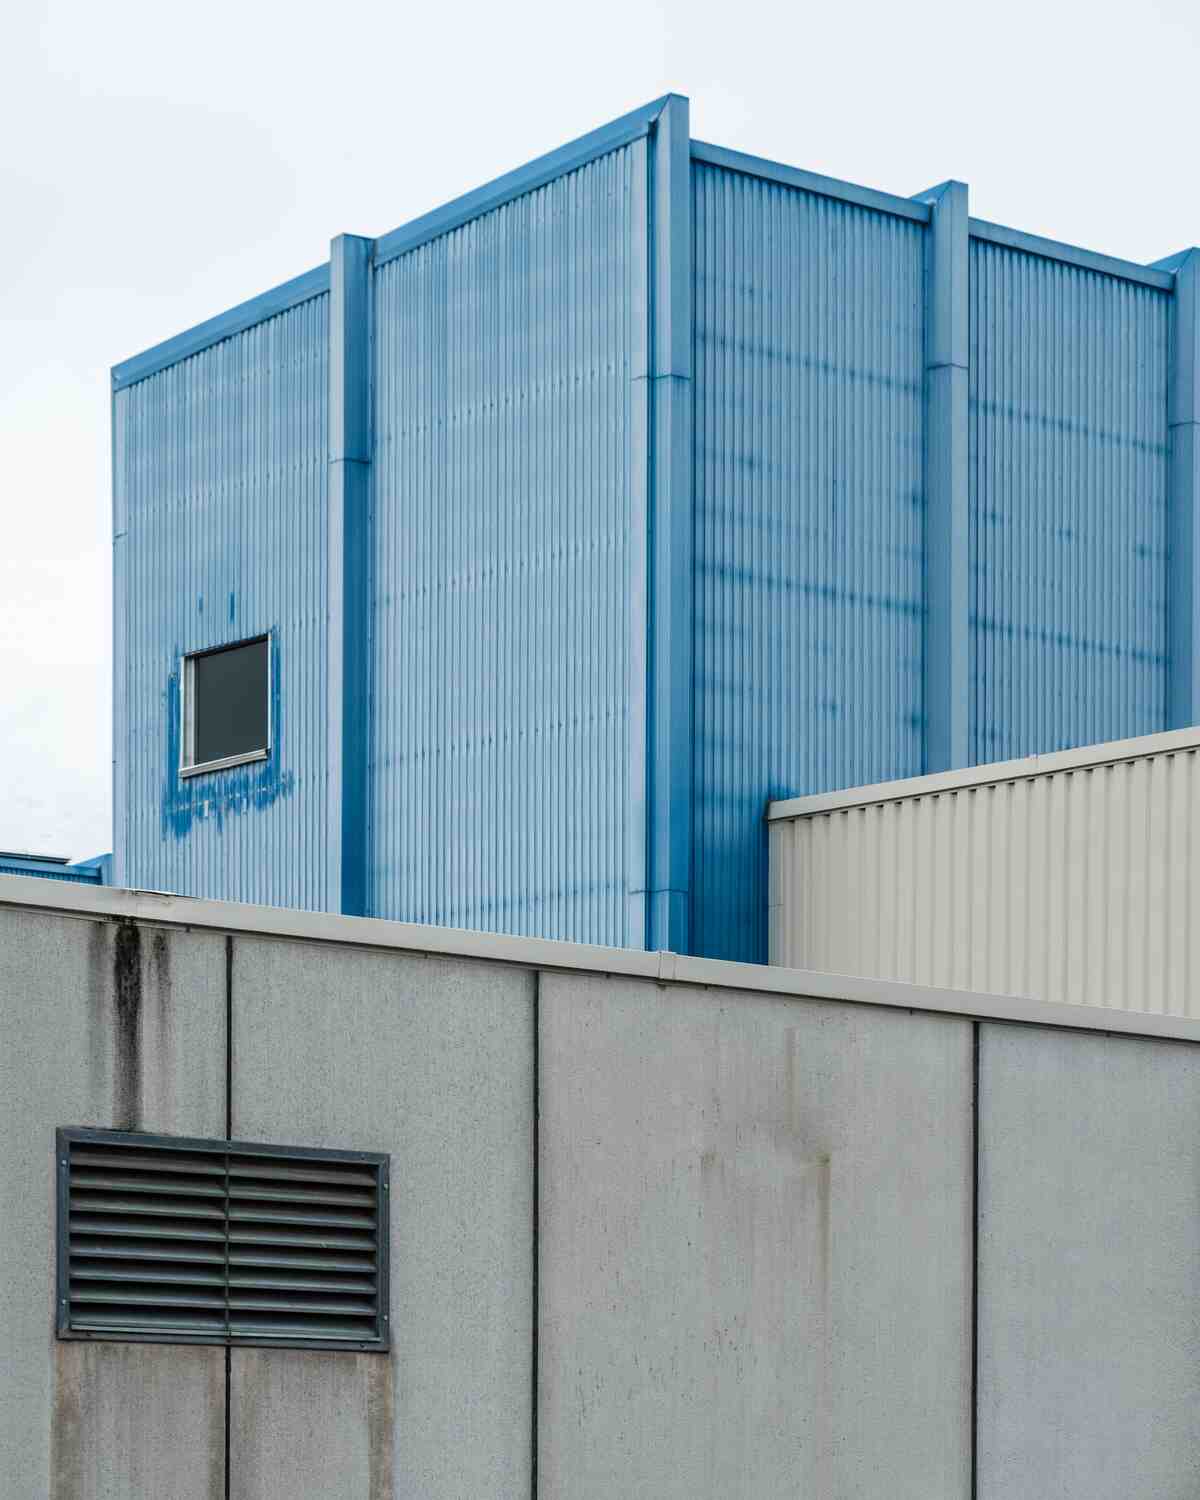
Standing seam metal roofs make an elegant addition to any home, yet can be tricky and more expensive to install than other options like metal shingles due to their complexity of installation, higher costs associated with premium materials, and special flashing for chimneys, skylights, and other roof penetrations.
Layout
No matter whether you are an architect, designer, builder, or spec writer, there are essential points to keep in mind when specifying products for exterior building materials. This is especially relevant when fixing metal roofs and walls, which may be subject to different weather conditions that could compromise their longevity and performance.
One of the critical aspects of metal roofing installation is proper flashing at all vertical transitions and penetrations to protect against moisture entry and entrapment that could otherwise lead to leaks and panel damage. When selecting high-quality flashing material, be sure to follow all manufacturer-printed specifications as well as installation guidelines.
Standing seam metal roofs feature two distinct forms of flashing: drip edge and gable flashing. Drip edges are installed along the perimeter where they meet walls, while gable flashing is typically installed along the ridge and eaves areas of a roof; both types can either be installed at once during or following roof installation processes.
Gable flashing is an integral component of your standing seam metal roof, as it shields rafters from moisture and debris that might enter through the attic, helps prevent ice dam formation on roof slopes, and prevents water from backing up underneath metal panels.
Gable flashing requires the installation of a shingle underlayment that adheres to the roof deck securely; typically, a high-heat ice and water shield or synthetic underlayment may be utilized here. To ensure optimal adhesion between it and the roof deck and facia boards, using self-adherent materials may help avoid moisture pooling up under it, leading to potential rot or mold growth.
As part of your roof installation process, it is imperative to follow step-by-step instructions when laying out metal panels. Doing this will help ensure that your roof will stand the test of time and stay protected against harsh elements for years.
Fastening
Standing seam metal roof panels provide the ultimate in durability, energy efficiency, sustainability, and aesthetic beauty for homes or buildings alike. However, like all roofing materials, they do have their share of advantages and disadvantages.
One major challenge associated with standing seam metal roofs is the expansion and contraction that they experience due to temperature change. If not installed properly, this could lead to leakage issues if left unaddressed. Properly installing your roof using clips and fasteners will accommodate its thermal movement and allow for expansion or contraction as it occurs.
Therefore, it is vitally important to hire a licensed roofer with specific experience installing standing seam metal roofs. They will understand how to install panels and fasteners onto the roof surface correctly in order to help avoid future issues with it.
Before beginning the installation of your roof, it must first be prepared. Eaves and rakes must be flashed with protective material to stop rainwater seeping into the interior of your building; this will also protect shingles from being damaged by the weight of metal roofing panels. Afterward, either a drip edge or particular “Z bar” must be added at its ridge capping – these two solutions help fill in gaps between ribs in your roof while locking into place with the capping ridge.
Once the flashing is in place, the next step is assembling the first metal panel. Ribs of the roof must be locked together using clip fasteners every 12-24 inches; when these fasteners are attached, their clip fastener locks into place while another panel snaps in over it and secures its connection.
After you have installed the first panel, you can begin installing your underlayment. An underlayment should provide high heat ice and water shielding capabilities and adhere itself to lock strips at eaves if not installed correctly; otherwise, condensation could form behind the roof’s ribs, causing wood rot.
Finishing
Metal roofing can add tremendous value to your home. As a premium building material, homeowners choose metal for its durability and aesthetic beauty – two qualities many DIYers find appealing. Unfortunately, installing one requires the appropriate tools and training; you’ll need a sturdy ladder, toolbox with level, chalk line, hand seamer, tin snips, as well as special drill bits with unique crimp sealers for standing seam metal roofing (standing seam roofs have their specific equipment needed for installation such as drill bits for standing seam roofs); professional should handle standing seam metal roof installations when difficult areas such as covered front porches and bay windows can’t reach.
To keep moisture at bay and ensure maximum roof protection, proper underlayment, and flashing installation must take place. Otherwise, leaks could occur, as well as weather-related damages from wind gusts or other forces of nature causing havoc in your metal roof.
Installing solar panels properly involves starting with installing starter lock strips at the eaves and rakes of your roof. These strips secure panels against flapping in high winds or storms. Next comes installing underlayment over these lock strips – typically 15 or 30 lb felt with high heat ice and water shield to stop condensation accumulating under panels and into walls or fascia boards.
Once the underlayment and lock strip have been installed, your roofing crew can begin installing panels. Installers will snap together panels, tighten all clips securely, install ridge caps and rakes as a finishing touch before snapping panels together with snap clips to secure them, snap together panels as quickly as necessary, ensuring each clip tightens down correctly, snap all clips tight together again when finished, install rakes to complete your roof look, ridge caps as required to give a finished look to your roof’s appearance and complete all necessary accessories – complete your look is complete.
One of the chief advantages of a standing seam metal roof is its long-term durability; you should expect at least 30 years out of this roofing system when properly maintained.
No matter if it’s time to replace or renovate, consider the advantages of standing seam metal roofs for your new residence. Contact the industry leaders in metal roof manufacturing – Metal Sales – and learn how this premium roofing product can add value to both yourself and your home.
Read Also: What To Expect From A Floor Sanding And Polishing Service