Potato growers typically test their crops for nutrient levels before planting and apply slow-release, granular fertilizers before stopping treatment a few weeks prior to harvest. Discover how to farm potatoes.
To avoid damaging their fields’ ridges, potato farmers use a remarkable plow with “fingers.” It breaks up the soil while also allowing tubers and dirt clods to fall to the bottom of the field.
Table of Contents
Planting
Potatoes require well-draining, loose soil to stimulate root development. Acidic to neutral pH soil is ideal, while clayey or sandy varieties tend to do poorly in this regard. Potatoes should be planted a week or two prior to the last frost date in their region for best results; this allows pests to be killed off while giving roots time to develop before summer hits and heat strikes hard!
Potato cultivation can be carried out manually or mechanically. Although manual cultivation is more costly, it encourages more profound root development and tuber set; heavy, deep cultivation increases the risk of damaging young roots; excessive cultivation also depletes organic matter content in the soil, lessening its ability to retain water and nutrients.
Planting procedures for potatoes are similar to planting other vegetables: dig holes 6-8 inches deep, place seed potatoes with their sprouts facing upwards in each hole, and cover them with soil. Early varieties should be spaced 12-15 inches apart, while maincrop varieties require 18 or more space between holes for proper growing conditions.
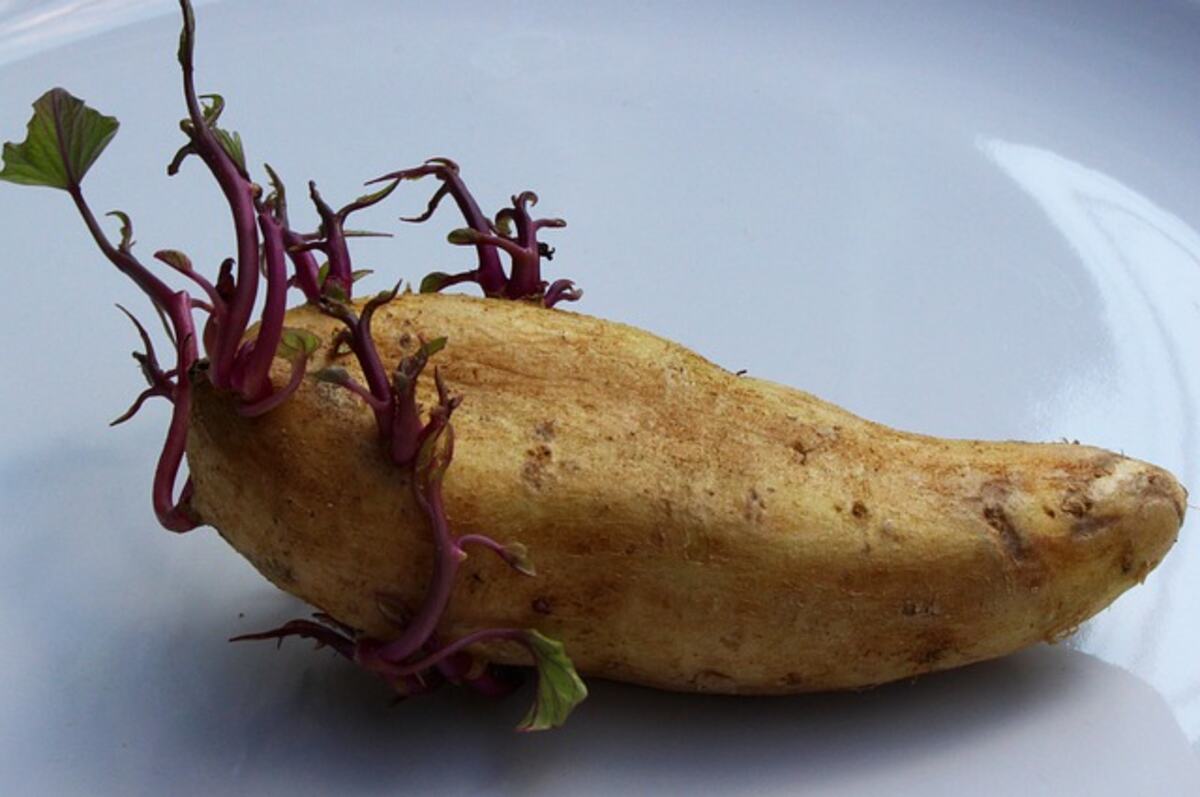
Some growers opt to scatter seed potatoes across their fields rather than digging them in, though this requires more frequent weeding and may result in lower yields. When selecting disease-free seed potatoes from either catalogs or farm stores, and avoid those treated with sprout retardants such as grocery store varieties.
Fertilizing
Potatoes need an optimal balance of nitrogen (N), phosphorus (P), and potassium (K). Each is essential for their development and contributes to overall plant health.
Before selecting fertilizers to use on your potato field, a comprehensive soil test must first be conducted. Based on its results, natural compost or manure, slow-release all-purpose fertilizer, and mineral fertilizers may be recommended as optimal options.
Initial fertilizer application typically involves mixing it into the top 6 to 8 inches of soil before planting to ensure potatoes receive all their needed nutrients quickly after sprouting. How much fertilizer you apply per row will depend on the results of soil tests as well as plant counts per row.
As the potato transitions from early growth to tuber formation, switch to a fertilizer with higher potassium content for improved tuber quality and stress resistance.
As soon as plants are ready for harvesting, farmers practice killing off vines by either discontinuing irrigation or spraying chemical topkillers onto the ground. This allows their skins to thicken further and protect against bruises during transportation and storage while increasing shelf life.
Watering
Potato plants thrive best under consistent conditions, so managing soil moisture levels effectively is of great importance for their success. Too much or too little irrigation may lead to root rot, while underwatering will stunt their development and lower yields; to find an optimum balance, water regularly enough so as to maintain 70-80% field capacity soil moisture levels.
Earthing up process after planting significantly raises the level of the soil and, when performed correctly, traps moisture within. Still, potatoes do require some form of irrigation; to do this properly, it’s best to soak deep rather than wetting only surface roots – this encourages their roots to search down deep for what they require!
In general, only an inch of water should be applied every week to potatoes. Under sweltering and dry weather conditions, more frequent watering may be necessary; it’s best to water several times each week rather than daily as too much moisture in the soil can lead to the development of rot in potatoes.
Watering potatoes effectively requires using either a watering wand or a soaker hose since this helps the soil retain moisture and decreases the risk of foliar diseases. These tools allow precise delivery of water, thus cutting wasteful evaporation while encouraging healthy, uniform plants.
Harvesting
Once the foliage has died back and your potatoes are showing some yellow hue, it’s time to harvest them. Be wary when using tools such as spades or shovels – as this may bruise and shorten the storage life for your harvest.
Use a hoe or garden fork to loosen up the soil and help release your potatoes from their tubers. If your soil is too compacted, haul additional loose dirt over your vines and potatoes to improve drainage and drainage. This also aids with soil drainage.
For additional peace of mind, an inexpensive growth inhibitor such as Propham may help prevent potatoes from sprouting in storage. You can find this chemical at garden centers for less than $15 for an ample supply that should last several seasons.
Once harvested, brush off any clinging soil and allow the potatoes to dry naturally before washing – this prevents potato rot from occurring! Store them away in the dark, excellent (but frost-free), and relatively dry places for two weeks, as this curing process helps thicken and heal any minor bruising or cuts on their skins.